

October 19, 2020
Dishwasher Repair
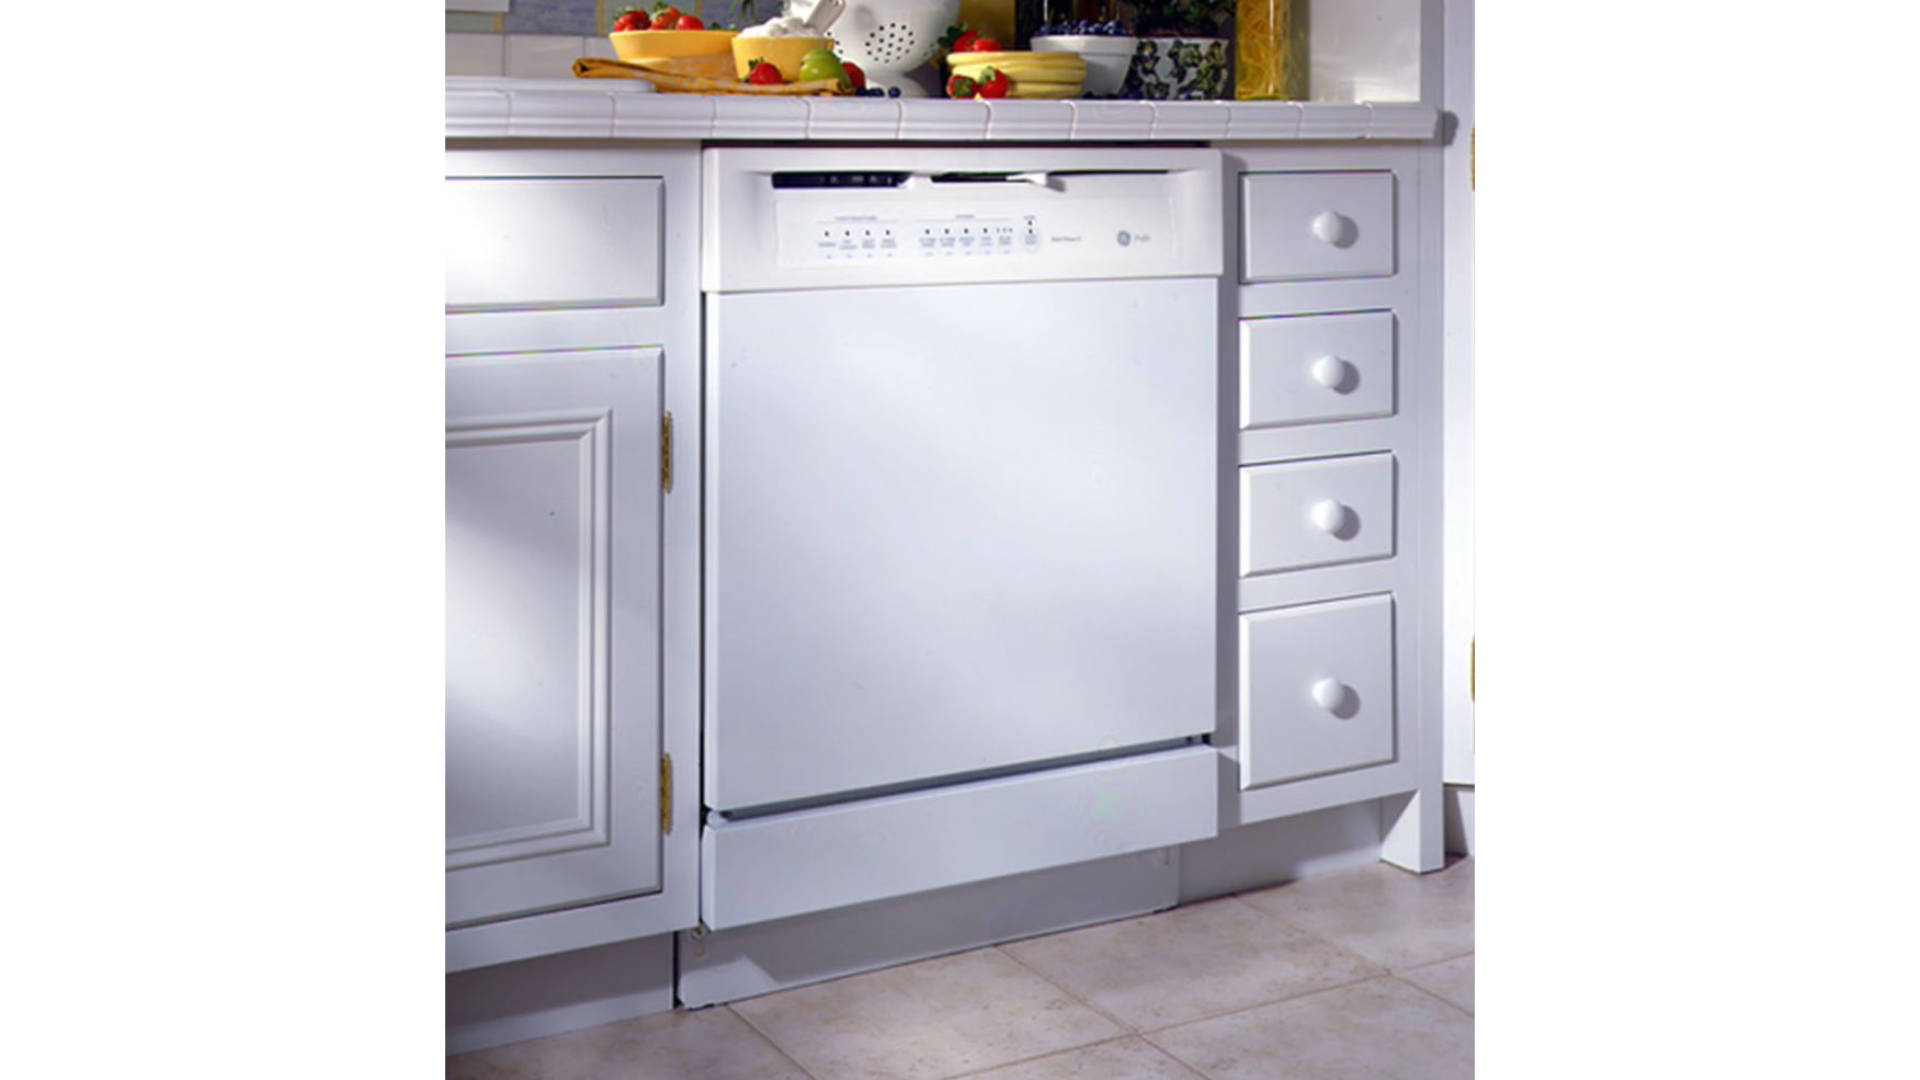
Water leaking from your GE dishwasher model GSD4030ZWW indicates a component somewhere in your appliance has malfunctioned. Where the water is located on your floor can signal what part is responsible for the leak. A puddle found directly under your dishwasher points to an issue with the drain pump.
Fortunately, that does not necessarily mean the pump is no longer functional, it can simply indicate the drain shaft seal has deteriorated and needs to be replaced. If you suspect the shaft seal is behind your leaky dishwasher, follow the step-by-step replacement instructions below.
Safety First
- Always start a dishwasher repair by unplugging your appliance and turning off its water supply valve.
- As you fix your dishwasher, wear work gloves and safety glasses to protect your hands and eyes.
- If the repair is not going as planned, and you feel as though you cannot safely replace the component, please put down your tools, and contact a professional dishwasher repair technician to finish fixing your appliance.
How to Replace the Drain Shaft Seal in Your GE Dishwasher
- Head under your sink and disconnect the dishwasher drain line by using a nut driver to loosen the clamp. Once the clamp is loose, pull the drain line off the air gap or the garbage disposal.
- Next, use a wrench to take remove the water line from the water supply valve.
- Open the dishwasher door and take out the lower dish rack.
- With the dishwasher door still open, unthread the screws that secure the appliance to your kitchen countertop.
- Use the dishwasher door to pull your appliance forward a few inches. Then, close the door and finish dragging your dishwasher towards you until it no longer sits under the countertop. Once the appliance is uninstalled from the counter, grab the drain hose and the waterline and pull them from under the sink.
- At this point, place a blanket on the floor. Then, get the help of a family member or friend to tip the dishwasher backward and lay it on its rear panel.
- Before you can reach the drain shaft seal, you’ll need to uninstall the solenoid assembly. Start by removing the wire harness that runs to the solenoid. Then, pull off the solenoid return spring and detach the e-clip. Once the e-clip is removed, lift off the solenoid actuator arm. Next, unthread the screws securing the solenoid and its mounting bracket to the dishwasher, and then lift the solenoid up and off the drain pump shaft.
- On the drain pump shaft, above the shaft seal, you’ll find a mounting clip. Sliding this clip off the shaft is extremely hard, instead, use a pair of wire cutters to break the clip. Once you’ve cut the clip, place a flathead screwdriver behind it and slide the clip off the drain pump shaft.
- Finally, you can uninstall the drain shaft seal. To do so, simply insert a flathead screwdriver behind the seal and carefully push it up and off the drain shaft.
- Grab the new seal and rub some water on it. Before sliding it onto the shaft, check to ensure the flat side of the seal is facing up while the lip side of the seal is facing the drain pump. Once the seal is resting above the pump, use a flathead screwdriver to push the lip of the seal further into the gap between the shaft and the drain pump.
- Next, install a new mounting clip on the drain pump shaft. To make sliding the mounting clip onto the shaft easier, the side with the raised center should face up.
- Start reinstalling the solenoid assembly. To begin, secure the solenoid bracket to the drain pump housing by rethreading the Phillip screws you removed earlier. Then, slide the actuator arm onto the drain shaft and install an e-clip on the shaft to hold the arm in place. Finish up by attaching the solenoid return spring to the mounting bracket and reconnecting the solenoid wire harness to the solenoid terminals.
- With the solenoid assembly reattached, it’s time to recruit a family member or friend to help you turn your dishwasher upright. Once the appliance is back on its feet, pick up the towel or blanket you put on the ground.
- Scoot your dishwasher a few inches closer to your kitchen cabinet, and then insert the water line and drain hose through the hole leading to under your sink. Now push your appliance back underneath your kitchen counter.
- Open the sink cabinet and reattach the water line to the hot water valve and then secure it by tightening the line connection with a wrench. Next, reconnect the drain hose to the air gap or to the garbage disposal. Use a nut driver to tighten the clap that secures the hose. Before closing the sink cabinet, check the drain hose to ensure it is elevated above the hose connection. If the hose is not higher than the connection, your dishwasher won’t drain properly.
- Open your dishwasher and slide the bottom dish rack back into your appliance. With the door still open, rethread the screws that secure the dishwasher to your kitchen cabinets. Then, close the door to finish reinstalling your appliance.
- Now that you’ve replaced the worn down drain shaft seal, load up your dishwasher and hit the start button. After your dishes are washed and the water is drained, take a pick under and around your dishwasher. If you don’t find any puddles, the new drain shaft seal fixed that pesky leak.
Whether it’s your dishwasher, your refrigerator, or your washing machine, a leak requires your immediate attention. Unfortunately, if the issue isn’t taken care of promptly, other components in your appliance may end up malfunctioning, or your home may suffer significant water damage leading to mold and expensive home repairs. If you’re unable to pinpoint the malfunction causing your appliance’s leak or you need the expertise of an appliance repair technician to repair the broken component, please contact us today, and we’ll be happy to help you.

Apr. 09, 2024
How to Reset a Whirlpool Refrigerator Ice Maker

Apr. 09, 2024
6 Reasons Your LG Refrigerator Is Not Making Ice

Apr. 09, 2024
Kenmore Fridge Ice Maker Not Working? 5 Ways to Fix It

Mar. 06, 2024
How to Remove Fish Smell from Your Refrigerator

Mar. 06, 2024
How To Fix Bosch Dishwasher E24 Error

Mar. 06, 2024
Troubleshooting a Whirlpool Dishwasher Not Draining

Feb. 05, 2024
Why Is Your Fridge Water Not Working, but Ice Is?

Feb. 05, 2024
How to Fix the E15 Bosch Dishwasher Error Code

Feb. 05, 2024
How Much Power Does a Microwave Use?

Jan. 03, 2024
How to Properly Clean Refrigerator Coils

Jan. 03, 2024
How to Fix an LG Washer Showing OE Error Code

Jan. 03, 2024
Troubleshooting a GE Dishwasher with No Power and No Lights

Dec. 11, 2023
10 Reasons Why Your Bosch Dishwasher Won’t Start

Dec. 11, 2023
Troubleshooting the F5 Error Code with a Maytag Washer

Dec. 11, 2023
How To Fix a Kenmore Dryer That Isn’t Heating
(937) 252-3200Text or ring! ring!