

November 2, 2022
Dryer Repair
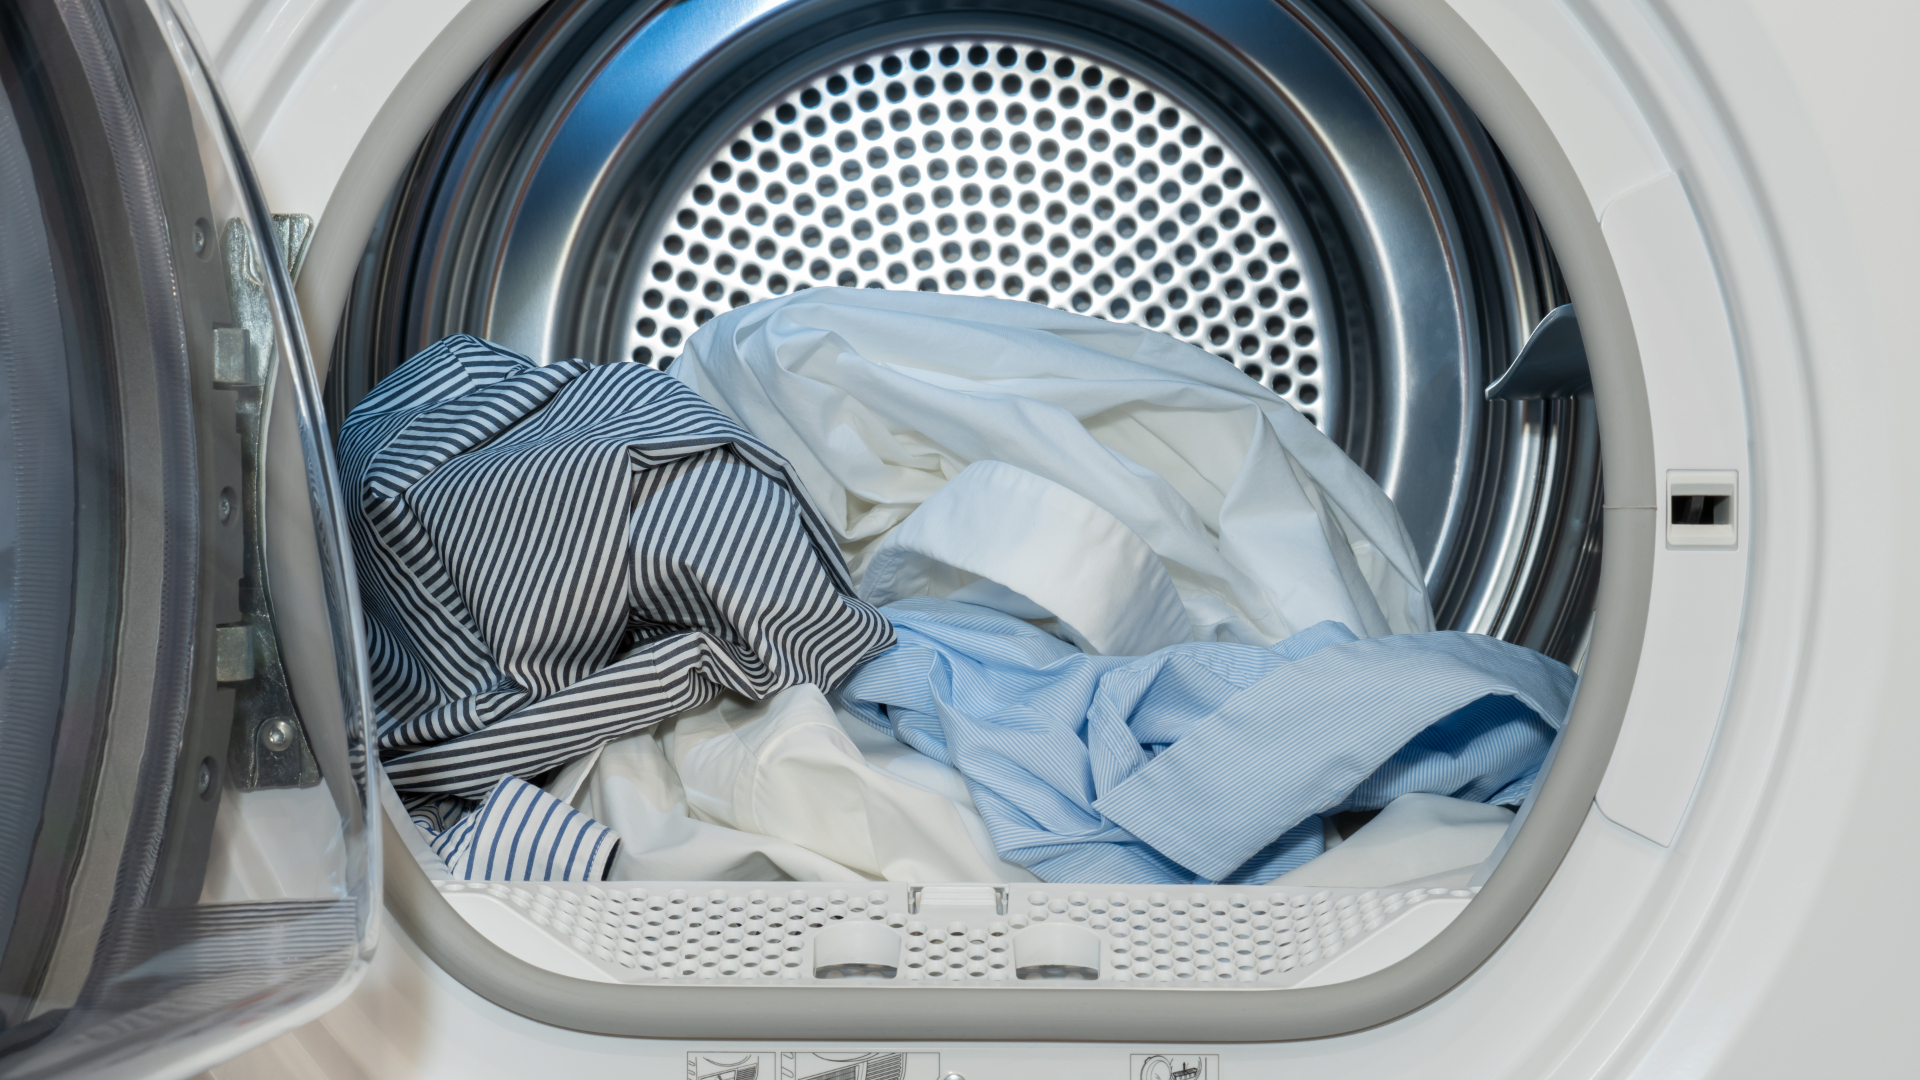
Modern dryers are built with high-quality materials, but unfortunately, components within them will need to be repaired or replaced. One of the most common repairs a dryer requires is to replace the glides. Thankfully, this is quite a straightforward repair to make.
The glides help the dryer drum stay in the correct position when you’re using your appliance. If they become defective, your dryer will make a squealing noise and might not be able to operate at all.
In this guide, we are going to give you step-by-step instructions on how to replace the glides in your dryer. This guide should work for most major dryer types, including Bosch, Samsung, GE, LG, Haier, and Whirlpool. However, you may need to consult your user manual for various parts of this repair to find information that is specific to your make and model of dryer.
Step 1 – Preparation
The first step is to order the correct replacement glides and to get the tools you’ll require to carry out the repair, including a Phillips head screwdriver, a flathead screwdriver, and a putty knife. Once you have these tools and the correct replacement parts you can start the repair.
Step 2 – Switch the power off
Make sure the power is switched off to your dryer and unplug your appliance from the power socket. This is for your safety and to give you the ability to take your dryer out from the wall so you can work on it.
Step 3 – Dismantle your dryer
It’s now time to dismantle your dryer. Here’s what to do:
- Remove the lint trap and give it a quick clean before setting it aside.
- Disconnect the lint duct housing. This can be done by unthreading the screws that hold it in place. Make sure you keep the screws in a safe place as you’ll need them when you reassemble your dryer.
- Next, locate and release the two top clips that hold the dryer top in place. The easiest way to do this is to run a knife into the seam under the dryer top panel. Once you find the clips you should be able to unclip them.
- Once the clips have been unclipped, the dryer top should be able to come off.
- Next, locate the door sensor – it can be found on the top of the front panel of the dryer. Once located, disconnect the wire harness.
- Unthread the two screws that hold the front panel in place. Once the screws are out you should be able to safely remove the front panel.
Step 4 – Remove and replace the drum glides
Once the top and front panels have been removed from your dryer you should now be able to remove the old drum glides and replace them with a new set. Here’s what you need to do:
- Locate the drum glides. If you’re not sure where they are located, consult your user manual. For most dryer models you should be able to remove the glides without removing the drum from the dryer.
- Remove the drum glides. This usually just requires you to unthread the screws that hold them in place, but sometimes they are also glued on, so you’ll need to use a putty knife to dislodge them.
- Once removed, attach the new glides in the correct position and secure them in place with the screws you removed earlier. If necessary, you can glue them in place first.
- Before reassembling the dryer, double check that the new glides are securely in place.
Step 5 – Reassemble the dryer
With the new glides successfully replaced, you can now reassemble your dryer. Here’s what to do:
- Start by reattaching the front dryer panel. This can be done by lifting the panel into position and then securing it with the screws you removed earlier.
- Next, place the top of the dryer back into position and reattach the door sensor. You can then secure the panel in position by clipping it back onto the dryer frame. Before moving to the next step, double check the front and top panels are correctly attached.
- Once the top panel is on, reattach the lint duct housing and secure it in position with the screws you removed earlier.
- Place the lint filter back into the dryer. Your dryer should now be reassembled and ready to be tested.
Step 6 – Test your dryer
The final step is to make sure your dryer is working properly. You can do this by:
- Plugging the dryer back into the power socket.
- Placing some laundry in your dryer (a couple of towels will be adequate).
- Turning your dryer on to a cycle.
- Checking that the dryer isn’t emitting any loud noises when operating.
- If the dryer has stopped making noise, replacing the new glides has solved the problem and you can start using your dryer again.

Apr. 09, 2024
How to Reset a Whirlpool Refrigerator Ice Maker

Apr. 09, 2024
6 Reasons Your LG Refrigerator Is Not Making Ice

Apr. 09, 2024
Kenmore Fridge Ice Maker Not Working? 5 Ways to Fix It

Mar. 06, 2024
How to Remove Fish Smell from Your Refrigerator

Mar. 06, 2024
How To Fix Bosch Dishwasher E24 Error

Mar. 06, 2024
Troubleshooting a Whirlpool Dishwasher Not Draining

Feb. 05, 2024
Why Is Your Fridge Water Not Working, but Ice Is?

Feb. 05, 2024
How to Fix the E15 Bosch Dishwasher Error Code

Feb. 05, 2024
How Much Power Does a Microwave Use?

Jan. 03, 2024
How to Properly Clean Refrigerator Coils

Jan. 03, 2024
How to Fix an LG Washer Showing OE Error Code

Jan. 03, 2024
Troubleshooting a GE Dishwasher with No Power and No Lights

Dec. 11, 2023
10 Reasons Why Your Bosch Dishwasher Won’t Start

Dec. 11, 2023
Troubleshooting the F5 Error Code with a Maytag Washer

Dec. 11, 2023
How To Fix a Kenmore Dryer That Isn’t Heating
(937) 252-3200Text or ring! ring!