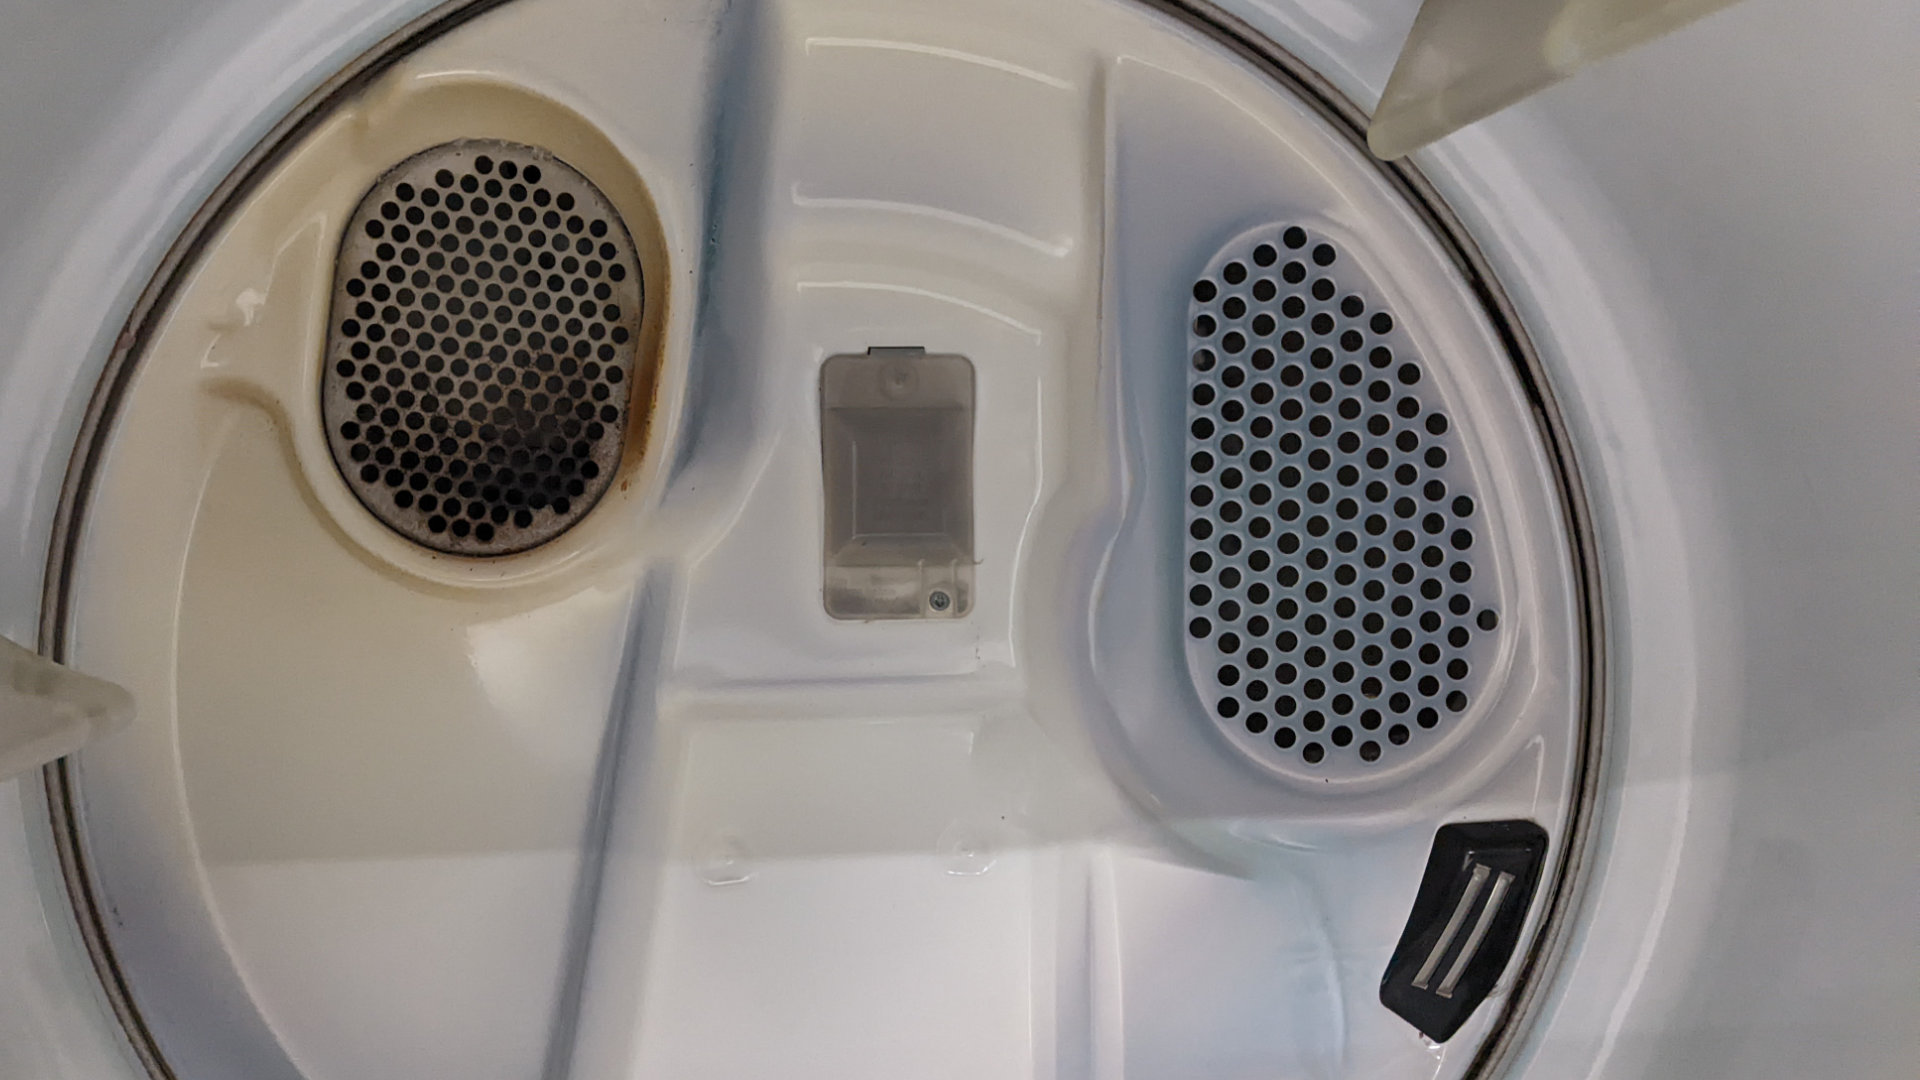
Replacing a dryer heating element is thankfully a straightforward task. In this article, we will give you step-by-step instructions for how to do it so you can get your dryer working again.
These steps should work for all major models of dryers, such as Maytag, Whirlpool, GE, Bosch, and Samsung. Simply start with step one, and work your way through each subsequent step.
Step 1 – Get prepared
Start by turning the power off to your dryer. This can be done by switching it off at the wall or turning the circuit breaker off in your household circuit breaker box. Once the power is turned off, pull your dryer out from the wall so you can gain access to the back of the appliance. When pulling the dryer out, you will probably need to remove the exhaust hose from the appliance if you have one attached.
Step 2 – Remove the back panel
- Start by locating the back panel.
- Once located, remove the screws that hold it in place, and set them aside. The back panel should now clip out of position and be able to be removed. Once removed, place it safely out of the way.
- Locate the housing unit that protects the heating element. On the top of the unit should be a sensor. If you find a sensor, remove it by first disconnecting the wires and then the screw that holds it in place. Once removed, place it safely out of the way, as you’ll need to reattach it after you’ve replaced the heating element.
- Once the sensor on the top has been removed, locate the sensor at the bottom of the unit, and remove it exactly how you removed the first one.
- After the two sensors have been safely removed and placed out of the way, locate the heating fuse on the left-hand side of the housing unit. The fuse can be removed by disconnecting it and removing the screws that secure it in place.
- If any screws are securing the housing unit in place, remove them, and you should be able to remove the housing and have access to the element.
Step 3 – Test the electrical components
This step is optional and is only necessary if you have a multimeter so that you can test the sensors, fuse, and element to ensure they are all working correctly. If you don’t have a multimeter, you can proceed directly to step four.
Here’s how to test the electrical components:
- Test the resistance of the fuse with your multimeter. If the fuse doesn’t have continuity, it will need to be replaced. If it does have continuity, it can be reused with the new heating element.
- Test the resistance of the two sensors. If the sensors don’t have continuity, they will need to be replaced. If they do have continuity, they can be reused with the new heating element.
- Test the resistance of the heating element to ensure it is faulty and needs to be replaced. If the element doesn’t have continuity, this proves it’s defective and needs to be replaced. If the element does have continuity, you will need to investigate the reason why your dryer has stopped working, as the heating element is not likely to be the cause.
Step 4 – Disconnect the heating element
Now that the heating element housing, the sensors, and the heating fuse have been removed, you can take out the defective heating element.
Here’s how to do it:
- Remove the screw that holds the element in position. The screw is sometimes underneath the element, so you’ll need to turn your dryer upside down to get your screwdriver into place.
- Disconnect the wires that are connected to the element.
- The element should now be able to be safely removed from your dryer.
Step 5 – Connect the new heating element
Now that the old heating element has been disconnected and removed from your dryer, the final step in our guide is to install the new element. Before you install the new element, double-check that you purchased the correct replaced part.
Here’s how to connect the new heating element:
- Carefully take the element out of the box.
- Place the element into the correct position inside your dryer.
- Secure it in place by attaching the screw.
- Attach the wire connectors.
- If your dryer is turned upside down, turn it back upright.
- Attach the heating fuse by connecting it up to the wires and then reattaching the screw you removed earlier.
- Attach both sensors by connecting them up to the wires and reattaching the screws you removed earlier.
- Reattach the heating element housing. If you removed any screws when taking the old element out, reattach them.
- Reattach the back panel onto your dryer, and secure it in place with the screws you removed earlier.
- Place your dryer back into position, and switch the power back on.
- Test if your dryer is working again. If not, you will need to get a technician to come and inspect the cause of it not working. If the dryer is working, congratulations, you’ve successfully replaced the heating element!

How to Reset a Whirlpool Refrigerator Ice Maker

6 Reasons Your LG Refrigerator Is Not Making Ice

Kenmore Fridge Ice Maker Not Working? 5 Ways to Fix It

How to Remove Fish Smell from Your Refrigerator

How To Fix Bosch Dishwasher E24 Error

Troubleshooting a Whirlpool Dishwasher Not Draining

Why Is Your Fridge Water Not Working, but Ice Is?

How to Fix the E15 Bosch Dishwasher Error Code

How Much Power Does a Microwave Use?

How to Properly Clean Refrigerator Coils

How to Fix an LG Washer Showing OE Error Code

Troubleshooting a GE Dishwasher with No Power and No Lights

10 Reasons Why Your Bosch Dishwasher Won’t Start

Troubleshooting the F5 Error Code with a Maytag Washer


