

August 10, 2020
Microwave Repair
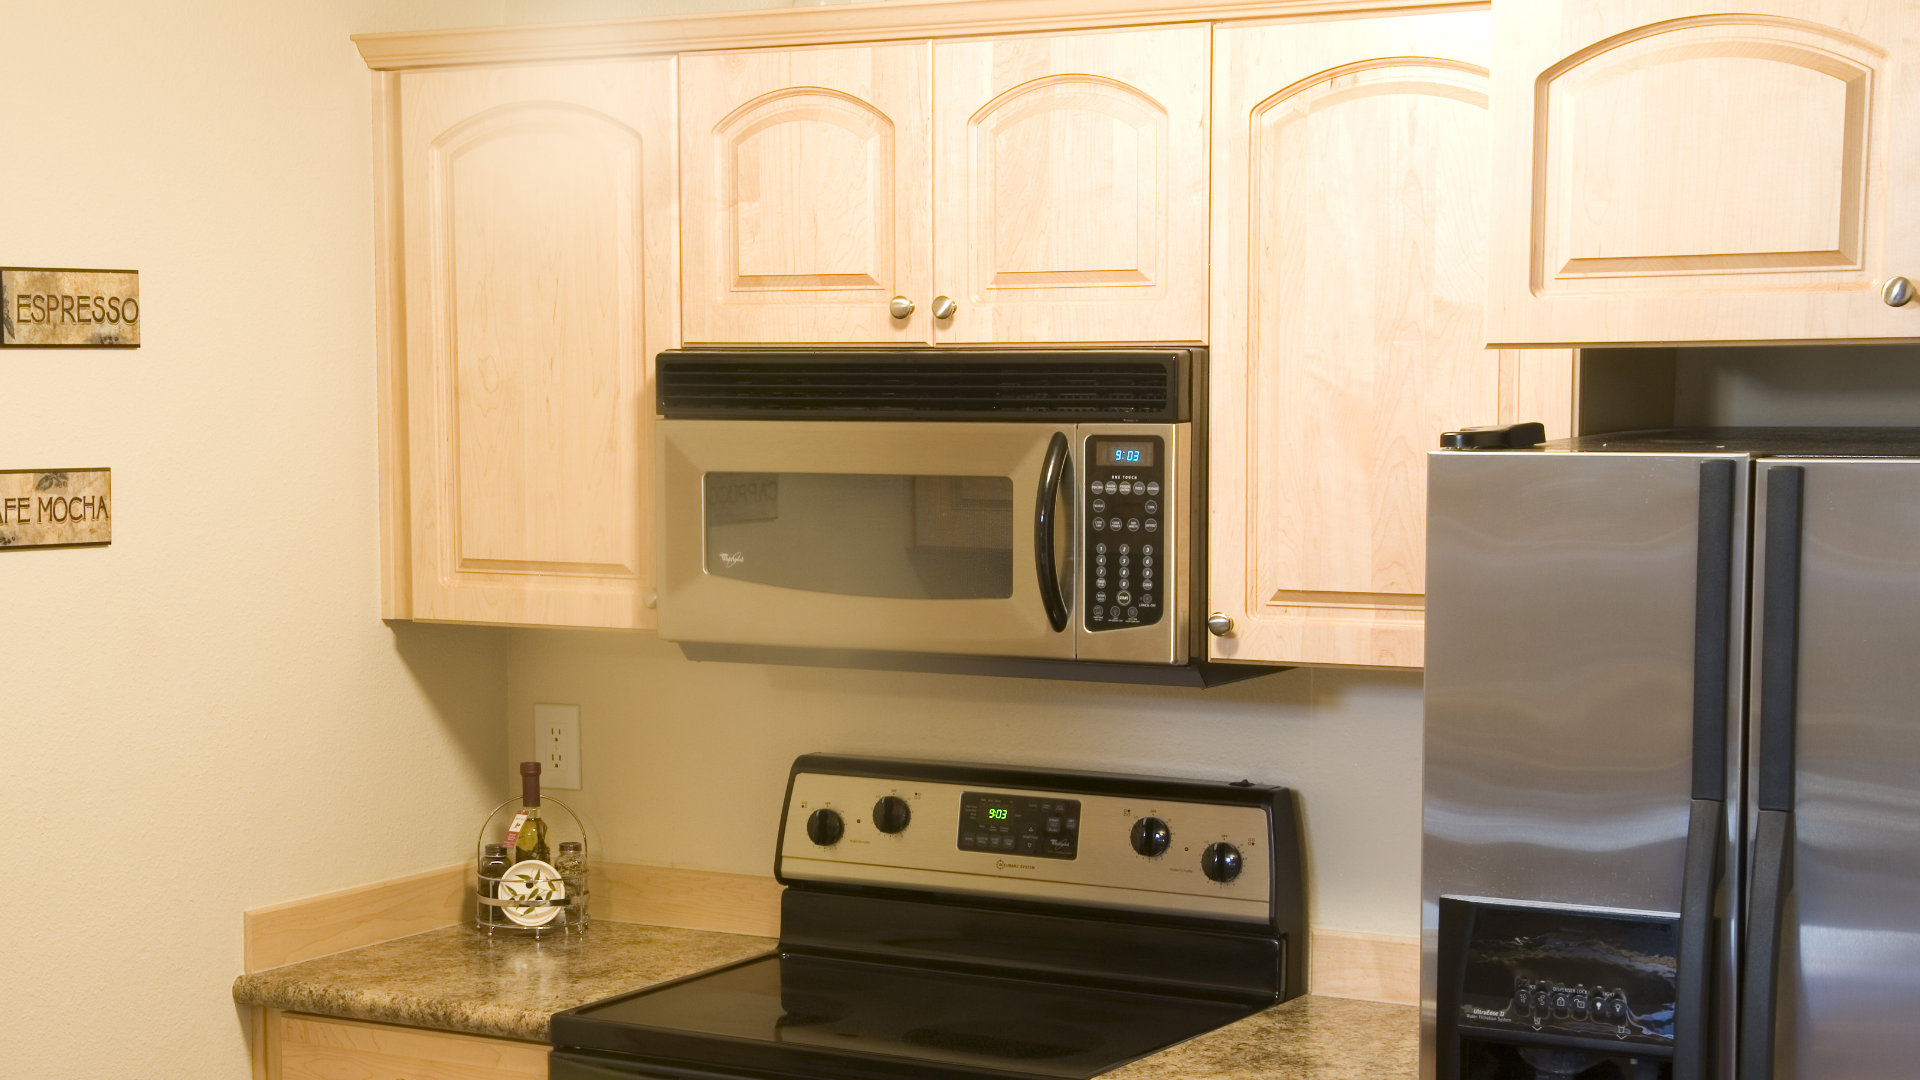
Microwaves have become a central part of modern kitchen designs. No longer considered a luxury or a shortcut, microwaves make cooking faster even if you’re dedicated to the delicacy of stove-top and oven cooking. Microwaves melt butter, boil water, and they’re absolutely essential for enjoying leftovers on the fly. This has become so normal that microwaves have been installed in high-tech kitchen designs for decades, now. The above-the-stove microwave is a convenient way to free up counter space and double as the oven fan vent. However, if that microwave stops working or needs a serious back-panel repair, then it will be necessary to remove the over-the-range unit from its cabinetry before you can continue.
Today, we’re here to explain how to take down an over-the-range microwave. Though there are many mounting, bracket, and microwave designs, these steps should cover the essentials and give you the tools you need to complete your task safely.
Gather Your Tools
- Screwdriver
- Work Gloves
- Towel
- A Friend
- A Step-Ladder
Start your process by gathering the tools you need. Have them ready so they will be available at the correct moment and you won’t have to go hunting for them. For this process, you will need a screwdriver, most likely Phillips (cross) head of an average size. You will also need a towel to set the microwave and other components down safely when the appliance comes down.
It can help to wear work gloves that will protect your hands from sharp edges and give you a better grip. You may also want a friend to help you safely support and then lower the microwave when the time comes. Because some of these brackets are up high, consider a step ladder as well.
Lights On, Power Off
You will need to disconnect power to the microwave, to be safe and for the uninstallation. You will also need good light to finish the task.
Unplug the Microwave
If you can open a cabinet and unplug the microwave, do this now. You can continue working with the overhead kitchen light or grab a flashlight for angled light if this will help you.
OR Switch Off the Kitchen Breaker
If you can’t yet reach the microwave’s power plug because it’s hidden behind the installation, you’ll need to cut the power another way. Switch off the kitchen’s breaker instead. Of course, this will leave you without light.
Set Up a Battery-Powered Light Source
If you flipped the breaker, grab yourself an alternate light source like a flashlight or a battery-powered lamp.
Uninstall the Microwave Vent
Over-the-range microwaves come with an extra part, a vent assembly that pulls cooking fumes up and then out of the house. This assembly is at the bottom of your suspended microwave and will need to be removed before the microwave can be removed from the cabinet.
Remove the Lower Screws
Identify the screws on the underside of the microwave assembly and extract them with your screwdriver. Look for screws both on the bottom and sides of the lower vent assembly to remove. Set them all aside somewhere they can be found.
Pull Out the Air Filter
Remove the air filter and set it aside for cleaning. Most microwave vent filters are metal and can be cleaned with normal hot water and dish soap.
Remove the Microwave Vent Assembly
Now take off the rest of the microwave vent assembly. It may simply fit off with a bit of pulling or there may be a few additional tabs and mounting screws to remove. Get it off completely and set it aside on a towel.
Remove the Cabinet Brackets
The brackets mounting your microwave to the upper cabinetry are usually hidden so that the microwave looks nice. To access them, you will likely need to get inside the adjacent cabinets. This may also require a step-ladder.
Open the Cabinets
Open up all the cabinets nearest your microwave, above and to the sides.
Identify & Remove the Mounting Screws
Look inside the cabinets, toward the microwave. You will likely see several brackets surrounding the microwave with large screws holding the appliance in place. Very carefully start to remove them.
Catch Your Microwave
Now is when you position your friend to provide additional support underneath the microwave while you slowly remove the screws currently supporting it’s position. If you must work as a solo repair technician, use your knee or one hand to support the microwave while carefully removing the screws one at a time.
Remove the Final Screws
With the microwave supported, ideally by a friend, remove the last screws holding the microwave in place.
Extract Your Microwave
Lower or Pull the Microwave from Its Cabinet
With your microwave now completely loose, it will either fall forward in a rack or it will be completely subject to gravity. Carefully pull it free of any racks or support beams and lower it to the counter.
Set the Microwave Down on a Towel
Have a towel ready to receive the microwave when you set it down. This will keep your counter safe from any lower mounting brackets from the vent or a hard-hitting corner.
Clean the Now-Empty Compartment
With your microwave removed, your process is almost done. We strongly advise that you take a moment to clean the area that your microwave once occupied. There’s bound to be a thin layer of cooking grease and grime in the space, and perhaps a bit of dust. Now is the perfect time to clear that space before you renovate or install a new microwave.
Consider Your Next Microwave
Finally, consider what to do replacing the microwave. You will either be reinstalling your current microwave after a repair or purchasing a new one. Do you want another over-the-range microwave or a counter-top model? If you choose a new over-the-range, what improvements would you make? These are important choices, as your microwave is an essential part of the modern kitchen workflow. For more helpful appliance repair guides or to consult on your home appliance repair needs, contact us today!

Apr. 09, 2024
How to Reset a Whirlpool Refrigerator Ice Maker

Apr. 09, 2024
6 Reasons Your LG Refrigerator Is Not Making Ice

Apr. 09, 2024
Kenmore Fridge Ice Maker Not Working? 5 Ways to Fix It

Mar. 06, 2024
How to Remove Fish Smell from Your Refrigerator

Mar. 06, 2024
How To Fix Bosch Dishwasher E24 Error

Mar. 06, 2024
Troubleshooting a Whirlpool Dishwasher Not Draining

Feb. 05, 2024
Why Is Your Fridge Water Not Working, but Ice Is?

Feb. 05, 2024
How to Fix the E15 Bosch Dishwasher Error Code

Feb. 05, 2024
How Much Power Does a Microwave Use?

Jan. 03, 2024
How to Properly Clean Refrigerator Coils

Jan. 03, 2024
How to Fix an LG Washer Showing OE Error Code

Jan. 03, 2024
Troubleshooting a GE Dishwasher with No Power and No Lights

Dec. 11, 2023
10 Reasons Why Your Bosch Dishwasher Won’t Start

Dec. 11, 2023
Troubleshooting the F5 Error Code with a Maytag Washer

Dec. 11, 2023
How To Fix a Kenmore Dryer That Isn’t Heating
(937) 252-3200Text or ring! ring!