

January 6, 2020
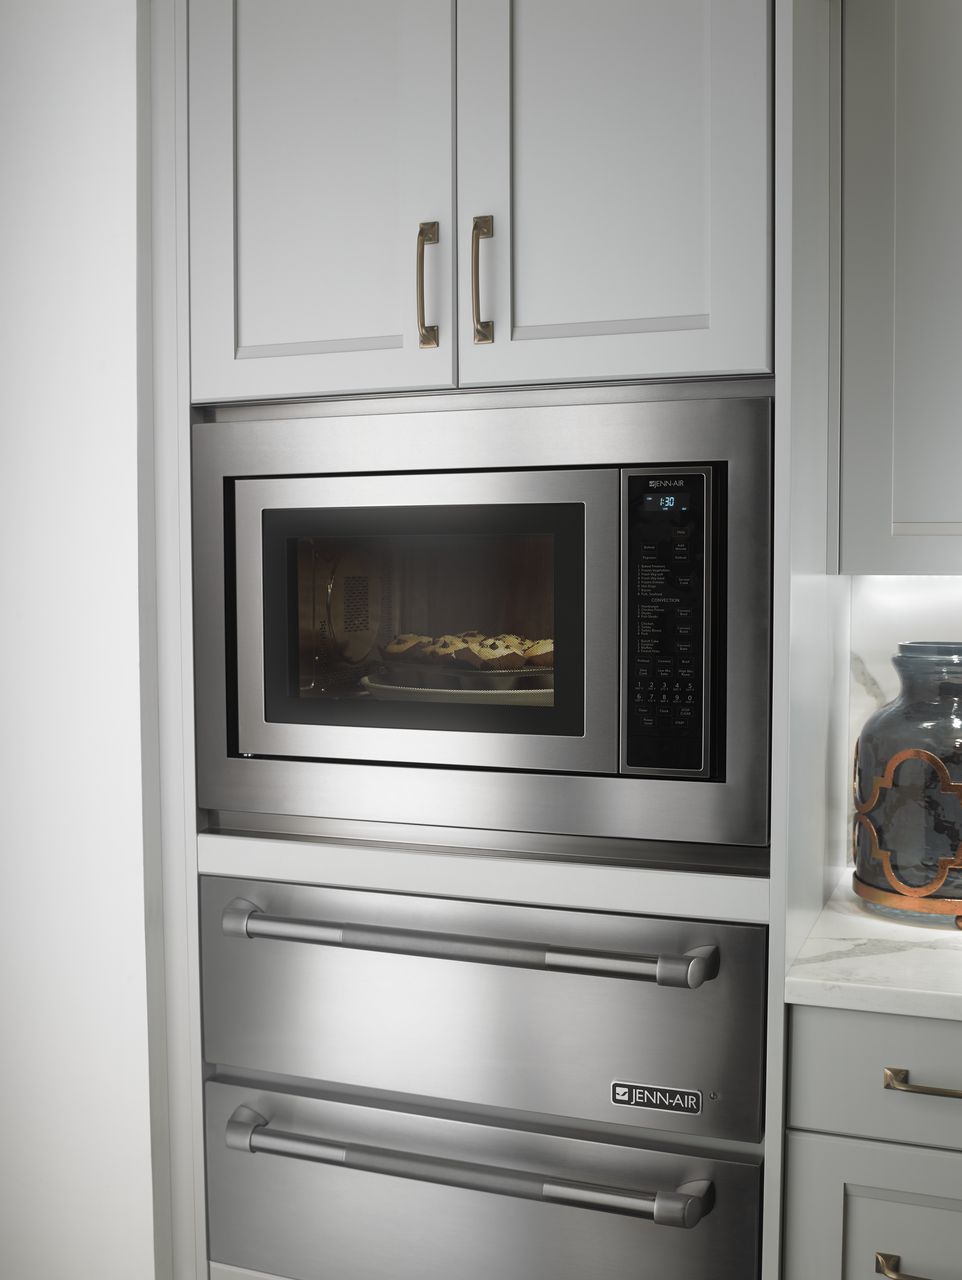
Microwave Repair
So your microwave isn’t heating and you’ve done some research. You’re pretty sure it’s not the door latch, so it’s got to be the diode, the magnetron, or something in between. You’ve decided that this is a repair you’re willing to tackle. However, replacing any part of the microwave heating apparatus comes with a uniquely dangerous task that you absolutely must do first: discharging the microwave capacitor.
The Quick Answer
If you came for a quick and simple explanation, here’s the basic principle:
You will need to insulate yourself against electrocution. Then touch the positive and negative terminals of the capacitor with the same metal object. In some terminals, a long screwdriver with a rubber handle will do. In others, you may need needle nose pliers with rubber handles. You may or may not see a spark.
Why Discharging the Capacitor is Necessary
Your microwave oven is a surprisingly dangerous device, and not because of the microwaves themselves. You probably already know that a microwave takes a lot of electricity to run and can even flip your breakers if set on a weak circuit with other high-demand appliances like the vacuum running at the same time.
However, what you may not know is that your microwave has a part called the high-voltage capacitor which actually holds onto dangerous amounts of electricity even after the microwave has been unplugged. This is extremely dangerous as it can electrocute someone immediately after being unplugged and can still deliver a nasty shock even days after the microwave has been sitting unplugged. The capacitor is great for ensuring your food gets hot enough when your microwave is working. But when it’s internal repair time, the capacitor is your biggest safety hazard.
Fortunately, you can discharge the capacitor fairly easily if you take all the correct safety precautions first.
Safety Warning
Do not take on this task or any repair that requires discharging the capacitor unless you are very confident and know how to protect yourself from electrocution. We’ll walk you through the process step-by-step but we don’t want anyone to get hurt. Usually, it’s recommended that only skilled professional repair-persons undertake a capacitor discharge and repairs that require such.
Gather Your Supplies
The tools and supplies you’ll need for this repair are simple. Because we’re not actually performing a replacement with this step, you don’t need a named replacement part. Just enough to take apart your microwave and very safely release electricity from the capacitor. Here’s what you’ll need:
- Screwdriver, both types,
- with rubberized handles
- Torque Screwdriver
- Rubberized work gloves or rubber cleaning gloves
- Needle Nose Pliers
- with rubberized handles
Take Safety Precautions
Wear rubber gloves or rubberized work gloves. This is absolutely necessary once you have the case off the microwave to make sure you are at no risk of being electrocuted.
Disassemble the Microwave
These instructions are generalized, though microwave designs may vary. Follow along and if your microwave is different, refer to the user’s manual on disassembly. We will be fully removing the microwave cabinet/case
– Unplug the Microwave
If you haven’t already yet, make sure your microwave is not plugged into the wall and has no external power source.
– Remove the Plate and Glide Roller
Start by removing the spinning place and gliding roller. These will only rattle around and risk breaking as you disassemble the microwave.
– Remove the Top Grill Behind the Door
If your microwave has a top grill behind the door, there will be screws along the top. Unscrew these screws and then open the microwave door. Slide the grill to the left and lift to remove it. This will leave an exposed slit behind the microwave door when the door is closed. Close the microwave door.
– Remove the Bottom Panel
Close the microwave door and flip the microwave on it’s back so you can remove the bottom panel. Remove all of the mounting screws around the bottom pane. Then set the bottom panel aside out of your way.
– Unwrap the Microwave Case from the Body
You will now need to remove most of the screws along the outside of the microwave holding the cabinet or case in place. When the case feels loose, you should be able to lift and pull it away. Be careful not to catch anything like the cord or pieces that remain part of the microwave body. Now is when you put on your work gloves. Both because the inside of the panel can be sharp and because you have just exposed the electric interior.
Locate the Capacitor and Terminals
The capacitor is not always located in the same place for each microwave. Locate it by looking up the guide for your make and model of the microwave or look for the piece that clearly has two terminals. It will have a red wire and a white wire leading into two screw bolts connected to an elongated metal container inside a metal housing. If you’re not sure, refer to your manual to accurately locate the capacitor. Remember, this is dangerous so do not simply start poking around. There are several models of the capacitor, we’ll try to guide you through using a basic description of how capacitors are made.
Discharge the Capacitor
– Choose Your Tool
Looking at your capacitor, decide which tool you will need to discharge it. If the terminal screws are exposed, you can simply lay a flat-tipped and well-insulated screwdriver along both of them at once. This may result in a spark. Alternately, if the terminal screws are recessed behind plastic tubing you will need the needle-nose pliers.
– Ensure Safety
Check to make sure your gloves are on securely and that the tool you have chosen has rubberized handles.
– Touch Both Terminals With the Same Metal Tool
If you chose the screwdriver, lay the screwdriver tip or body so that the metal connects both terminals. If you are using needle nose pliers, carefully separate the nose and poke one half of the pier’s nose into each terminal. Be sure you touch both terminals so that electricity can flow between them through an intermediary metal object.
– Wait 2-5 Seconds
Give it up to 5 seconds before removing your tool. You may have seen a big spark or heart a small fizzle. Either way, you have just saved yourself from the risk of a very nasty shock.
Continue With Your Replace or Repair
Finally, you’re ready to continue with whatever repair task led you to this point. Now you can be confident that your high-voltage capacitor won’t discharge into your hand or elbow while you get down to your intended repairs.

Apr. 09, 2024
How to Reset a Whirlpool Refrigerator Ice Maker

Apr. 09, 2024
6 Reasons Your LG Refrigerator Is Not Making Ice

Apr. 09, 2024
Kenmore Fridge Ice Maker Not Working? 5 Ways to Fix It

Mar. 06, 2024
How to Remove Fish Smell from Your Refrigerator

Mar. 06, 2024
How To Fix Bosch Dishwasher E24 Error

Mar. 06, 2024
Troubleshooting a Whirlpool Dishwasher Not Draining

Feb. 05, 2024
Why Is Your Fridge Water Not Working, but Ice Is?

Feb. 05, 2024
How to Fix the E15 Bosch Dishwasher Error Code

Feb. 05, 2024
How Much Power Does a Microwave Use?

Jan. 03, 2024
How to Properly Clean Refrigerator Coils

Jan. 03, 2024
How to Fix an LG Washer Showing OE Error Code

Jan. 03, 2024
Troubleshooting a GE Dishwasher with No Power and No Lights

Dec. 11, 2023
10 Reasons Why Your Bosch Dishwasher Won’t Start

Dec. 11, 2023
Troubleshooting the F5 Error Code with a Maytag Washer

Dec. 11, 2023
How To Fix a Kenmore Dryer That Isn’t Heating
(937) 252-3200Text or ring! ring!