

December 9, 2019
Oven Repair
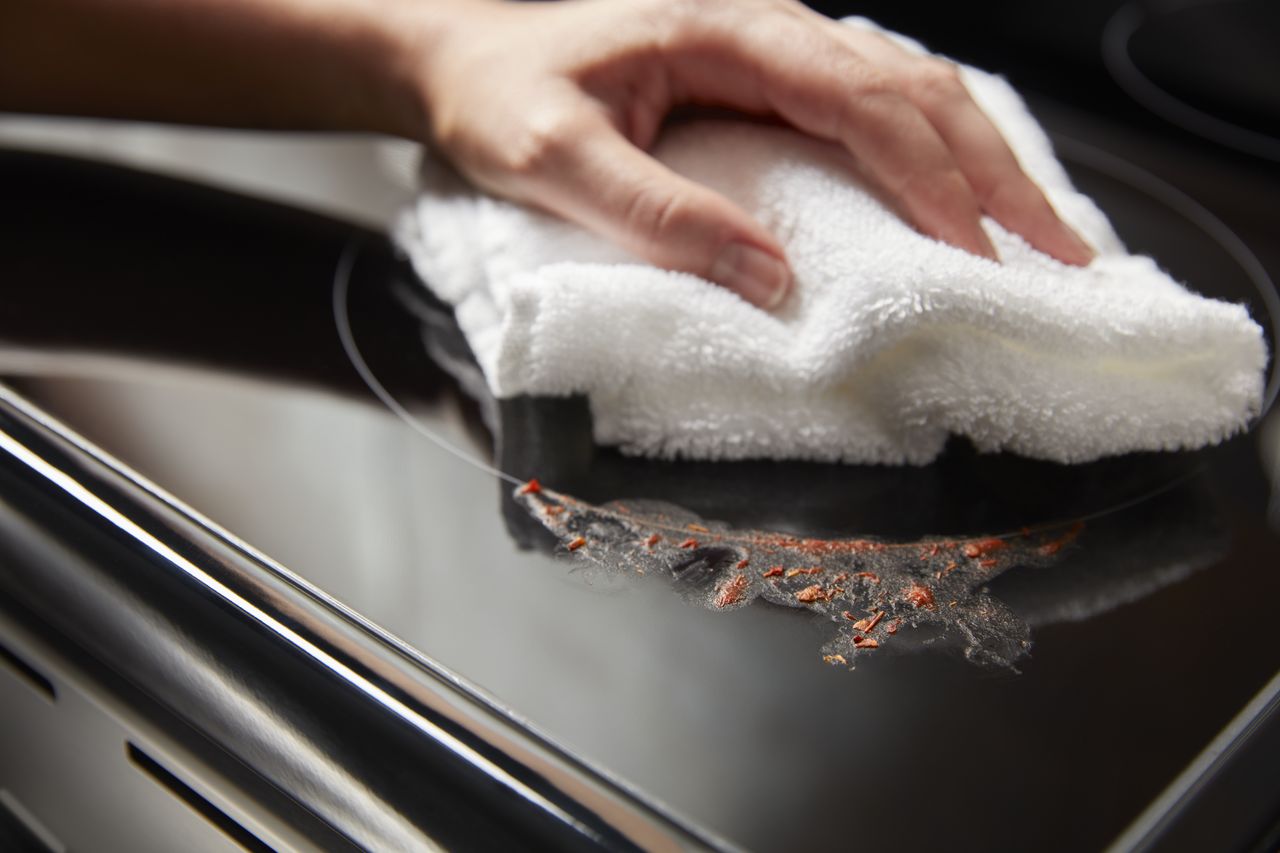
Glasstop stoves are beautiful. They are smooth and convenient. Transitioning from burner to stove surface is easy and that shiny surface makes your kitchen looks pristine. But over time, the glass can become damaged. Glass tops don’t stay pristine forever and eventually, you will want to replace it. This repair involves electric components, but the glasstop itself is not electric. It’s a conductive cover for the burners mounted beneath. Not everyone realizes this. Replacing your glasstop is actually surprisingly easy.
The following instructions are generalized and can vary by model and brand. These instructions do not apply to induction style cooktops.
Supplies
The first thing you need to complete this replacement is the right supplies. Having your supplies together before you start ensures that you can complete the entire repair from start to finish. Be very careful in selecting your new glass stovetop to fit your current stove.
- Screwdrivers, both types
- Work Gloves
- Sturdy Prop, ex: a 2×4
Safety Precautions
The next step to take is to take care of safety. As we mentioned, the glass cooktop is not itself electric, but you will be interacting with the burners that are electric. So it will be necessary to take safety precautions to prevent shock, and from cutting yourself on the internal panels of the oven.
– Unplug the Stove
Start by unplugging the stove in order to cut the power. If you can’t reach the plug, flip the breaker instead. You don’t need to pull the stove out for this repair.
– Wear Work Gloves
The inside of any appliance is likely to have sharp edges. The inner panels and the sides of the outer panels can be sharp because they are not sanded for consumer use. Wear work gloves to protect your hands.
Unfasten the Cooktop
– Open the Oven Door
To begin removing the glass cooktop, open the oven door. You’ll need to do this to access the underside of the cooktop.
– Remove the Mounting Screws Under the Lip
Look underneath the lip of the cooktop, in the space exposed by the open door. You will see two or more screws holding the cooktop in place. Remove them and set them aside.
Lift the Glasstop
– Pull the Top Forward
Stand and grasp the cooktop from the sides and the back corners. Pull the entire cooktop section forward and feel it slide forward ontop of the rest of the stove frame. It will feel like it is unlocking.
– Lift and Wiggle
Carefully lift the front edge and wiggle the stovetop until the top tabs come loose from underneath the control console.
– Lift the Top Up Like a Lid
When you feel the top come loose, lift the front as if you were opening a hinged box.
– Prop the Top Open
Grab your prop, a sturdy stick or a 2×4 to hold the cooktop open while you work.
Remove the Burners
– Unfasten the Mounting Bars
You will see two rows of burners (or more) fastened with bar-like brackets along the underside of the glasstop. The burners are connected to the rest of the stove by wires. Unfasten the mounting bars and brackets using your screwdriver.
– Carefully Set Down the Burners
With each mounting bar you unfasten, carefully lower the attached burners onto the top of the oven, just below the cooktop. Lay down a towel if necessary.
Remove the Glasstop
– Lift the Glasstop Away From the Stove
Now you’re ready to fully remove the old glass stovetop which is completely loose from the rest of the structure. Start by removing the prop. Then lift the glasstop away by lifting and backing up at the same time. Be very careful, as the part can be heavy.
– Set the Glasstop on a Towel
When you pull the glass cooktop free, set it down on a towel you have laid out on a table or on the floor. You’re not quite done with it.
– Remove the Tabs
There are two metal tabs connected to the back of your old glasstop. Use your screwdriver to remove them, as they are a part of the mounting infrastructure for the stove.
Install the New Glasstop
– Install the Tabs on the New Glasstop
Use a pair of pliers to bend the tabs back into a right angle if they are slightly obtuse. Then use the same screws to reattach those tabs to the same spots on the new glasstop you are ready to install.
– Fit the Glasstop Onto the Stove
With the tabs in place, grasp the new glasstop from the front and walk toward your stove. Carefully fit the new glasstop back into the same position that the old glasstop was just in. Don’t fit tightly yet, you still need to attach the burners.
– Prop Up the Glasstop
Lift the front end of your glass stovetop and prop it up with your sturdy stick or piece of wood.
– Fasten the Burners
Pick up your burners one bar-bracket at a time. Carefully lift the burner bar into place and secure it with the same screws that held the burners attached to the old glass top. Attach as many bars of burners as necessary.
Secure the Glasstop
– Fit the Glasstop Over the Top of the Stovetop
Now that the burners are secure, remove your prop and lower the stovetop. As it gets near to level, firmly fit the glass cooktop over the edges of the stove frame. It may take a little bit of time to fit the cooktop over the rest of the stove.
– Slide the Glasstop Back Firmly
Once the cooktop is properly set, it’s time to slide it back. It may take some force so firmly yet carefully shove the new glass cooktop into place, making sure the tabs fit underneath the control console.
– Reattach Fastening Screws Under the Edge
When the cooktop is in place, open the oven door again and return the screws that hold the cooktop in place.
Test Your Success
You are finally ready to take your repair for a trial run. Plug the oven back in and prepare to cook something. If your glass cooktop looks pristine and everything works as planned, then pat yourself on the back for a wonderful job well done. This repair was complex and you achieved it.

Apr. 09, 2024
How to Reset a Whirlpool Refrigerator Ice Maker

Apr. 09, 2024
6 Reasons Your LG Refrigerator Is Not Making Ice

Apr. 09, 2024
Kenmore Fridge Ice Maker Not Working? 5 Ways to Fix It

Mar. 06, 2024
How to Remove Fish Smell from Your Refrigerator

Mar. 06, 2024
How To Fix Bosch Dishwasher E24 Error

Mar. 06, 2024
Troubleshooting a Whirlpool Dishwasher Not Draining

Feb. 05, 2024
Why Is Your Fridge Water Not Working, but Ice Is?

Feb. 05, 2024
How to Fix the E15 Bosch Dishwasher Error Code

Feb. 05, 2024
How Much Power Does a Microwave Use?

Jan. 03, 2024
How to Properly Clean Refrigerator Coils

Jan. 03, 2024
How to Fix an LG Washer Showing OE Error Code

Jan. 03, 2024
Troubleshooting a GE Dishwasher with No Power and No Lights

Dec. 11, 2023
10 Reasons Why Your Bosch Dishwasher Won’t Start

Dec. 11, 2023
Troubleshooting the F5 Error Code with a Maytag Washer

Dec. 11, 2023
How To Fix a Kenmore Dryer That Isn’t Heating
(937) 252-3200Text or ring! ring!