

September 23, 2019
Oven Repair
Oven cooking unevenly? Is the oven not heating enough? Noticed one of your oven heating elements doesn’t turn red anymore? You’re probably right.
When your oven displays these symptoms, there’s a good chance that one of your heating elements has gone. Oven pieces don’t all age at the same rate, especially since each person cooks in a unique way and uses their oven differently. Your Baking Element (bottom) and Broiling Element (top) are both needed to evenly heat your oven. But different settings will activate them differently.
If you’ve noticed uneven heating or low heat, and one of the elements is clearly not glowing red like it used to, it’s time to change it out for a new one. Fortunately, This is a mechanical and straight-forward repair, provided your oven is completely cool and disconnected from its power source.
Take Safety Precautions
– Cut the Power
The first step working with any appliance is to cut the power. Unplug your oven if you can reach the outlet or flip the kitchen breaker before starting. This will ensure your safety when working with the electrical elements
– Cold Ovens Only
Because the appliance is an oven, you should also ensure that the oven is cool enough to work with. Use a thermometer or careful testing to confirm that all pieces of the oven are cool before entering. Remember that cooking on the stove can warm the top of the oven, even if you haven’t been baking.
Supply List
Once the oven is ready to work with, gather your supplies. For this repair, you’ll want a handful of tools ready in case you need them along the way. Not all ovens are the same and old parts sometimes need tool-assistance to work with.
You should already have the correct replacement element for your make and model of oven. Online manuals and brand Help sections can be useful for finding this information. Many oven brands share model designs with other similar brands.
- Work Gloves
- Screwdriver (Flat / Philips / Nut)
- Needle-Nose Pliers
- Non-Contact Voltage Tester
- Old Towels
- Replacement Oven Element
Detach the Element from the Mounting Plate
– Remove Oven Racks
To clear the way, remove all of your oven racks. This is a good time to set them to soak and clean them, but it’s not necessary. Simply set the racks aside on a towel to move forward
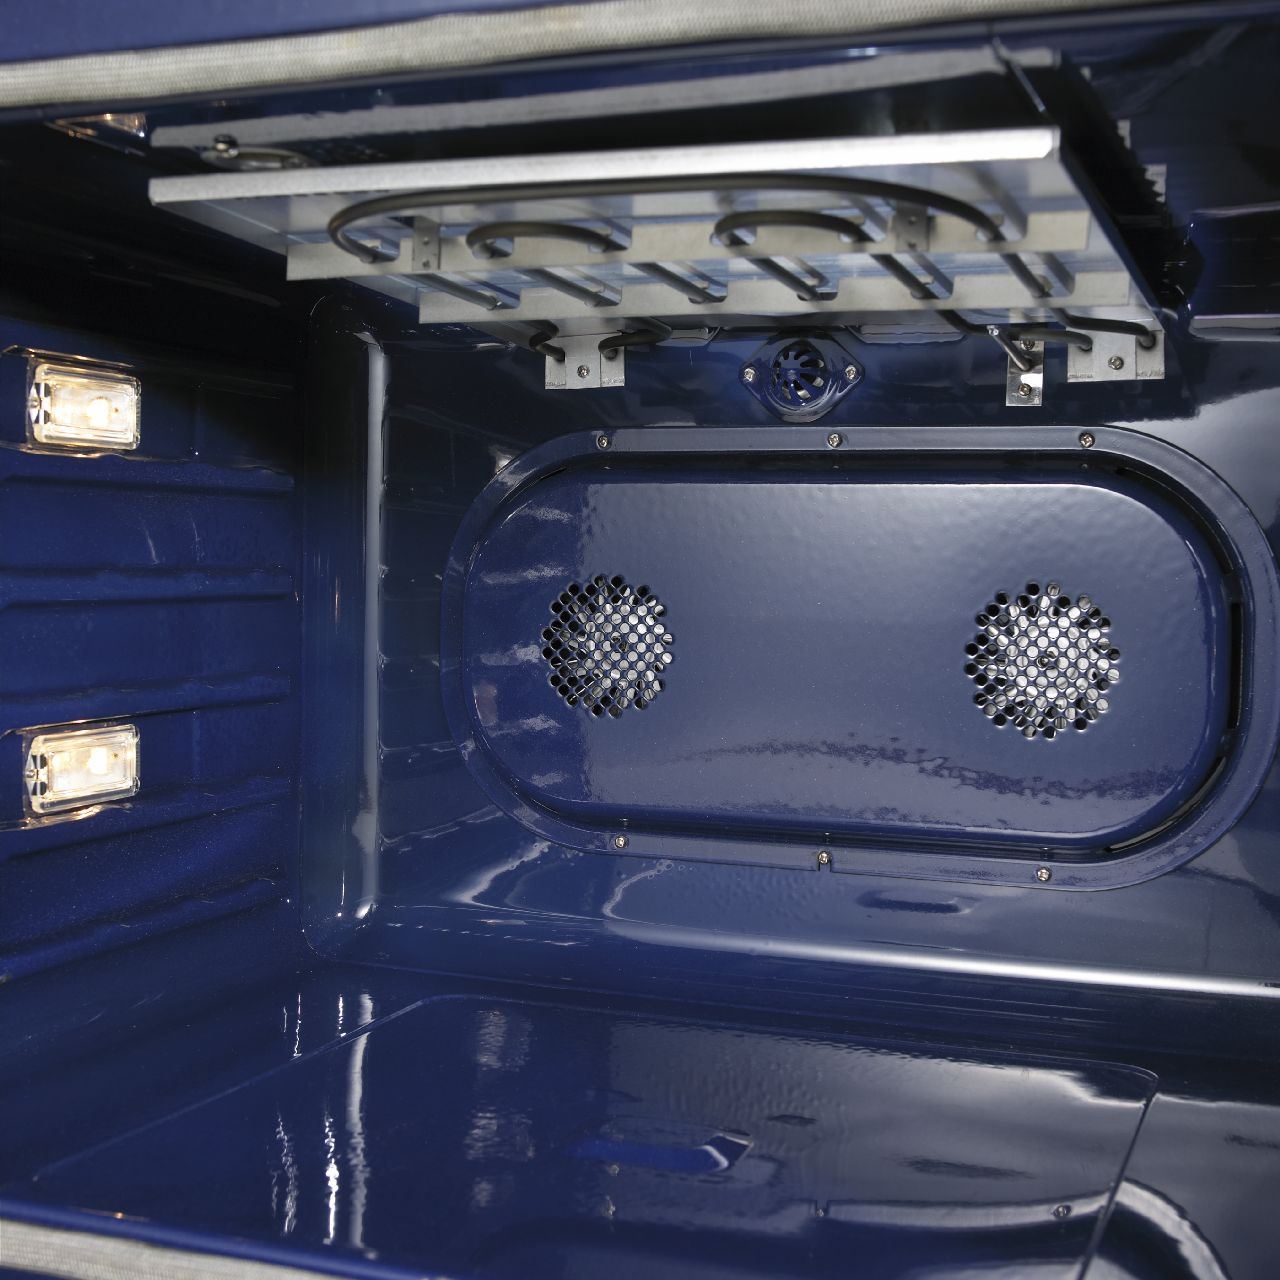
Identify Your Heating Element
There are two heating elements in your oven, one of the top and one on the bottom. Identify your target and trace the element to the back of the oven.
– Remove the Mounting Screws
Where the element connects to the oven back wall, there will be mounting screws, possibly securing a mounting plate. These hold the element firmly in place. Remove the screws with your screwdriver and carefully set the screws aside. If there is a plate, set it with the screws.
– Pull Element Away Gently
Hold the element firmly on both sides in your hands and pull it away from the back of the wall. Be as gentle as you can, the goal is not to remove the element yet. The element is still connected by wires on the inside.
– Set Down or Prop Up the Element
Hold the slightly-removed element in place however you can, or ask a friend to help.
Test for Voltage
At this juncture, you want to test for electrical voltage in the oven, just in case. Use your voltage tester to detect if there is electricity running through the wires. If there is, the oven is not safe to work with. Make sure you flipped the right breaker and that the oven is not plugged into an uninterruptible power source (UPS) device.
Do not proceed until the voltage tester reads no current.
Remove the Heating Element
– Pull Wire Connectors Apart
The wires of the elements are connected to the oven wires with small connector clips. Release these and you will be able to remove the heating element. Use needle-nose pliers for greater precision.
– Prevent Wire from Falling Into Housing
Before releasing all the wires, make sure you have a firm hold on the oven wires or clip them. Do not allow them to fall into the oven housing.
– Remove Old Heating Element
When all the wires are released, you can pull the heating element away. It can be thrown away or set aside for reclamation.
Attach and Mount the New Element
– Hold the New Element In Place
The first step of installing the new element is fitting it into place. The connection is the tricky part and you must start with the wires.
– Attach Wire Connectors
With the wires close enough to touch, carefully clip each connector pairing the appropriate wires.
– Affix Mounting Screws
Find your mounting screws and plate, if the new element did not come with a fresh packet. Fit on the plate (if you have a plate) and fasten the screws. Secure them tightly for safe heating. Now your new heating element is fully installed.
Wrapping Up
– Return Oven Racks
When you’re confident about the heating element, put the oven racks back into place. Choose the level for each shelf carefully, considering its distance from the baking and broiling elements.
– Check for Tools
Fully check the oven and surrounding area for dropped screws, tools, hair ties, or whatever else might be in there. When the oven heats up, you don’t want to bake anything unintentionally.
– Power and Test Your Oven
Finally, it’s time to test your handiwork. Close the oven, return the power, and set it to bake. Turn on the oven light or open the door and watch how the elements glow. If you see a full and evenly bright red when your new element triggers, then congratulate yourself on a repair well-done.
—Repairing your own oven element is a fairly straightforward process if you’re confident and have the right tools. The essential points are having the right replacement element, and taking the correct safety precautions. If you’re careful and precise, your oven could be heating evenly the same day you acquire your replacement part. For more repair insights or a professional opinion on your oven, contact us today!

Apr. 09, 2024
How to Reset a Whirlpool Refrigerator Ice Maker

Apr. 09, 2024
6 Reasons Your LG Refrigerator Is Not Making Ice

Apr. 09, 2024
Kenmore Fridge Ice Maker Not Working? 5 Ways to Fix It

Mar. 06, 2024
How to Remove Fish Smell from Your Refrigerator

Mar. 06, 2024
How To Fix Bosch Dishwasher E24 Error

Mar. 06, 2024
Troubleshooting a Whirlpool Dishwasher Not Draining

Feb. 05, 2024
Why Is Your Fridge Water Not Working, but Ice Is?

Feb. 05, 2024
How to Fix the E15 Bosch Dishwasher Error Code

Feb. 05, 2024
How Much Power Does a Microwave Use?

Jan. 03, 2024
How to Properly Clean Refrigerator Coils

Jan. 03, 2024
How to Fix an LG Washer Showing OE Error Code

Jan. 03, 2024
Troubleshooting a GE Dishwasher with No Power and No Lights

Dec. 11, 2023
10 Reasons Why Your Bosch Dishwasher Won’t Start

Dec. 11, 2023
Troubleshooting the F5 Error Code with a Maytag Washer

Dec. 11, 2023
How To Fix a Kenmore Dryer That Isn’t Heating
(937) 252-3200Text or ring! ring!