

April 8, 2019
Oven Repair
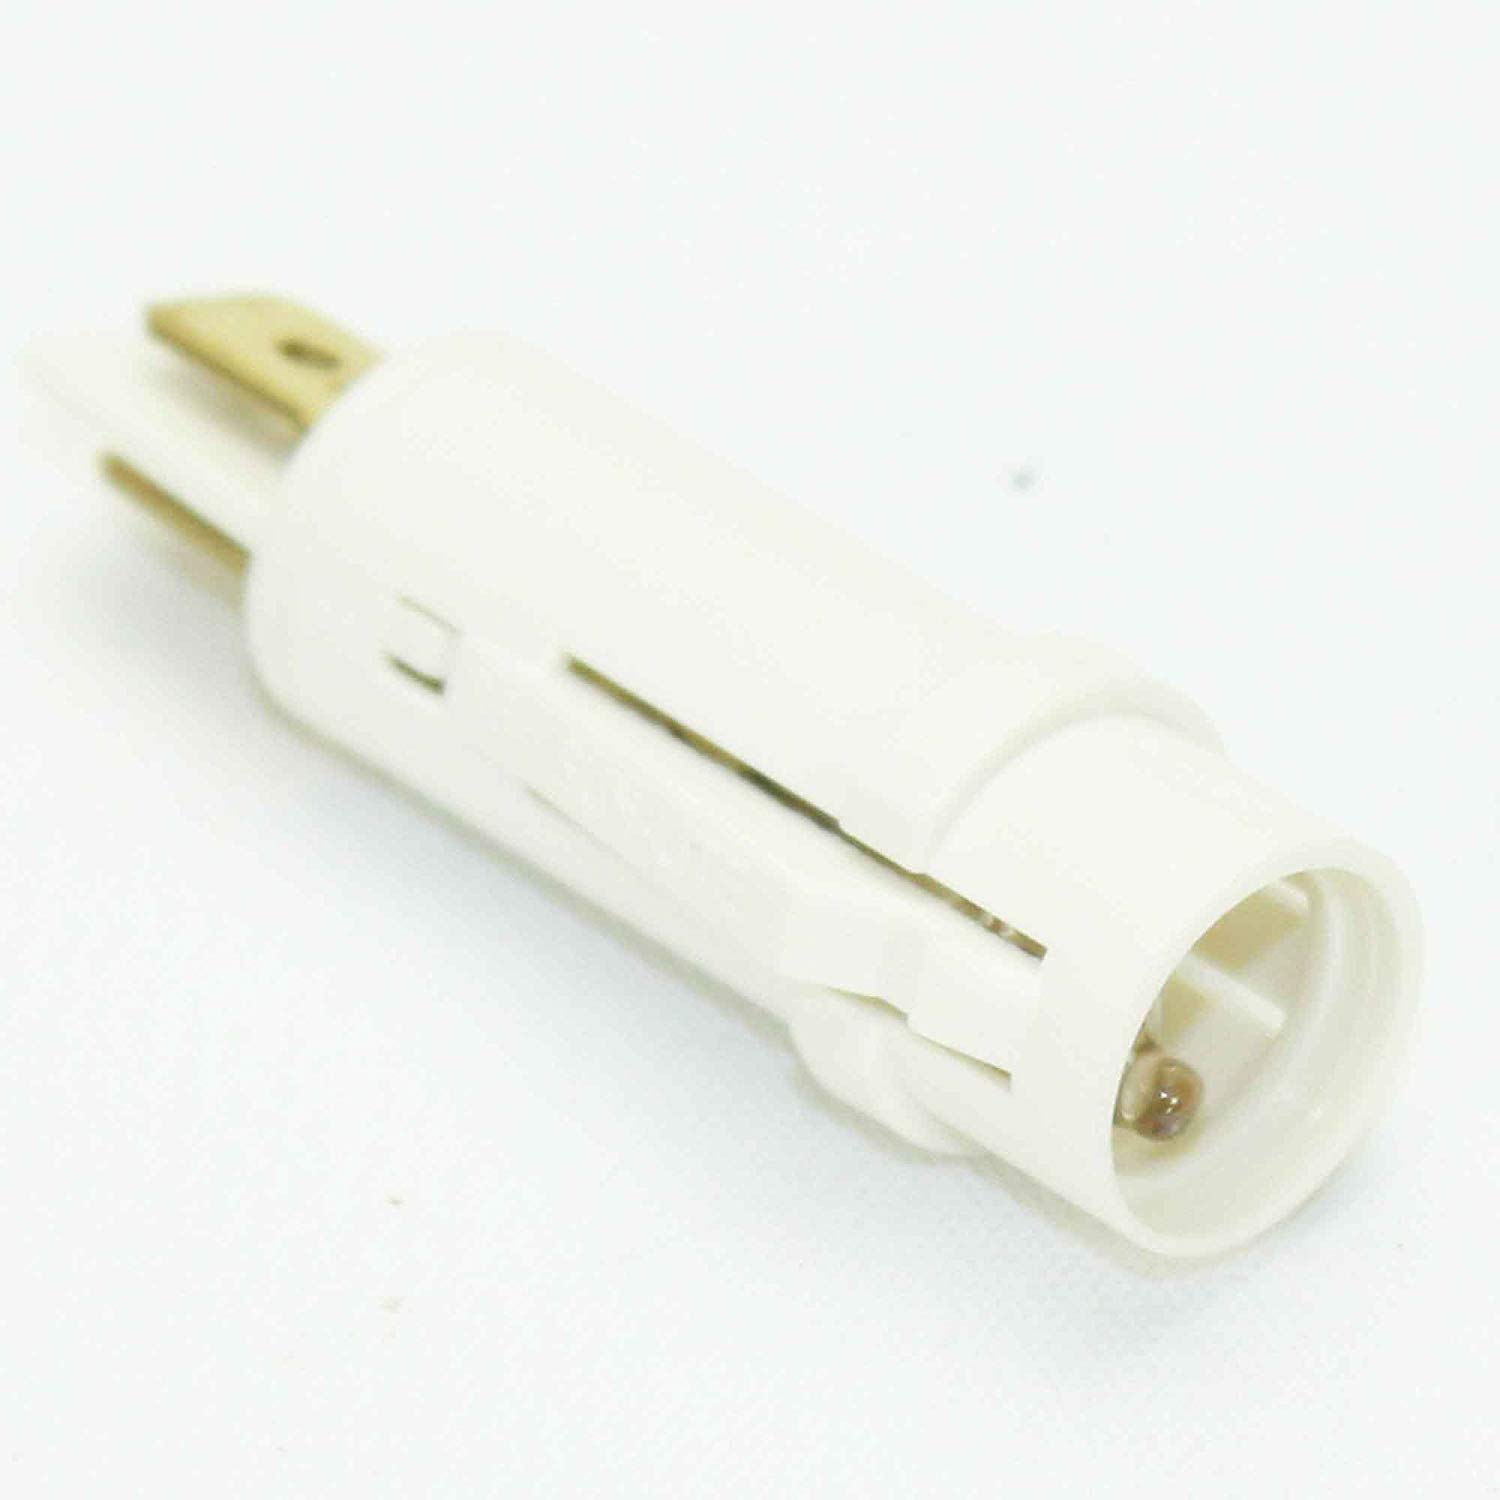
Your cooktop’s indicator light is supposed to let you know when one of the burners is on. But if that red circle doesn’t light up when a burner’s heating up, the indicator light has failed. You can replace it yourself with just a few tools and a new indicator light. Order replacement part #WB25T10012 for most GE electrical cooktop models. Then follow these steps to replace your broken part.
1. Unplug the electric cooktop (or flip the circuit breaker).
Whenever you’re making appliance repairs, make sure you separate the appliance from its source of power before you start. This applies to any repair on any appliance so you stay safe. If the cooktop is wired right into the house, flip the associated circuit breaker.
During this repair, you will be opening the cooktop and disconnecting wires. Unplugging the appliance instead of just turning it off is vitally important.
2. Lift the cooktop free of the countertop.
Most electric cooktops have a lip that rests on the countertop and
Next, run a putty knife under the edge of the glass to break the seal of the foam tape on the countertop. If the tape’s stickiness is weak, reach underneath to simply pop the cooktop free
3. Remove the cooktop’s glass cover.
First, remove knobs from control shafts. They should slide free with a bit of pressure
Next, look underneath the glass for screws that attach the top to the chassis. Remove all of the screws on all four sides of the chassis
4. Disassemble cooktop interior to remove the indicator switch.
Inside the cooktop is five elements and a switch box in the middle
Find the three screws that hold the box’s lip to the bottom of the cooktop. They may be concealed under the insulation layer. Remove them and set them aside. Next, swing the top of the box upside down and lay it where the middle element is typically housed. In the center of the box cover is the indication switch, and it is connected to two red and two yellow wires
Use a flathead screwdriver to pry the red wire bit away from the light. Repeat to remove the yellow wire bit
After that, in order to separate the indicator light from the box cover, you will need to release the two plastic tabs that hook it into place on the other side of the cover. Flip the box over on top of its housing without closing it, and use a flathead screwdriver to depress the two white plastic tabs along the circular edge. If you’re not sure which part it is, it is the solitary white circle with the shaft on one side and six white circles on the opposite side
5. Install the new indicator light.
Line up the light with the center hole. Push it through the metal until the tabs click into place
Next, reattach the wires, with the double yellow bit on the bottom and the double red bit on top. Press the wires firmly into place
6. Reattach the glass top.
First, replace the foam tape that may have been damaged during the disassembly process. To do this, flip over the glass top so you can see the underside. Scrub away any foam type residue. Then precisely cut and measure foam tape to outline the bottom edge of the glass top
Once all four edges have new tape, carefully flip it over and align the shafts with the grommets. Carefully lower it straight down so the shafts slide through the grommets
You may need to replace the clear double-sided tape that runs along the lip on the four sides of the chassis. So before you put the glass top on the chassis, inspect the tape for signs of wear, damage, or lack of stickiness. If you need to replace the tape, measure and cut new strips for all four sides
Lift up the cooktop one side at a time to remove the slabs and lower it into the cutout in the counter. Make any readjustments to the cooktop’s position it needs to be straight and firmly in the cutout. After that, go under the counter. Bend the brackets you straightened earlier at a sharp angle so they press against the underside of the counter. Retighten the screws in each bracket
Then flip the circuit breaker or plug the cooktop back in. If you want to test the new part and be sure it’s in working order, turn on each of the elements and check to make sure the new indicator light turns on with each element

Apr. 09, 2024
How to Reset a Whirlpool Refrigerator Ice Maker

Apr. 09, 2024
6 Reasons Your LG Refrigerator Is Not Making Ice

Apr. 09, 2024
Kenmore Fridge Ice Maker Not Working? 5 Ways to Fix It

Mar. 06, 2024
How to Remove Fish Smell from Your Refrigerator

Mar. 06, 2024
How To Fix Bosch Dishwasher E24 Error

Mar. 06, 2024
Troubleshooting a Whirlpool Dishwasher Not Draining

Feb. 05, 2024
Why Is Your Fridge Water Not Working, but Ice Is?

Feb. 05, 2024
How to Fix the E15 Bosch Dishwasher Error Code

Feb. 05, 2024
How Much Power Does a Microwave Use?

Jan. 03, 2024
How to Properly Clean Refrigerator Coils

Jan. 03, 2024
How to Fix an LG Washer Showing OE Error Code

Jan. 03, 2024
Troubleshooting a GE Dishwasher with No Power and No Lights

Dec. 11, 2023
10 Reasons Why Your Bosch Dishwasher Won’t Start

Dec. 11, 2023
Troubleshooting the F5 Error Code with a Maytag Washer

Dec. 11, 2023
How To Fix a Kenmore Dryer That Isn’t Heating
(937) 252-3200Text or ring! ring!