

October 3, 2022
Refrigerator Repair
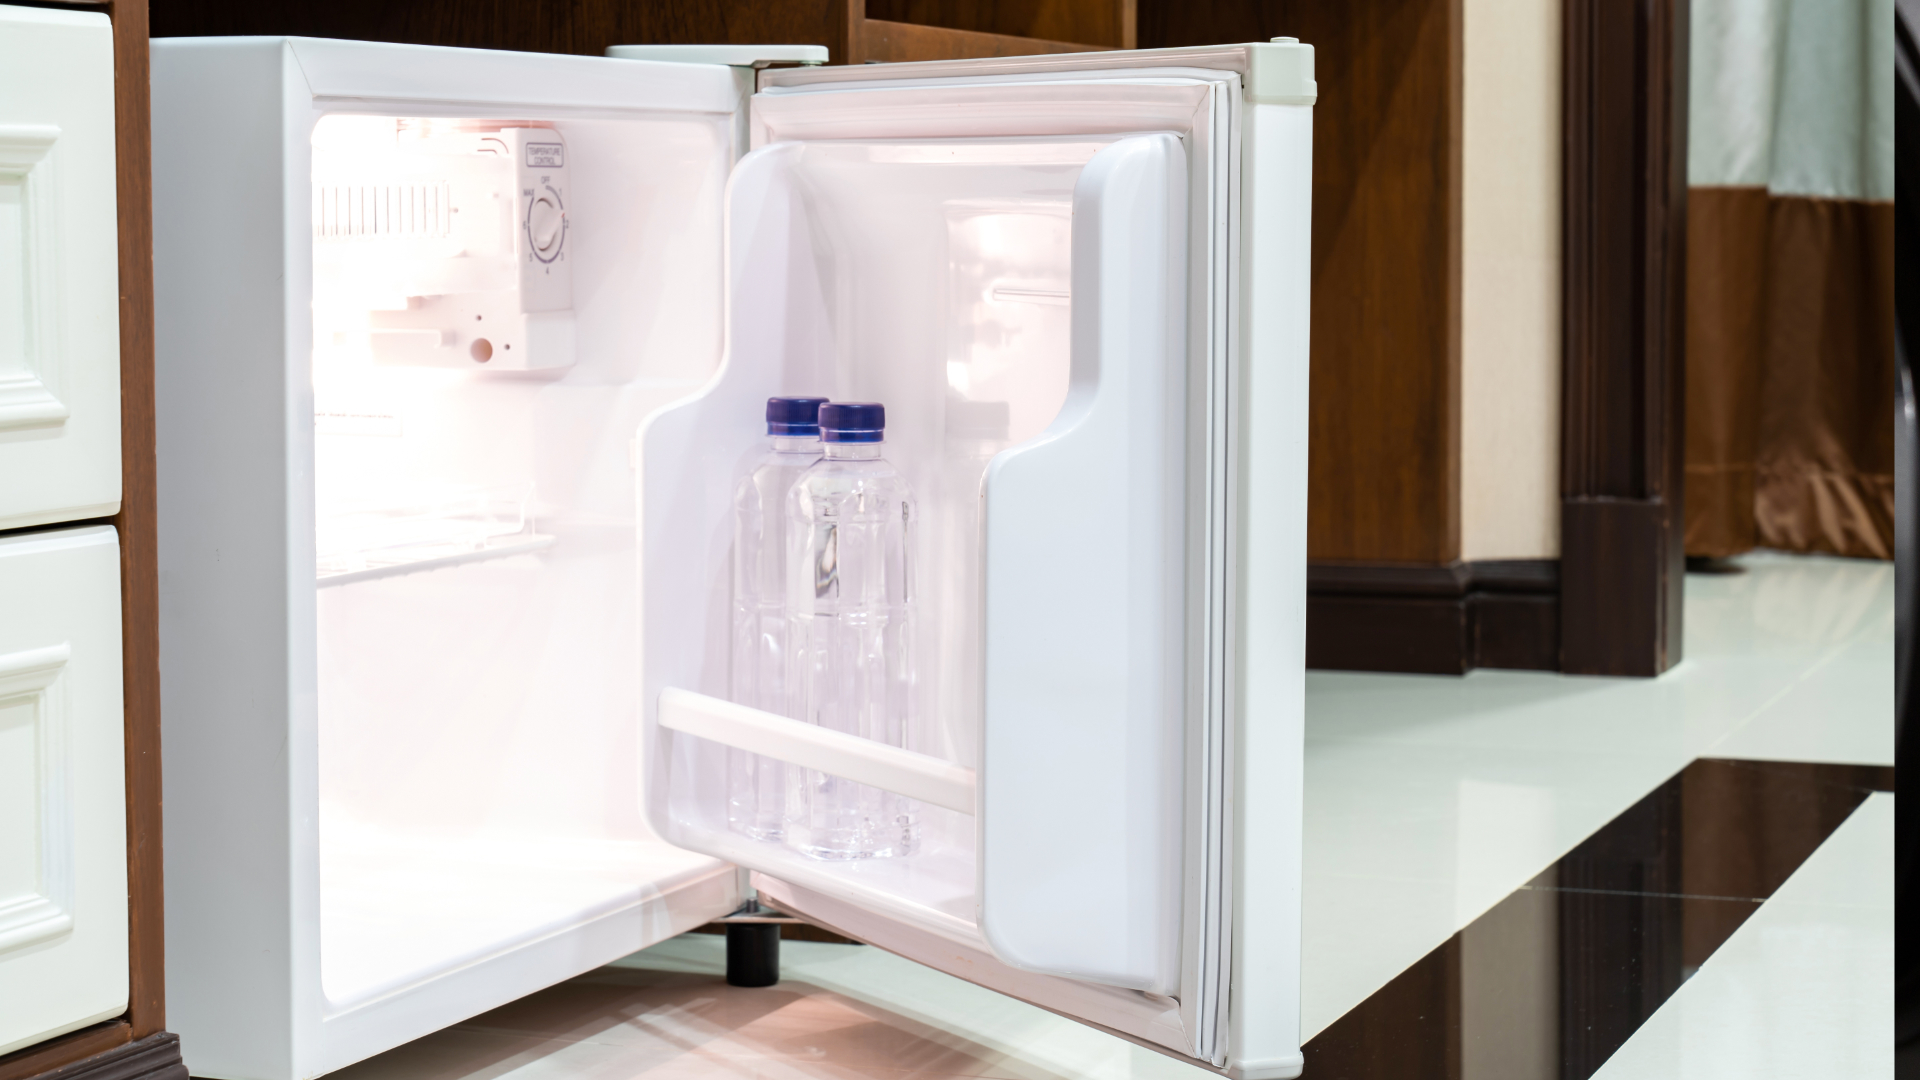
If your mini fridge is not working properly, this guide is for you.
To help you find the cause of the problem, we are going to discuss the five most common problems that people have with their mini fridges so you can get your appliance working again quickly.
1. The condenser coils are dirty
One of the most common—but also easiest to fix—causes of a mini fridge not working is dirty condenser coils. At the back of your fridge are a set of coils that help keep your appliance cool. When they get covered in dirt or frost they will not be able to function correctly and your fridge will stop working.
Here’s the easiest way to check, and if necessary, clean the condenser coils:
- Start by turning the power off to your mini-fridge.
- Next, pull your fridge out from the wall.
- Remove the cover of the condenser coils if there is one.
- Inspect the coils for signs of dirt or frost.
- If dirty, give them a clean with a clean cloth. If frosted over, leave your fridge turned off to allow them to defrost.
- Once clean and/or defrosted, turn your fridge back on.
- Monitor the temperature in your fridge to make sure it’s now working properly. If your mini fridge still doesn’t work, check the door gasket (see below).
2. The door gasket might be defective
The door on your mini fridge has what is known as a gasket. Sometimes the plastic gasket is referred to as a seal. The point of this component is to ensure your mini fridge door closes properly and cold air cannot get out. When the gasket gets a crack or tear in it, the door will not close properly, and your mini fridge might not stay cool. Thankfully, if your gasket is defective, it can easily be replaced.
Here’s how to check the door gasket, and if necessary, replace it:
- Open your mini fridge door.
- Carefully check the door gasket by inspecting it. Using a torch might be required if you can’t see inside the gasket.
- If you find any cracks or tears, the door gasket will need to be replaced. If it isn’t damaged, you can move on to checking the condenser fan (see below).
- To replace the door gasket, start by removing the old one. This can be done by carefully removing any screws and covers that hold it in place and then carefully removing the gasket from the door.
- Once the old gasket is removed, attach the new door gasket by carefully placing it into position and then secure it in place with the screws you removed earlier.
- Once replaced, check if your mini fridge is not working again correctly. If not, check the condenser fan (see below).
3. The condenser fan is faulty
The next reason to investigate is a faulty condenser fan. The condenser fan helps to keep the condenser coils cool so they can operate correctly. If the fan becomes faulty it will stop your mini fridge from working correctly as it won’t be able to stay at the right temperature.
To check the condenser fan, and if necessary, replace it you need to:
- Make sure the power is switched off.
- Locate the condenser fan unit and remove the cover from it.
- Once the cover is removed, attempt to manually rotate the fan 360 degrees. If anything is obstructing the fan, remove it and then see if this allows you to rotate the fan correctly.
- Regardless of if anything was obstructing the fan, the next task is to test it with a multimeter to ensure the motor is working correctly.
- To test the fan motor, use a multimeter to check for continuity.
- If the motor has no continuity, replace the fan unit. If the fan has continuity, you can move on to checking the start relay (see below).
- Once the new fan unit has been installed, check if your mini fridge is now working correctly. If the fridge still doesn’t work, check the start relay (see below).
4. The start relay might be faulty
The start relay helps the compressor operate correctly so your mini fridge can cool down to the correct temperature. When it becomes faulty, your mini fridge will stop working properly.
Here’s the easiest way to check, and if necessary, replace the start relay:
- Make sure the power is switched off.
- Locate the start relay and disconnect the wires (consult your user manual if necessary).
- Once disconnected, test the start relay with your multimeter for continuity.
- If the start relay has no continuity, replace it. If the start relay has continuity, you can move on to checking the compressor (see below).
- Once the new start relay has been installed, check if your mini fridge is now working correctly. If the fridge still doesn’t work, check the compressor (see below).
5. The compressor might be faulty
The final reason to investigate if your mini fridge is not working properly is a faulty compressor. The compressor is perhaps the most important component within your fridge as it’s responsible for sending refrigerant through the coils, which cool it down.
Here’s how to test the compressor to ensure it has continuity:
- Make sure the power is switched off.
- Pull your mini fridge out from the wall.
- Locate the compressor and disconnect it.
- Test the compressor by placing the probes on the pins that you’ll be able to find on the side of the compressor.
- If the test shows the compressor has no continuity, it will need to be replaced.
- If the test does show continuity, you can reattach it.
- If the compressor is faulty or you still haven’t found the cause of the problem, you will need to get a qualified technician to come and replace the compressor or inspect your fridge. Replacing a compressor can be a very difficult task so it’s best to get a trained professional to do it for you. Alternatively, you may decide you’re better off buying a new mini fridge.

Apr. 09, 2024
How to Reset a Whirlpool Refrigerator Ice Maker

Apr. 09, 2024
6 Reasons Your LG Refrigerator Is Not Making Ice

Apr. 09, 2024
Kenmore Fridge Ice Maker Not Working? 5 Ways to Fix It

Mar. 06, 2024
How to Remove Fish Smell from Your Refrigerator

Mar. 06, 2024
How To Fix Bosch Dishwasher E24 Error

Mar. 06, 2024
Troubleshooting a Whirlpool Dishwasher Not Draining

Feb. 05, 2024
Why Is Your Fridge Water Not Working, but Ice Is?

Feb. 05, 2024
How to Fix the E15 Bosch Dishwasher Error Code

Feb. 05, 2024
How Much Power Does a Microwave Use?

Jan. 03, 2024
How to Properly Clean Refrigerator Coils

Jan. 03, 2024
How to Fix an LG Washer Showing OE Error Code

Jan. 03, 2024
Troubleshooting a GE Dishwasher with No Power and No Lights

Dec. 11, 2023
10 Reasons Why Your Bosch Dishwasher Won’t Start

Dec. 11, 2023
Troubleshooting the F5 Error Code with a Maytag Washer

Dec. 11, 2023
How To Fix a Kenmore Dryer That Isn’t Heating
(937) 252-3200Text or ring! ring!