

January 9, 2023
Refrigerator Repair
We all know how important it is to keep our freezers clean. After all, we store our food in there! But sometimes life gets busy, and deep cleaning the freezer falls by the wayside. If your freezer needs a good clean, never fear! With these simple tips, you’ll have it looking like new in no time.
Why deep clean the freezer?
Cleaning out your freezer is essential to avoid potential contamination and food-borne illnesses. While freezers keep food frozen, bacteria may still develop and grow in the possible moist conditions present inside the appliance. To ensure that no microorganisms can spread, a thorough deep clean of the interior should be completed regularly.
Additionally, defrosting your freezer helps keep down energy costs, as a build-up of ice or frost can significantly reduce the efficiency of your appliance, leading to a higher bill. So, make sure to set aside time every few months to really get into all the nooks and crannies of your freezer when doing your regular cleaning routine!
1. First, remove everything from the freezer
When removing everything from the freezer, this is a good time to check expiration dates and throw out anything that’s been in there for too long
Deep cleaning is an ideal time to organize and clean out your freezer. Establishing a regular schedule to rotate and remove old items from your freezer can help you avoid expired groceries and make sure you do not have any food that has been in there too long.
The first step to deep cleaning your freezer is to empty it of everything. Once everything is out of the freezer, check expiration dates on all frozen food to ensure they are still safe to eat and discard anything that needs to be thrown away. This will keep your freezer fresh and make it easier to identify what’s inside without digging through piles of unmarked items.
Place everything you are keeping in a cooler or another freezer if you have one.
2. Unplug the freezer and let it thaw for a few hours
Over time, your freezer can build up thick layers of ice and frost that can clog essential vents, block the freezer coils, and reduce available space.
The best way to clear out the ice is to let your freezer thaw. This helps the ice to melt away in the back, allowing warm air to recirculate more easily and get closer to an even temperature. Plus, this will give you a chance to quickly clean up any frost build-up that may have been restricting airflow, especially around the coils.
Put a towel along the bottom and prop the freezer door open. For optimal results, you should leave the appliance unplugged for 3-4 hours or until the ice has melted away completely. You can clear out large chunks of ice as they thaw and place them in the sink or a bucket. Replace the towels as they soak through. After it’s finished thawing, you can begin the real cleaning process.
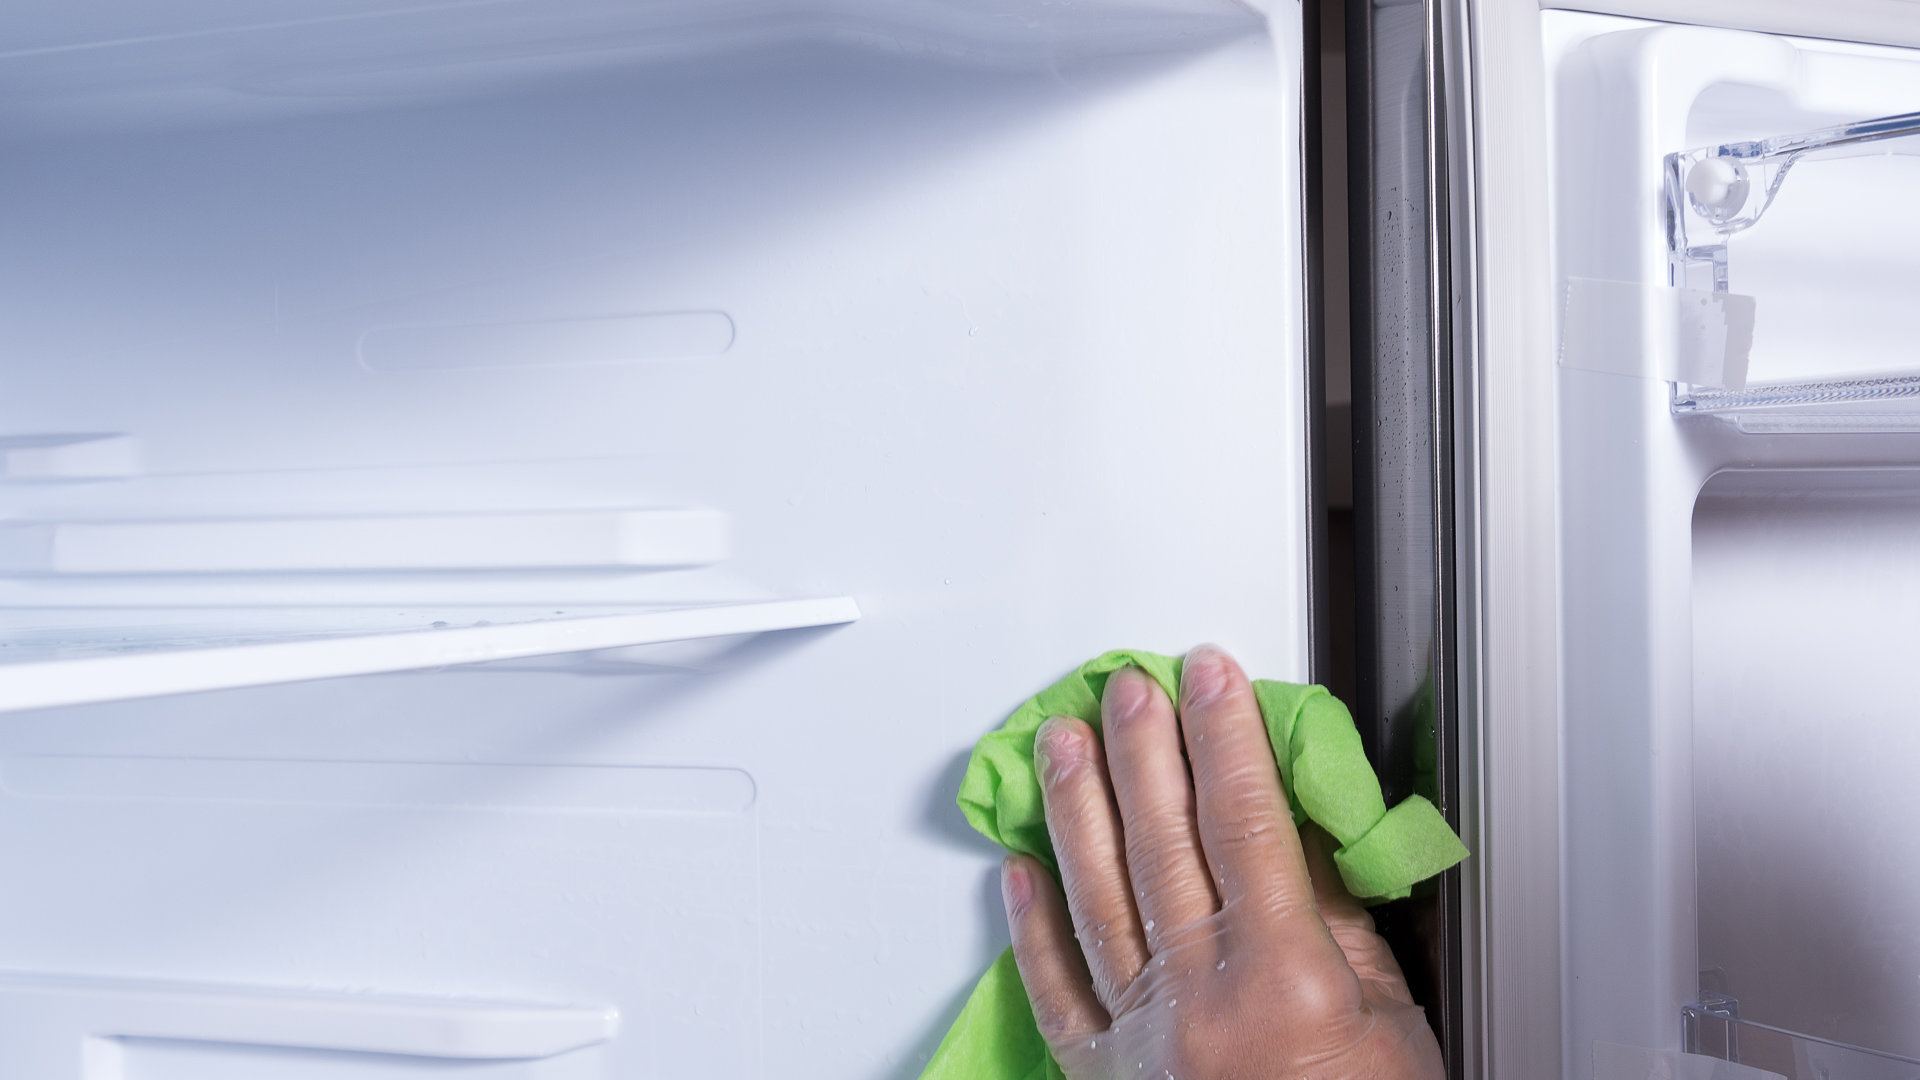
3. Once it’s thawed, use mild soap and warm water to clean the inside of the freezer
When going through this step of the process, make sure to use mild soap and warm water to clean the inside of the freezer; this will help remove the residue from food spills and odors and yield a much cleaner interior than if you simply thaw the ice buildup.
Make sure to get those hard-to-reach spots – the corners and the coils at the back. Additionally, you can clean the defrost drain at the bottom of the back of the freezer. Also make sure that the door seals are clean so that the freezer remains efficient and reduces energy costs. Dirty door seals can lead to air leaks, letting the cold air out and warm, humid air in.
4. Dry the inside of the freezer using a clean towel or cloth
It’s important to remember to dry the inside of the freezer after cleaning, as any residual moisture can cause damage to food when you put it back in and start the ice buildup cycle all over again.
To ensure your freezer is completely dry and safe, use a clean cloth or towel and thoroughly wipe down the interior surfaces. Pay close attention to areas behind components such as shelves, drawers, and ice cube trays, so no corner or crevice is left wet.
5. Plug the freezer in and turn it back on
When plugging the freezer back in, make sure that all electric cords are seated firmly in their outlets and that the power switch is set to “On.” When powering the freezer back on, it is important to leave it running for a few hours before putting any food inside. This allows the unit’s temperature and humidity to stabilize and prevents fluctuations that could result in food spoiling.
6. Put everything back in the freezer, making sure to wipe down each item before putting it back
Now is the time to place all the food back in the freezer. Before doing so, be sure to wipe off any moisture that may have accumulated on it while it was out – this will help prevent frost buildup, which can make your freezer less efficient over time, and also helps prevent freezer burn.
Additionally, organizing your food and ensuring that all of it is facing the same direction can help you better navigate your freezer during future use!
Be sure to avoid filling the freezer with too much food or cover the condenser coils and defrost drain. Covering these can lead to excess moisture in the freezer, meaning you’ll have to clean it again that much sooner.
Summary
These steps will help you clean your freezer quickly and easily without damaging any of your food. Once you’ve finished cleaning, thoroughly dry the inside of the freezer before putting any food back in. Don’t forget to wipe down each item before returning it to the freezer, as this will help keep everything fresh for longer.
Thanks for following these steps – your clean freezer is now one less thing on your list!

Apr. 09, 2024
How to Reset a Whirlpool Refrigerator Ice Maker

Apr. 09, 2024
6 Reasons Your LG Refrigerator Is Not Making Ice

Apr. 09, 2024
Kenmore Fridge Ice Maker Not Working? 5 Ways to Fix It

Mar. 06, 2024
How to Remove Fish Smell from Your Refrigerator

Mar. 06, 2024
How To Fix Bosch Dishwasher E24 Error

Mar. 06, 2024
Troubleshooting a Whirlpool Dishwasher Not Draining

Feb. 05, 2024
Why Is Your Fridge Water Not Working, but Ice Is?

Feb. 05, 2024
How to Fix the E15 Bosch Dishwasher Error Code

Feb. 05, 2024
How Much Power Does a Microwave Use?

Jan. 03, 2024
How to Properly Clean Refrigerator Coils

Jan. 03, 2024
How to Fix an LG Washer Showing OE Error Code

Jan. 03, 2024
Troubleshooting a GE Dishwasher with No Power and No Lights

Dec. 11, 2023
10 Reasons Why Your Bosch Dishwasher Won’t Start

Dec. 11, 2023
Troubleshooting the F5 Error Code with a Maytag Washer

Dec. 11, 2023
How To Fix a Kenmore Dryer That Isn’t Heating
(937) 252-3200Text or ring! ring!