

August 10, 2022
Refrigerator Repair
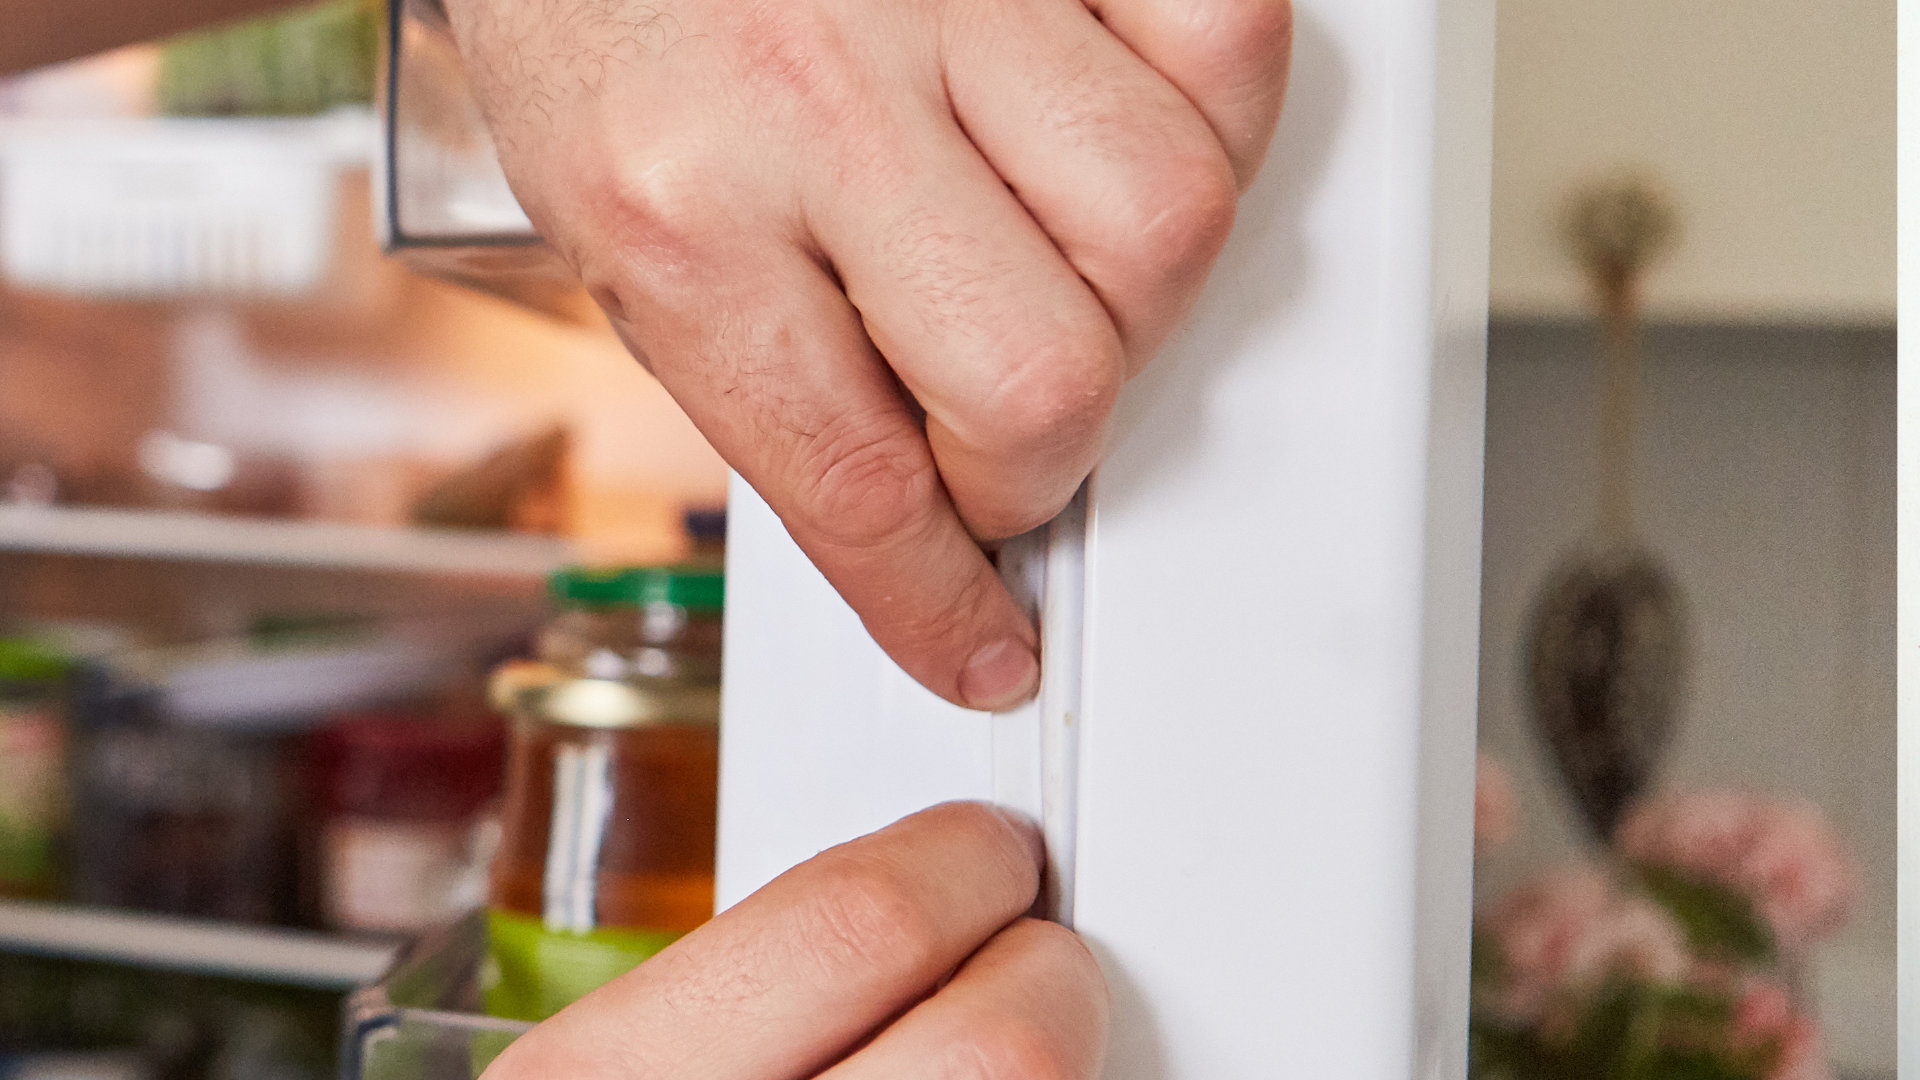
Replacing the freezer door seal can be easy once you know what to do. It doesn’t take much time, and it will be a lot cheaper if you can do it yourself. Here’s a quick guide on how to remove the freezer seal and install a replacement.
Why you should replace the freezer seal
Over time, the freezer seal, also called the gasket, will wear out. Wear and tear commonly occurs on the hinge side of the door, and because of this, you are less likely to notice it.
However, you may have already noticed that the freezer door is not closing properly. If that’s the case, it’s time to replace the seal.
Replacing the seal is essential. If you have been putting it off for some time, then now is the time to replace it.
Replacing the freezer’s seal will:
- Improve the freezer’s efficiency
- Prevent cold air from escaping
- Ensure that all of the food is kept at an even temperature
- Prevent the door from swinging open
- Keep the freezer colder for longer during a powercut
How to find a new seal
To replace your freezer’s seal, you will need to find the model number of your freezer. Some model numbers are located on the inside of the freezer, while others are located on the outside.
Once you have found the model number, you can search for an online store that sells freezer gaskets for your model. Depending on how old your freezer is, you might be able to buy a new seal from the manufacturer.
If you cannot find an exact match, that’s okay because there are universal freezer seals available instead. However, if you opt for a universal seal, you still need to find one suited for your freezer.
When looking for a universal seal, you will need to measure the existing seal in millimeters.
Measurements you may need include:
- Height
- Width
- Length
- The thickness of the seal
Some universal seals are ready-made, and you won’t need to worry about the length. However, if you cannot find a ready-made one for your freezer, you will need to measure the length because you will need to cut the seal to fit your freezer.
You also need to consider the type of seal your freezer has.
There are three main types:
- Push-in seals
- Screw-in seals
- Snap-in seals
How to remove the old seal
What you will need:
- A new seal that will fit
- A putty knife or flat tool
- Screwdriver (if the seal is screwed in)
- A damp cloth
Before starting any work on a freezer, always unplug it first.
- Check that the new seal will fit
Before removing the old seal, ensure the new one will fit. To do this, hold the new seal against the old one to ensure it’s the same size.
If you are installing a universal seal make sure that the new seal you have is the same type as the current one. Additionally, if you are measuring the seal and cutting it to length, make sure that you have enough before you start.
If you are installing one that is suited to your model, ensure that you received the right one before installing. Check the packing or compare the new one to the old one.
- Remove the old seal
If the seal is screwed in, you will need to remove the screws first. You may need to fold back the seal to find the screws. Ensure that you keep the screws somewhere safe because it might be hard to replace them should they get lost.
Other than that, all you need to do is run the putty knife under the seal and pry it away from the door. Start from one corner first, and work your way along the seal.
- Clean the door
Once the seal is off, use a damp cloth to clean the door where the seal was previously. Cleaning this area will ensure that the new seal sticks properly.
How to install the new seal
What you will need:
- A screwdriver (if you would like to remove the door)
- Craft knife (if you are cutting the new seal to length)
- A flathead screwdriver
- Take the door off
You can still install the new seal with the door on. However, you may find removing the door and laying it on the ground or a table easier.
To remove the door, unscrew it from the hinges.
If you prefer to leave the door on, ensure that the door is supported to prevent it from moving.
- Install the new seal
Always start from the corners first, regardless of which seal you are installing. Once the seal is installed in all four corners, secure it around the edges. Do not secure it around the edges first because this may stretch the seal.
However, if you are using a universal seal that is being cut to length, you will need to start at one corner and then work your way around. Avoid cutting the seal to size until you have almost finished installing it.
If you have difficulty securing the seal into the groves of the door, use the flathead screwdriver to pry the grooves back slightly. The flathead screwdriver might also be useful for pushing the seal into the grooves.
Don’t forget to install the screws, if the seal is a screw-in one.
Should you glue the new freezer seal?
In most cases, you do not need to glue the new seal because it should fit into place securely with the grooves.
However, if you use a universal seal, you may wish to use glue because it may not be an exact fit.
You can also use glue if the seal refuses to stick in one place. Simply apply some glue under the seal in that area and hold it in place until the glue has dried.
If you decide to use glue, you will need to buy one that is suitable, such as flex glue or cyanoacrylate superglue.
How to prevent the new seal from becoming damaged
After you have installed the new seal, you will want to prevent it from wearing out like the previous one. While most wear and tear is unavoidable, there are some things you can try to prolong the life of the new seal.
Prolong the seal’s life by:
- Avoid overloading the freezer door because this will put more strain on the seal.
- When cleaning the seal, avoid cleaning products that corrode rubber.
- Prevent the rubber from drying out by applying a thin layer of petroleum jelly.
- Secure the seal with glue if it keeps coming away from the door.

Apr. 09, 2024
How to Reset a Whirlpool Refrigerator Ice Maker

Apr. 09, 2024
6 Reasons Your LG Refrigerator Is Not Making Ice

Apr. 09, 2024
Kenmore Fridge Ice Maker Not Working? 5 Ways to Fix It

Mar. 06, 2024
How to Remove Fish Smell from Your Refrigerator

Mar. 06, 2024
How To Fix Bosch Dishwasher E24 Error

Mar. 06, 2024
Troubleshooting a Whirlpool Dishwasher Not Draining

Feb. 05, 2024
Why Is Your Fridge Water Not Working, but Ice Is?

Feb. 05, 2024
How to Fix the E15 Bosch Dishwasher Error Code

Feb. 05, 2024
How Much Power Does a Microwave Use?

Jan. 03, 2024
How to Properly Clean Refrigerator Coils

Jan. 03, 2024
How to Fix an LG Washer Showing OE Error Code

Jan. 03, 2024
Troubleshooting a GE Dishwasher with No Power and No Lights

Dec. 11, 2023
10 Reasons Why Your Bosch Dishwasher Won’t Start

Dec. 11, 2023
Troubleshooting the F5 Error Code with a Maytag Washer

Dec. 11, 2023
How To Fix a Kenmore Dryer That Isn’t Heating
(937) 252-3200Text or ring! ring!