

February 13, 2020
Refrigerator Repair
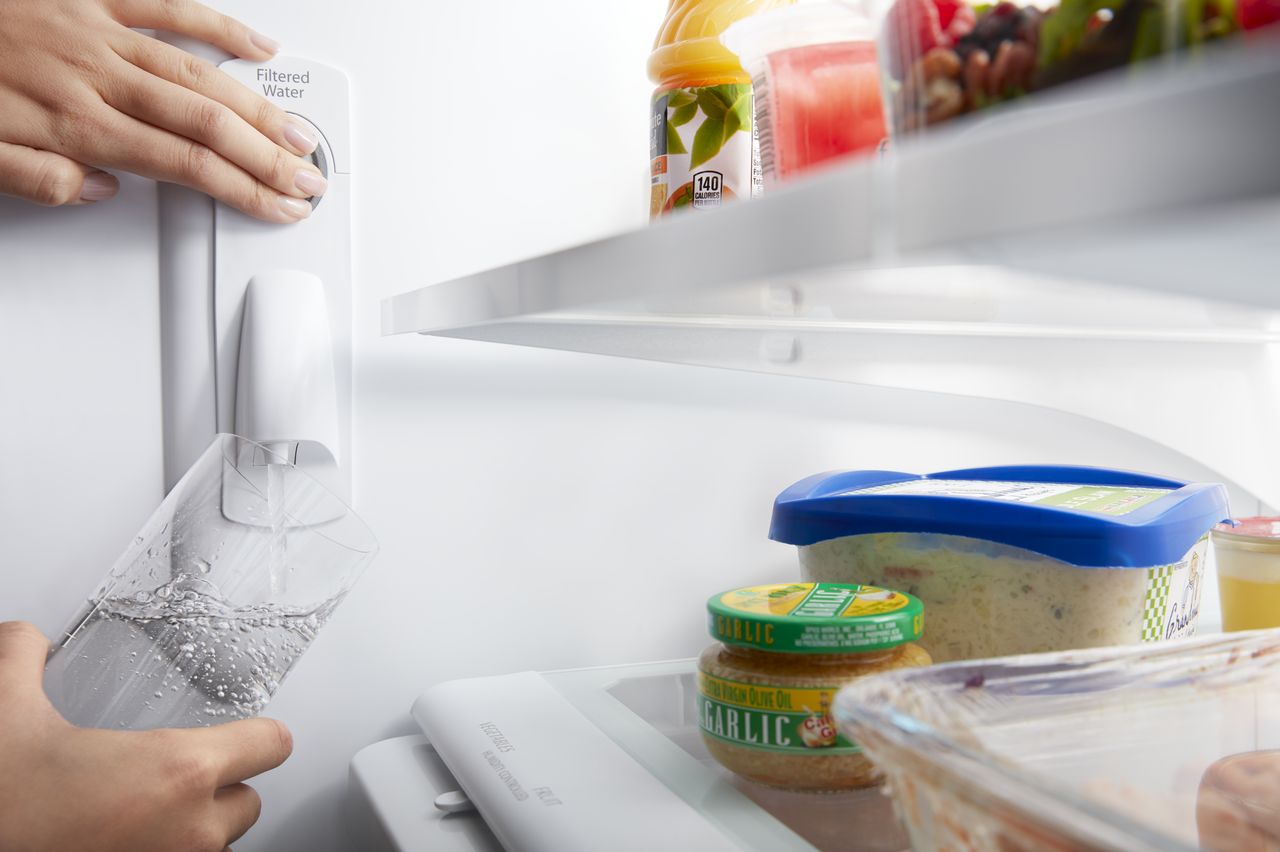
Your refrigerator’s water inlet valve is what sends water from the home’s plumbing into your ice maker for cold water and fresh cubed ice. If the inlet valve has stopped supplying water or it won’t stop flowing, then it’s time for a replacement. Let’s dive straight into the process of how to replace your refrigerator water inlet valve.
Gather Your Tools
It’s always best to start with all of your supplies before a repair. The most important part is the replacement inlet valve. Be sure to match the replacement part to the make and model of your refrigerator.
- Replacement Valve
- Phillips Screwdriver
- Wrench
- Pipe Thread Tape
- Work Gloves
- Towels
Safety First
Food Safety
Start by removing all the perishables from your refrigerator and storing them in a nearby cooler. The fridge will be off for the duration of this repair and will need to be moved, shaking the shelves. So it’s better if the fridge and freezer foods were stored safely until the repair is done.
Pull Out Refrigerator
Carefully pull your refrigerator out of its nook and away from the wall. You will need room to work behind the refrigerator where the inlet valve is located. Carefully rock your refrigerator, holding both sides, to pull it out.
Shut Off the Power
Unplug your refrigerator. If the plug is difficult to reach, you can also flip the breaker that supplies power to your fridge.
Shut Off the Water
Close the water supply cutoff valve behind your refrigerator. Then identify the water valve assembly in the back of the fridge. It should be near the bottom and is often blue with a water line running into it. Place a towel under the valve. Then loosen the compression nut and pull the water line free.
Uninstall the Old Inlet Valve
Open the Back Lower Panel
Looking at the back of your fridge, you should see a lower panel cover attached with two to six screws. Remove the screws from the lower panel. Then carefully lift and remove the back lower panel.
Set Aside Panel and Screws
Set both the panel and the screws aside somewhere nearby, as you will need them later. Make sure to put the screws in a small container to they don’t roll away.
Locate the Water Inlet Valve
Find the water inlet valve. It is often blue and fastened to the outer edge of the refrigerator frame, just behind the panel. The inlet valve is connected by a plastic water line to your ice maker and is the part you already disconnected the refrigerator water line from when the back panel was still attached. This should make it easier to find.
Dismount the Mounting Bracket
Remove the two screws holding the valve mounting bracket to the refrigerator’s frame. Set these screws aside as well and pull the inlet valve free. It is not connected by a bundle of wires and the water line to the ice maker.
Unplug the Wire Harness
There is a cluster of plastic-wrapped wires connected with a plastic clip. This is the wire harness. Disconnect the wire harness clip so that the valve is free of the wire connection.
Remove the Ice Maker Water Line
The water line running into the valve can be removed by pressing in and then pulling out. This is the line to the ice maker. Now your inlet valve should be completely free. You can now throw it away or save it for recycling.
Install the New Inlet Valve
Press the Ice Maker Water Line Into Place
Take your new water inlet valve and thread the ice maker water line into the correct aperture. Press it in to secure the pressure fastener type.
Plug In the Wire Harness
The new inlet valve will have a mounting point for the wire harness. Connect the refrigerator’s wire clip to the new inlet valve and click it into place.
Attach the Mounting Bracket
Hold the inlet valve in place against the refrigerator frame, lining up the bracket with the available holes. Then use the screws you set aside to reattach the new inlet valve to the refrigerator frame. Tighten the screws securely.
Return the Back Panel
It’s time to put the back panel into place. Check the ice maker line to the inlet valve one more time to make sure it’s secure and water-tight. Then heft the back panel back over the aperture of your refrigerator. Hold the panel and return the mounting screws to secure the back panel into place.
Set Up Your Fridge
Return the Water
It is now safe to turn the water back on for your fridge. Start by reattaching the water line to the new inlet valve through the opening in the back panel. From there, switch the shutoff valve open. Then turn on the water at the wall, if you have a wall valve as well near your fridge.
Restore the Power
When you’re sure there isn’t an immediate leak, return power to your refrigerator. If you switched off a breaker, switch it back on. If you unplugged the fridge, plug it back in. The repair is over and it’s time to test your success.
Push the Fridge Back Into Place
All your behind-the-fridge work is done. You can now carefully push your fridge back into its nook with the fridge back against the wall. Work slowly and ask a friend for help, if necessary. Don’t hurt yourself or tilt the fridge too much while moving it.
Refill the Fridge
With your fridge back on the job of generating cold, it’s safe to fill it back up with all the cold goods in your kitchen. Empty the coolers you filled earlier back into the fridge and freezer. Be sure not to block the vents and take this opportunity to reorganize how you store foods, if you care to.
Test for Ice and Cold Water
Finally, test whether your repair was a complete success. Run a few cups of cold water through the fridge dispensing system to see if it comes out clean without interruption or leaking. Then give your fridge time to make some new ice. If all comes out well, then you have successfully repaired the inlet valve of your fridge.

Apr. 09, 2024
How to Reset a Whirlpool Refrigerator Ice Maker

Apr. 09, 2024
6 Reasons Your LG Refrigerator Is Not Making Ice

Apr. 09, 2024
Kenmore Fridge Ice Maker Not Working? 5 Ways to Fix It

Mar. 06, 2024
How to Remove Fish Smell from Your Refrigerator

Mar. 06, 2024
How To Fix Bosch Dishwasher E24 Error

Mar. 06, 2024
Troubleshooting a Whirlpool Dishwasher Not Draining

Feb. 05, 2024
Why Is Your Fridge Water Not Working, but Ice Is?

Feb. 05, 2024
How to Fix the E15 Bosch Dishwasher Error Code

Feb. 05, 2024
How Much Power Does a Microwave Use?

Jan. 03, 2024
How to Properly Clean Refrigerator Coils

Jan. 03, 2024
How to Fix an LG Washer Showing OE Error Code

Jan. 03, 2024
Troubleshooting a GE Dishwasher with No Power and No Lights

Dec. 11, 2023
10 Reasons Why Your Bosch Dishwasher Won’t Start

Dec. 11, 2023
Troubleshooting the F5 Error Code with a Maytag Washer

Dec. 11, 2023
How To Fix a Kenmore Dryer That Isn’t Heating
(937) 252-3200Text or ring! ring!