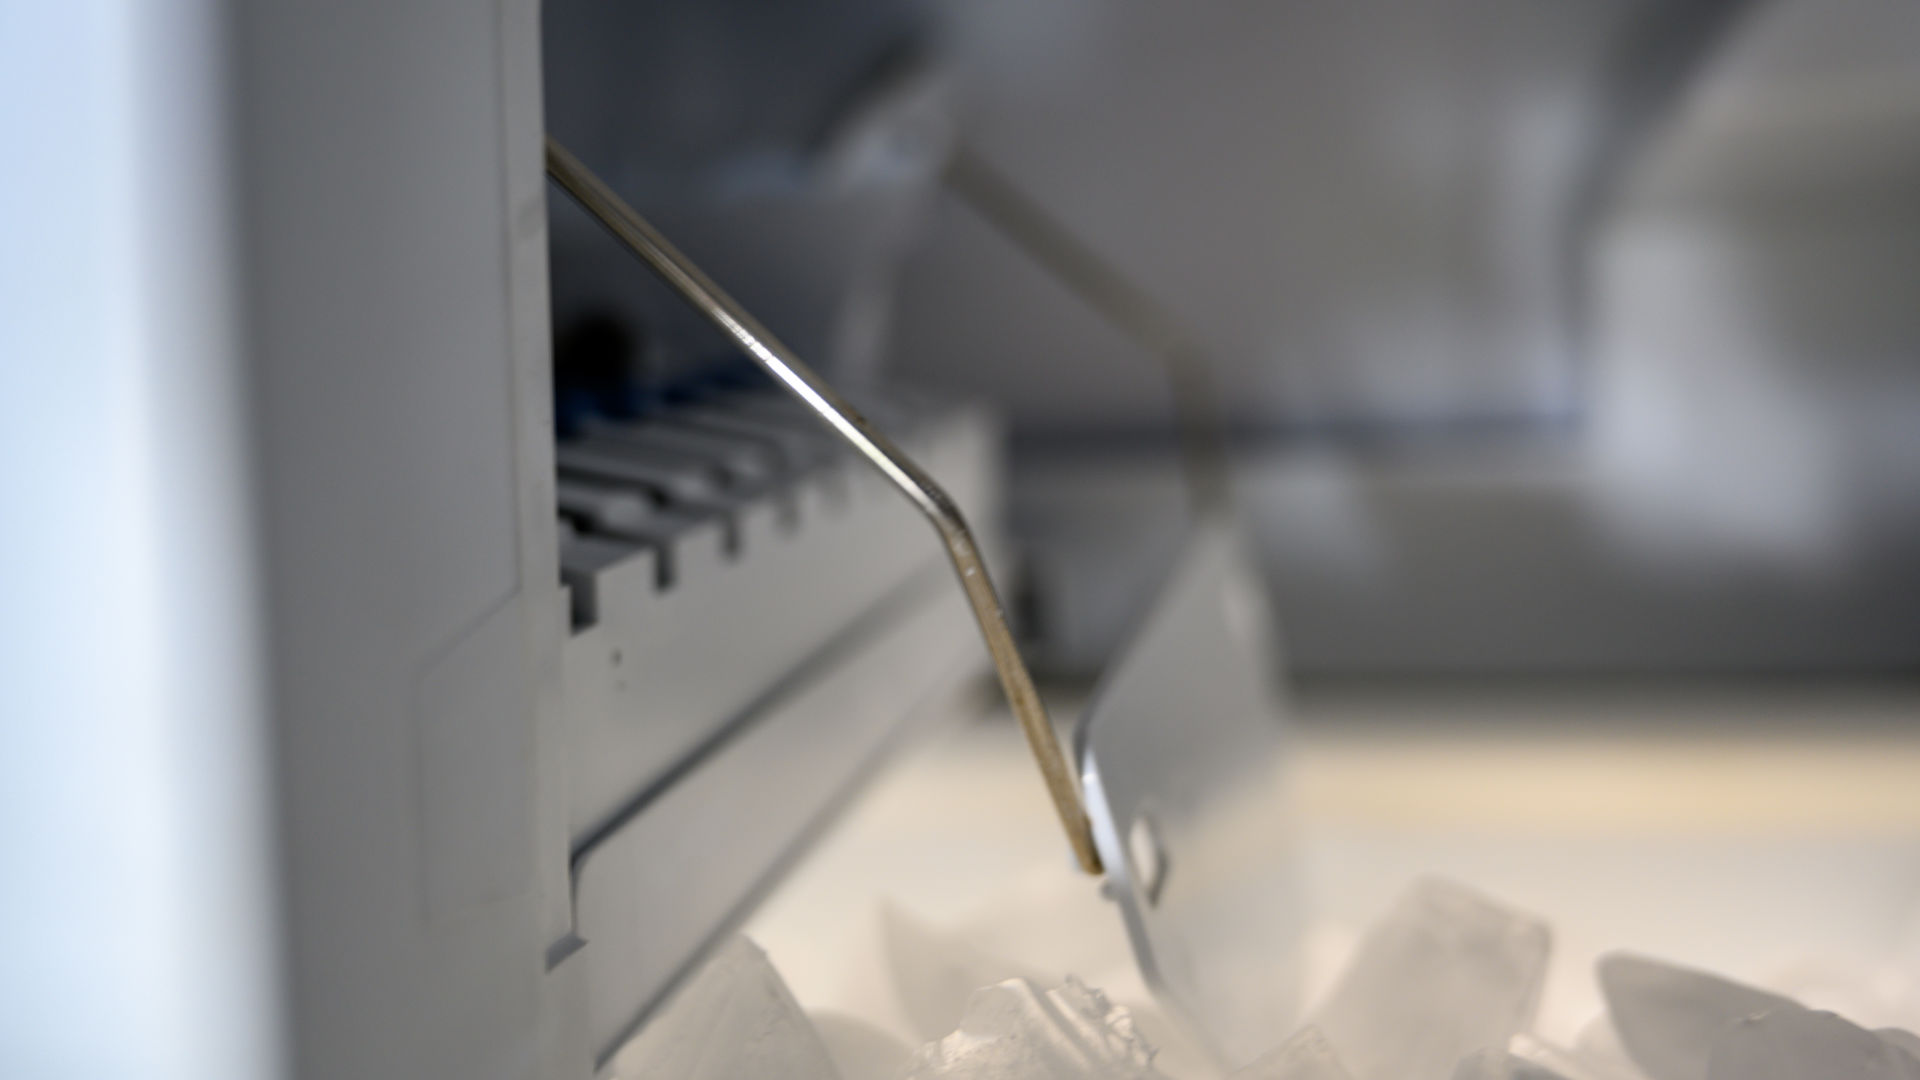
When your ice maker doesn’t work fast enough, it is very annoying – especially in summer, if you have to wait around for ice to cool your drink.
In this article, we will give you easy-to-follow instructions for how to find the cause of the problem and fix it. Usually, it’s something simple causing the problem, like a blocked water tube, dirty condenser coils, the ice maker being installed incorrectly, or the temperature being set too high. Hopefully, by the end of this article, we can help you get your ice maker working again properly.
Before we get into how to fix the problem, let’s start by briefly explaining how an ice maker works.
How an Ice Maker Works
- In your refrigerator, you have an electric water inlet valve that opens up to let water into your ice maker through a small tube.
- Once the ice tray fills up with the right amount of water and reaches the right pre-set temperature (as measured by a small thermostat in the tray), the freezing process begins.
- Once the ice has been made, a small heater slightly heats the ice cubes so they can come out of the ice tray easily.
- The ice is then pushed out into the tray, and the process begins again.
Now that you know how an ice maker works, let’s get into how to fix one if it’s working too slow.
Step 1 – Check the Installation
If your refrigerator is new, the ice bucket and the other components of the ice maker unit might not be installed properly – especially if you installed it yourself. If this occurs, then obviously your ice maker won’t work correctly – if at all.
Here’s how to check if your ice maker unit is installed correctly:
- Find your user manual.
- Check each component of your ice maker in your refrigerator to make sure it is installed correctly (each make and model of refrigerator will be different).
- If you find any parts are not installed correctly, fix them. If they are fine, move on to the next step.
- Once fixed, check if the problem has been solved. If not, move on to the next step.
Step 2 – Check the Water Line
If the water going into your ice maker is not at a strong enough pressure, thin or hollow ice cubes might end up in your ice tray.
Here’s how to check the water pressure:
- Locate the water line that is connected to the cold-water supply.
- Check that the shutoff valve is fully turned on. If not, turn it on.
- Next, check that there are no kinks, bends, cracks, or other damage to the water line. If there is, it will need to be replaced.
- Make sure that the refrigerator isn’t sitting too close to the back of the wall, as this can bend the waterline and stop water from properly flowing into your fridge.
- If any of these problems exist, fix them, and then see if it fixes the problem. If the water pressure is fine or if fixing the problems doesn’t work, move on to the next step.
Step 3 – Check your Temperature
The next step is to check that the temperature in your freezer is set to the correct level. If it is set to the wrong temperature, your ice maker will take too long to make ice. It’s recommended that you set your freezer at 0 (or below) degrees Fahrenheit; anything higher and it will not function correctly.
Here’s how to check the temperature:
- Open your freezer door.
- Locate the thermostat.
- Check that the temperature is set at 0 (or below) degrees Fahrenheit. If not, adjust the temperature so it is set correctly. If the thermostat is faulty it will need to be replaced.
- Monitor your freezer over the next couple of hours to see if the problem has been solved. If not, move on to the next step.
Step 4 – Clean the Condenser Coils
The purpose of the condenser coils is to dissipate heat when refrigerant goes through them. If they get dirty or get covered in ice, your freezer won’t be able to freeze properly, and ice will take a long time to set. It’s a good idea to pull your fringe out from the wall and give them a good clean every 3 to 6 months.
Here’s how to check the condenser coils:
- Turn the power to the refrigerator off.
- Pull your refrigerator out from the wall so you can access the coils.
- Remove the lower back panel (if your refrigerator unit has one).
- Locate the condenser coils – they are at the bottom of the unit.
- Inspect the coils to see if they are dirty or frosted. If the coils are dirty, clean them with a vacuum cleaner, and then give them a good wipe. If frozen, leave your fridge turned off for an hour so they can defrost.
- Once cleaned or defrosted, put your refrigerator unit back together, turn on the power, push it back into place, and then check if your ice maker now works correctly.

How to Reset a Whirlpool Refrigerator Ice Maker

6 Reasons Your LG Refrigerator Is Not Making Ice

Kenmore Fridge Ice Maker Not Working? 5 Ways to Fix It

How to Remove Fish Smell from Your Refrigerator

How To Fix Bosch Dishwasher E24 Error

Troubleshooting a Whirlpool Dishwasher Not Draining

Why Is Your Fridge Water Not Working, but Ice Is?

How to Fix the E15 Bosch Dishwasher Error Code

How Much Power Does a Microwave Use?

How to Properly Clean Refrigerator Coils

How to Fix an LG Washer Showing OE Error Code

Troubleshooting a GE Dishwasher with No Power and No Lights

10 Reasons Why Your Bosch Dishwasher Won’t Start

Troubleshooting the F5 Error Code with a Maytag Washer


