

October 4, 2021
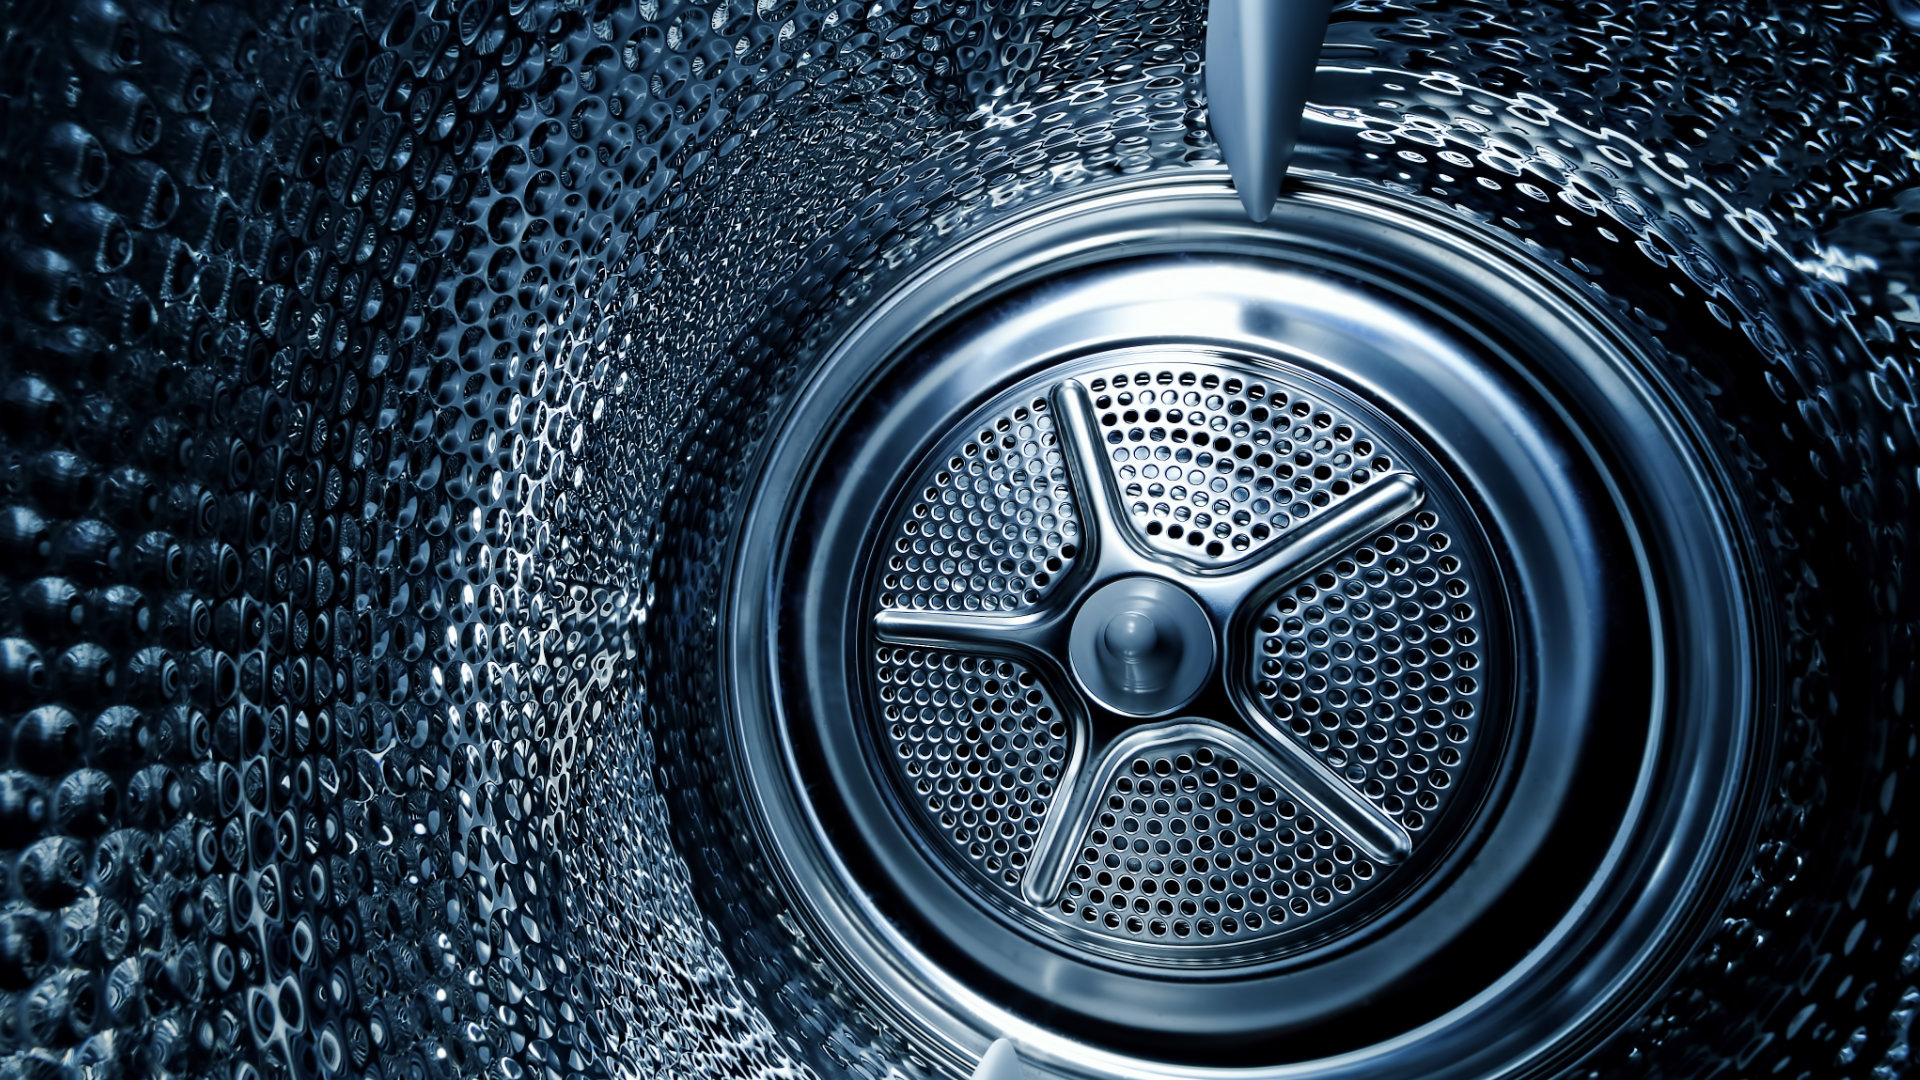
Washer Repair
An SE error code on your Samsung washer indicates that there is a drainage problem. On some models, the same error is represented by a 5E or nd error code. Be careful not to mistake it for an E5 error code, which indicates that there is a problem with the heating element.
If you get the SE error code, do not panic and open up the front door of the washer, which would cause the undrained water to spill out if you have a front-loader washer. If you do not have time to fix the error, the error can usually be resolved by disconnecting the power for a minute or two. However, the error code likely indicates an issue that needs to be fixed, and ignoring the error code for too long can lead to worse issues arising in the future.
Caution: Be careful when disconnecting hoses that there is not too much water, as it could suddenly pour out of the washer. It is best to empty the washer by hand if the tub is full before disconnecting any hoses. Make sure to have a large container to collect the water when troubleshooting the SC error code.
This guide applies to most Samsung models, including the following:
592-49045
592-49075
592-49082
592-49087
WF203ANSXAX
WF206ANSXAA
WF206ANSXAC
WF206BNWXAC
WF210ANWXAA
WF218ANBXAA
WF218ANWXAA
WF219ANBXAA
WF219ANWXAA
WF220ANWXAA
WF328AAGXAA
WF328AARXAA
WF328AAWXAA
WF330ANWXAA
WF340ANGXAC
WF340ANRXAC
WF350ANWXAA
What Causes the SE Error Code?
The SE error code will pop up when the washer is not draining quickly enough. The time the washer calculates a draining cycle should last is determined by the size of the load and the type of cycle selected. The usual causes of the SE error code are a faulty drain pump, a clog in the drainage system, or a clogged filter.
How to Resolve the SE Error Code
1. Clean the Pump Filter (Front-Loader Washers)
Many Samsung front-loader washers have a pump filter or debris filter that can be accessed on the front of the washer. Samsung recommends cleaning the pump at least once a month or after 40 laundry loads. Making sure the pump filter is clean will prevent odors, mold, and mildew, and it will ensure the washer drains correctly.
Follow these steps to clean the pump filter:
- Open the pump filter access panel by pressing on the cover.
- Locate the black rubber drain hose.
- Remove the white drain plug from the hose, and drain the water into a large container. Be prepared for some water to spill. Removing the plug may require some elbow grease, as it forms an airtight seal. Twisting the plug while holding the hose should remove it.
- Depending on the model, either remove the pump filter by turning it counterclockwise and pulling it out or by pushing it in and turning it like a medicine bottle.
- Clean the filter with soap and water. Use a small toothbrush or soft bristle brush to help clean dirt and debris off.
- Return the filter to the washer.
- Replace the hose plug and return the hose to its mounting clip.
- Close the access panel.
2. Check the Drain Hose
If the washer will not drain, the drain hose may be kinked, pinched, or obstructed by a small object. It is also possible that the drain hose outlet has been submerged in water, which would restrict the washer’s draining ability. If the drain hose cannot be unclogged or connected properly, it will need to be replaced.
The drain hose must also be installed correctly so that water can drain properly. The drain hose may be connected to a spigot on the waste pipe or a waste trap or to a standpipe. If your washer’s drain hose is connected to a standpipe, the drain hose should hook over an open standpipe that is connected to the waste pipe.
If the drain hose is connected to a spigot, follow these steps:
- If the washer has recently been installed, make sure the blanking cap has been removed from where the hose connects to the spigot.
- Check that the hose is connected properly.
- Check there are no bends or kinks in the hose.
If the drain hose is connected to a standpipe, follow these steps:
- Make sure the hose is positioned and secured properly.
- Check that the drain hose is at least 23 inches above the floor.
- Make sure the standpipe covers the drain hose completely.
- Check that there are no more than 6 inches of drain hose in the standpipe.
- Make sure there are no kinks or bends in the drain hose.
If the drain hose is blocked, follow these steps:
- Disconnect the power to the washer and turn off the water supply.
- Disconnect the drain hose from the washer.
- Unblock the drain hose with a drain snake tool, or wash the hose with a mixture of hot water, white vinegar, and baking soda. The washer’s internal drain hose can be checked by following the drain pump cleaning instructions below.
3. Defective Drain Pump
If the drain hose is not blocked, a defective drain pump may be causing the issue. A small object, article of clothing, or damaged impeller could be causing the pump to fail mechanically. If the impeller is not damaged and the pump is not being obstructed, it may have failed electrically.
To check the drain pump:
- Disconnect the washer from the power source, and disconnect the water supply to the washer.
- On a front-loader washer, remove the rear access panel. For a top-load washer, first secure the lid with tape so that it will not open. Then lay the washer on its front to access the drain pump underneath the washer.
- Disconnect the drain pump wire connector.
- Check the wiring harness on the drain pump. Make sure it is secure with no visible damage to the wiring.
- Use pliers to release the clamps that secure the drain hose to the pump. Remove the drain hose.
- Use a 5/16 inch socket to remove the drain pump mounting screws.
- Remove the pump from the washer.
- Check the pump for damage or obstructions.
If the pump does not appear to have any damaged components and is free of obstructions, the pump may have failed electrically. You can use a multimeter to determine if the drain pump motor has continuity (a continuous electrical path present in the motor). If the motor tests negative for continuity, the pump will need to be replaced.
Other Causes
If checking the filter, drain hose, and drain pump have failed to fix the issue, the pressure switch may be blocked or defective. The pressure switch tells the control board when to drain or add water. If the control board is receiving faulty signals, it may not be draining correctly because it does not think it needs to. The pressure switch can be tested with a multimeter to see if it needs to be replaced or just replaced, as the part is relatively inexpensive.
If the error code continues to appear, the control panel or timer may be defective and causing the error code. These components can be difficult to test with a multimeter and will often require the replacement of the part and/or the assistance of a trained professional.

Apr. 09, 2024
How to Reset a Whirlpool Refrigerator Ice Maker

Apr. 09, 2024
6 Reasons Your LG Refrigerator Is Not Making Ice

Apr. 09, 2024
Kenmore Fridge Ice Maker Not Working? 5 Ways to Fix It

Mar. 06, 2024
How to Remove Fish Smell from Your Refrigerator

Mar. 06, 2024
How To Fix Bosch Dishwasher E24 Error

Mar. 06, 2024
Troubleshooting a Whirlpool Dishwasher Not Draining

Feb. 05, 2024
Why Is Your Fridge Water Not Working, but Ice Is?

Feb. 05, 2024
How to Fix the E15 Bosch Dishwasher Error Code

Feb. 05, 2024
How Much Power Does a Microwave Use?

Jan. 03, 2024
How to Properly Clean Refrigerator Coils

Jan. 03, 2024
How to Fix an LG Washer Showing OE Error Code

Jan. 03, 2024
Troubleshooting a GE Dishwasher with No Power and No Lights

Dec. 11, 2023
10 Reasons Why Your Bosch Dishwasher Won’t Start

Dec. 11, 2023
Troubleshooting the F5 Error Code with a Maytag Washer

Dec. 11, 2023
How To Fix a Kenmore Dryer That Isn’t Heating
(937) 252-3200Text or ring! ring!