

November 5, 2018
Washer Repair
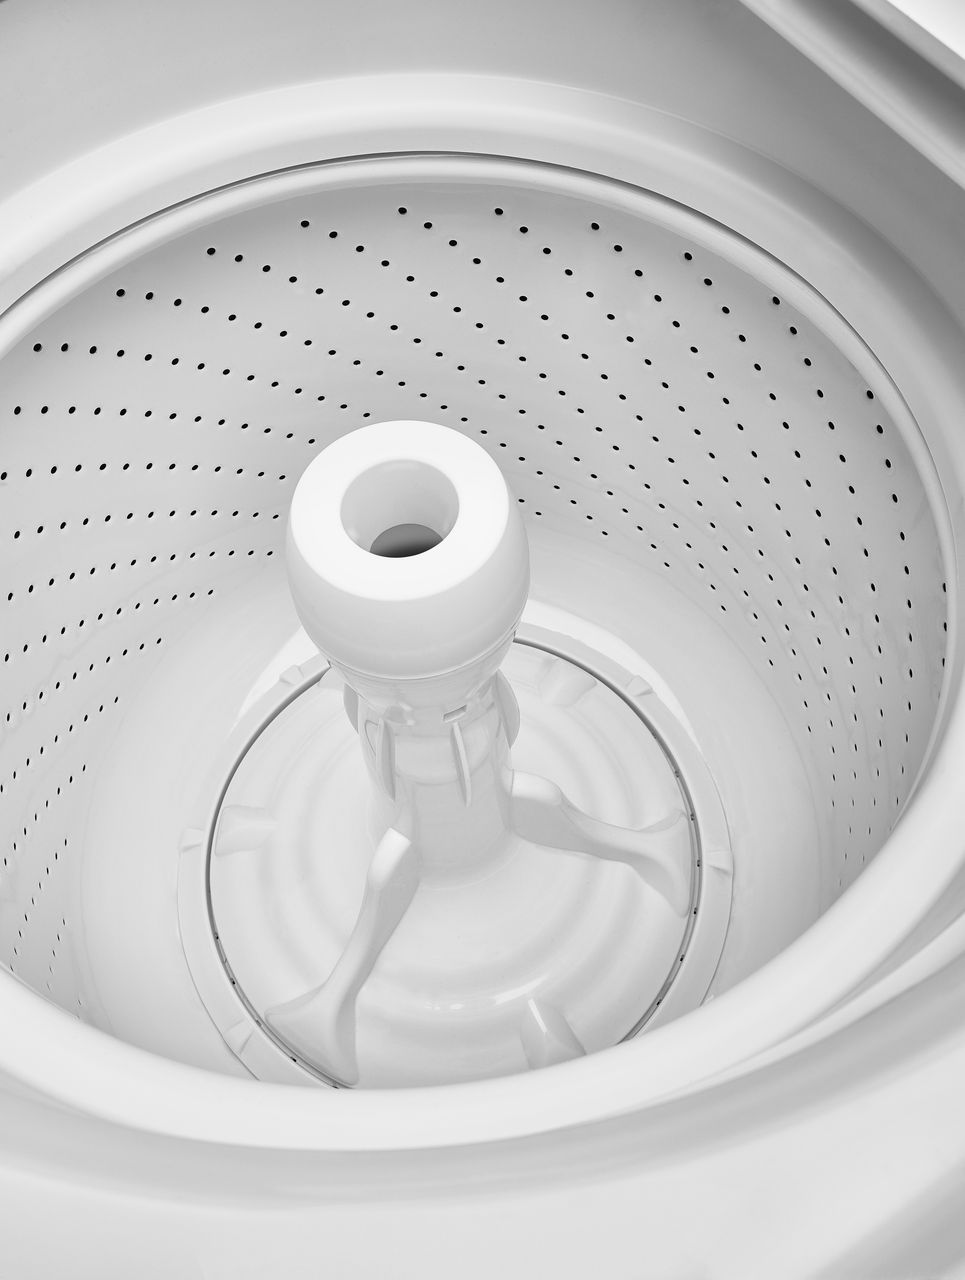
A noisy KitchenAid washer model KAWS677EQ0 isn’t only an unpleasant experience for your ears, it also means your appliance is malfunctioning. The type of noise your washer is making and when it makes it are key factors in pinpointing which component is faulty. To help you identify and repair the problem, we’ve created a list of parts that emit unusual sounds when they’re malfunctioning.
Washer Repair Tips
Unplug your washer and turn off the hot and cold water supply before starting your repair. Wearing safety goggles and work gloves as you fix your appliance is highly recommended.
The Clutch
Some washers are equipped with a clutch, which links the inner tub with the appliance’s transmission. The clutch’s main job is to help the transmission spin the tub. Unfortunately, after years of use, the pads located on the clutch can wear down due to the friction created by the pads rubbing against the clutch housing. When this occurs, your washer will make a loud scraping noise during the spin cycle. If you believe your clutch is the problem, you will need to replace it.
How to Replace the Clutch in Your KitchenAid Washer
-
Open the lid of your washer and pull the rinse dispenser off the agitator. Next, take off the agitator cap, and remove the dust cap found underneath it. The bolt and washer that secures the agitator to the appliance is now visible. With a 7/16″ socket and extension, unthread the bolt and take the agitator assembly out of the washing machine.
-
Pull your washer away from the wall and detach the water supply lines running to the appliance’s back panel. You will also need to disconnect the washer drain hose from the panel. Some water may come out of the hose, so have a towel handy to clean it up.
-
Place a large towel on the floor. Then, tilt your washer back and lay the appliance on its rear panel. Now that you have access to the underbelly of your washer, use a flat head screwdriver to release the clips holding the pump to the motor shaft, and pull the pump off the motor.
-
Detach the motor wire harness from the motor and take the wires out of the clip holding them to the gear case.
-
Using a 1/2″ socket, take out the bolts securing the gear case to the washer. The case assembly and motor will likely have oil on it, so place a towel on the floor to lessen the mess made by detaching the part. Once the bolts are removed, pull out the gear case assembly and motor and place it on the towel.
-
Take the thrust washer off the gear case shaft, and with a pair of needle nose pliers remove the clutch retaining clip. Next, with a flat head screwdriver, pry off the retaining ring. Finally, slide the clutch off the gear case shaft.
-
Now it’s time to install the new clutch. First, you will need to line up the new spacer bearing with the underside of the clutch. Once the spacer bearing is in place, you can slide the clutch onto the gear case shaft, and reattach the retaining ring. You may need to push the ring down with a flat head screwdriver to fully secure it. After the ring is attached, grab the retaining clip and slide it back on the gear case shaft. Finally, reinstall the thrust washer.
-
With your new clutch installed, you can now reattach the gear case and motor to your washing machine. Before sliding the shaft back into the washer, make sure the clutch spring is not lined up with the brake cam driver. If they are, you won’t be able to insert the shaft all the way. Once the gear case is situated, secure it with the bolts you removed earlier.
-
Insert the motor wires back into the mounting clip on the side of the gear casing and reconnect the wire harness to the motor. Slide the pump onto the motor shaft, and secure it with the mounting clips.
-
Lift the washer to an upright position and open the lid. Reinstall the agitator by sliding it onto the drive shaft and securing it with its bolt and washer. Next, put the dust cover and the agitator cap back on, and snap on the rinse dispenser.
-
Move to the back of your appliance, and reconnect the water supply lines and the drain hose. Plug-in the washer, and turn on the hot and cold water. To finish up your repair, throw some dirty clothes in your appliance and start a wash cycle to ensure the sound is no longer present.
The Suspension Springs
The suspension springs in your washer are located at the bottom of the tub and act as a support system. During the wash cycle, the springs stop the tub from bouncing around excessively. If one or more of the suspension springs are damaged, the tub’s increased movement will cause your washer to vibrate loudly. Installing new suspension springs should correct the malfunction.
How to Replace the Suspension Springs in Your KitchenAid Washer
-
Start your repair by removing the screws securing the washer’s console to the appliance’s top panel. Once the screws are out, flip the console over, and disconnect the lid switch wire harness. Next, using a flat head screwdriver, disengage the two retaining spring clips that secure the washer cabinet to the frame of the appliance.
-
Remove the washer cabinet from the washer frame by opening the lid and tilting the cabinet back, slightly. Then, pull the cabinet off the frame and place it somewhere safe.
-
With the cabinet removed, you can now access the suspension springs at the bottom of your appliance. If the damaged spring is still connected, unhook it from the front bracket and the frame mount with a pair of pliers.
-
Now install the new suspension spring by connecting one end to the frame mount. Once the first hook is attached, grab the other side with a pair of pliers, and stretch it until you’re able to hook it onto the front bracket.
-
If you need to replace the other two suspension springs, repeat the above steps.
-
After you have switched out the faulty suspension springs, you can reinstall the washer cabinet. Once the cabinet is back on the frame, reattach the retaining spring clips, and reconnect the lid switch wire harness. Flip the washer console forward, and secure it with the screws you removed earlier.
-
Plug-in your washer, and turn the cold and hot water back on. Put your the new suspension springs to good use and wash a load of clothes to make sure your appliance no longer vibrates.
Additional Malfunctions
The Drive Motor
In your top load washer, the drive motor runs the transmission, which spins the washer tub. If the drive motor is failing, the washer will begin buzzing when the spin cycle starts up. Unfortunately, diagnosing a drive motor’s defect is complicated, meaning it’s best to hire a repair technician to inspect the component before you decide to replace it.
The Drain Pump
Before and during the spin cycle, the water inside the washer tub is removed via the drain pump. Odd sounds coming from your appliance at either time can indicate a problem with the pump. However, a faulty drain pump isn’t necessarily the problem. Foreign objects can enter the pump and obstruct the pump impeller from rotating, which can lead to your washer emitting unusual noises. Although debris stuck in the drain pump is a possibility, a defective pump is still a likely cause. If you believe the drain pump in your washer is no longer working, replacing it is your next step.
If the noises coming from your washer are unfamiliar and the repair guide provided above doesn’t help you identify the cause, please contact us today to schedule an appointment with one of our highly trained repair technicians.

Apr. 09, 2024
How to Reset a Whirlpool Refrigerator Ice Maker

Apr. 09, 2024
6 Reasons Your LG Refrigerator Is Not Making Ice

Apr. 09, 2024
Kenmore Fridge Ice Maker Not Working? 5 Ways to Fix It

Mar. 06, 2024
How to Remove Fish Smell from Your Refrigerator

Mar. 06, 2024
How To Fix Bosch Dishwasher E24 Error

Mar. 06, 2024
Troubleshooting a Whirlpool Dishwasher Not Draining

Feb. 05, 2024
Why Is Your Fridge Water Not Working, but Ice Is?

Feb. 05, 2024
How to Fix the E15 Bosch Dishwasher Error Code

Feb. 05, 2024
How Much Power Does a Microwave Use?

Jan. 03, 2024
How to Properly Clean Refrigerator Coils

Jan. 03, 2024
How to Fix an LG Washer Showing OE Error Code

Jan. 03, 2024
Troubleshooting a GE Dishwasher with No Power and No Lights

Dec. 11, 2023
10 Reasons Why Your Bosch Dishwasher Won’t Start

Dec. 11, 2023
Troubleshooting the F5 Error Code with a Maytag Washer

Dec. 11, 2023
How To Fix a Kenmore Dryer That Isn’t Heating
(937) 252-3200Text or ring! ring!