

May 6, 2024
Refrigerator Repair
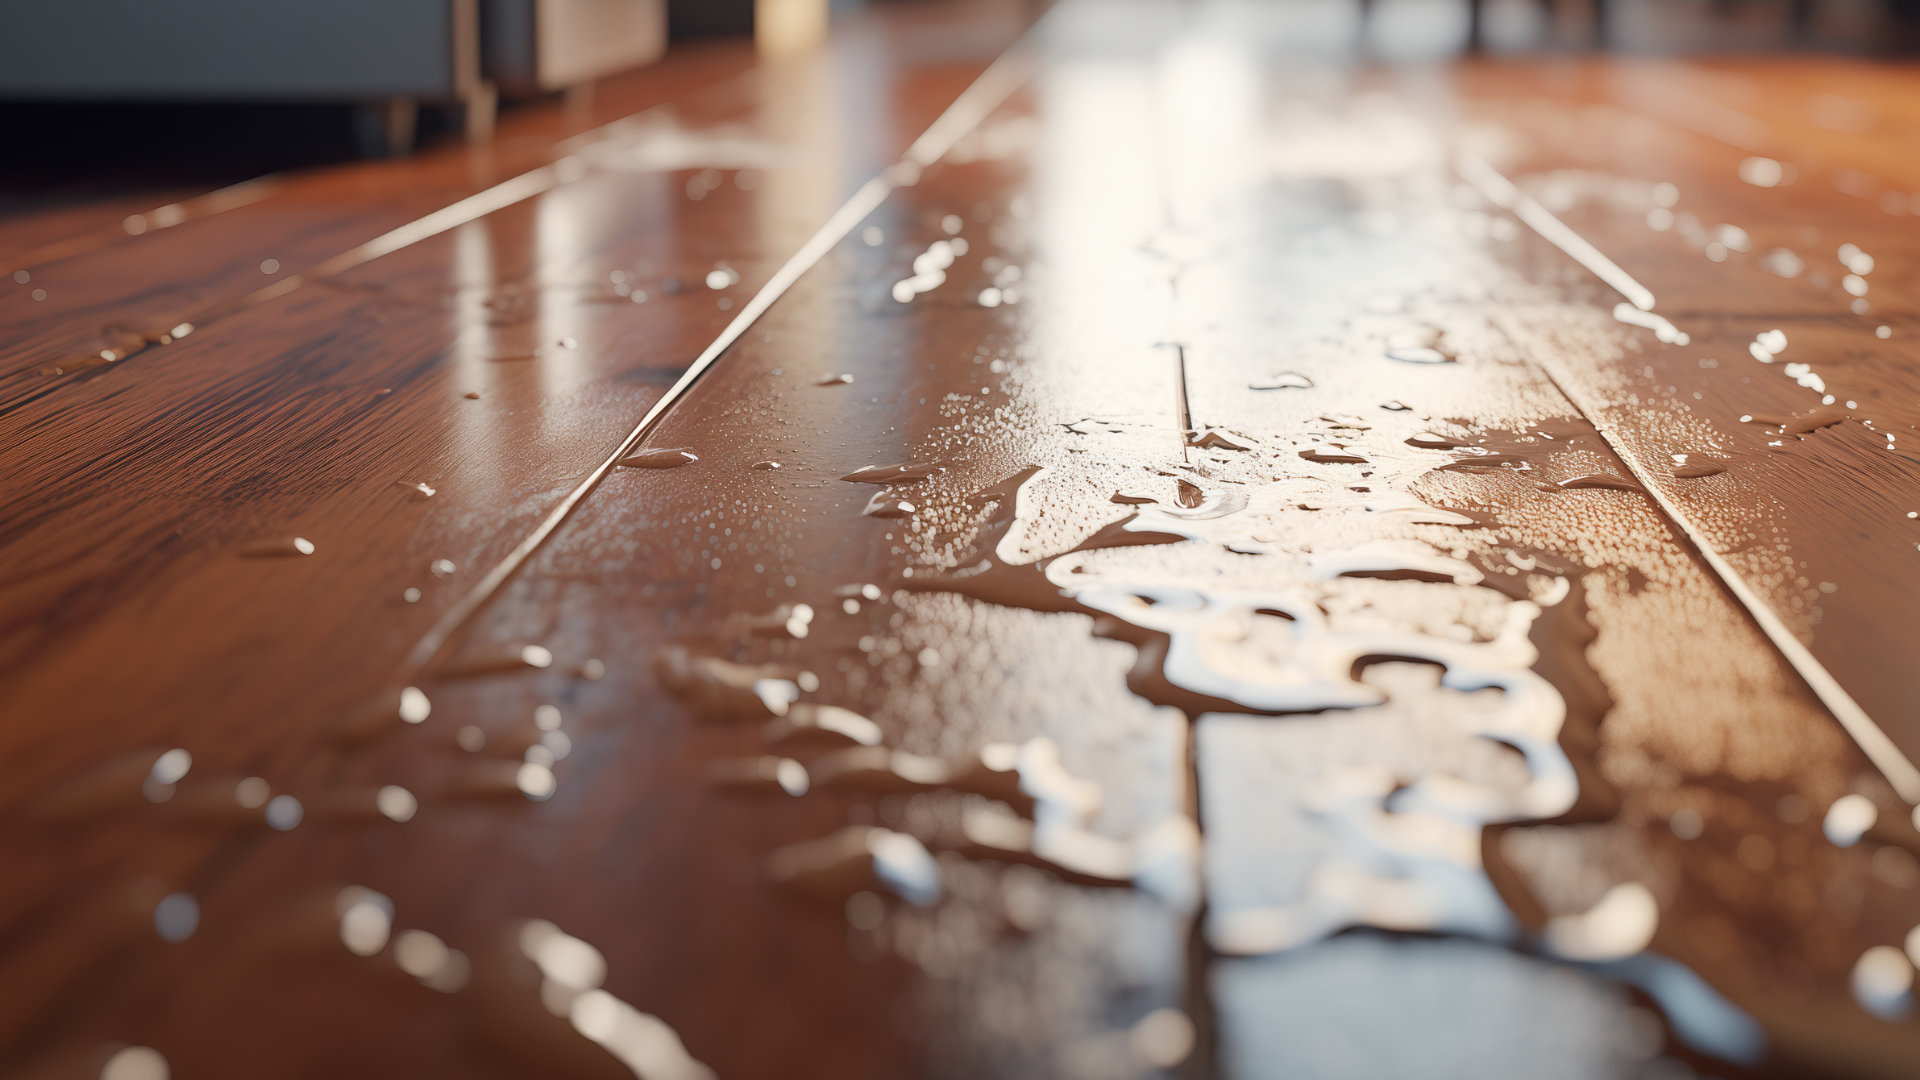
Have you noticed water pooling on the kitchen floor around your freezer? Perhaps you’ve also noticed water pooling inside your freezer, or you can see it dripping out the back. No matter what, a leaking freezer is never a good thing! In this guide, we uncover the 5 top reasons your freezer is leaking water and explain how to fix it. Let’s dive in!
1. Loose Door Seals
The door seals in a freezer have a very important job—they keep the warm, humid air outside the freezer while keeping its interior cold and dry. If the door seals aren’t functioning properly, ice will build up on the freezer interior, and the internal temperature won’t be as cold as it should be. This can lead to leakage when the accumulated frost begins to melt. Faulty door seals won’t be able to hold the water in, and you may see it dripping out the bottom of your freezer door. Here’s what to do:
- Thoroughly check the seals for damage. If they have any tears or cracks, they’ll need replacing as soon as possible.
- Dirt can prevent seals from working properly, so thoroughly clean the seals with a cloth and soapy water.
- Close the freezer on a piece of paper and see if it holds firm. Your seals will likely need replacing if the paper falls out or can be pulled out easily with no resistance.
- If necessary, replace the old seals with new ones that are the same size as your old ones. Then, wait to see if this has fixed the leak.
2. Incorrect Thermostat Settings
The thermostat in your freezer helps it maintain the correct internal temperature to keep everything frozen (around 0 degrees F). If the thermostat is set to the wrong temperature, the interior of your freezer won’t be cold enough, which can lead to ice melting and leaks occurring. A warm freezer is also more likely to build up frost, which creates leaks when it melts.
Here’s what to do:
- Check the thermostat to ensure it’s in the right setting. If it’s higher than 0 degrees F, adjust it.
- If the thermostat appears to be at the right temperature, use a thermometer to check if the freezer is at the correct temperature. If it measures a significantly different temperature than your thermostat states, the thermostat will need recalibrating.
- You can either follow the instructions in your user manual or consult a professional to recalibrate your thermostat.
- Once recalibrated, wait 24 hours to see if the leaking issue is fixed.
3. Blocked Defrost Drain
Most modern freezers have an automatic defrost system, which melts frost buildup so that it flows out the back of the freezer through a drain. This then ends up in a drain pan, where it evaporates. This system means you don’t need to defrost the freezer manually, but if the defrost drain is blocked, the water won’t be able to flow properly. This can mean it starts to pool on the bottom of the freezer compartment, and may even leak out onto the floor!
Here’s what to do:
- Find your freezer’s drain hole. You’ll have to pull the freezer away from the wall, as it’s usually located at the back of the freezer.
- Check for ice or food blockages. Use a small amount of hot water and a pipe cleaner to clear out any ice in the drain hole. We recommend using a turkey baster of hot water to avoid spills!
- Once cleaned, flush the drain with hot water to make sure it’s running clear. Now, your freezer should drain properly, and the leaks will hopefully stop!
4. Tilted Freezer
To facilitate drainage, freezers should be tilted slightly backward. This allows the water that melts during the defrost cycle to drain out the back of the unit, down the drainage pipe, and into the drain pan. If your freezer is incorrectly tilted, water will accumulate in the freezer instead of the drain pan and can leak out.
Here’s what to do:
- Check your user manual to determine the correct tilt angle for your freezer.
- Use a level to check the alignment. The front of the freezer should be slightly higher than the back.
- Use your freezer’s adjustable front feet to raise the front of the freezer, enabling the water to drain.
- Check with a level to make sure it is at the desired tilt.
- Keep a close eye on the freezer for any further leaks. If leaks recur, there might be other issues going on.
5. Damaged Drain Pan
The drain pan collects the water that melts during the defrost cycle. In most models, it is located at the bottom of the refrigerator. Drain pans don’t need to be emptied, they are designed to let the water evaporate. However, if there is a crack or hole in your drain pan, the water won’t be able to pool long enough to evaporate. If this is the issue, you may notice water pooling underneath your fridge unit. Here’s what to do!
- Pull your refrigerator away from the wall to access the drain pan. Check the user manual if you need help locating it.
- Check the pan for damage, such as cracks or holes. This is most likely if you have recently moved your refrigerator.
- If you find damage, replace the pan. Make sure the replacement you buy is compatible with the make and model of your freezer.
- Remove the old pan and put the new one in its place. Depending on the model, it may be screwed or clipped into place.
- After replacing the pan, keep an eye on the freezer to make sure the leak is gone.
May. 06, 2024
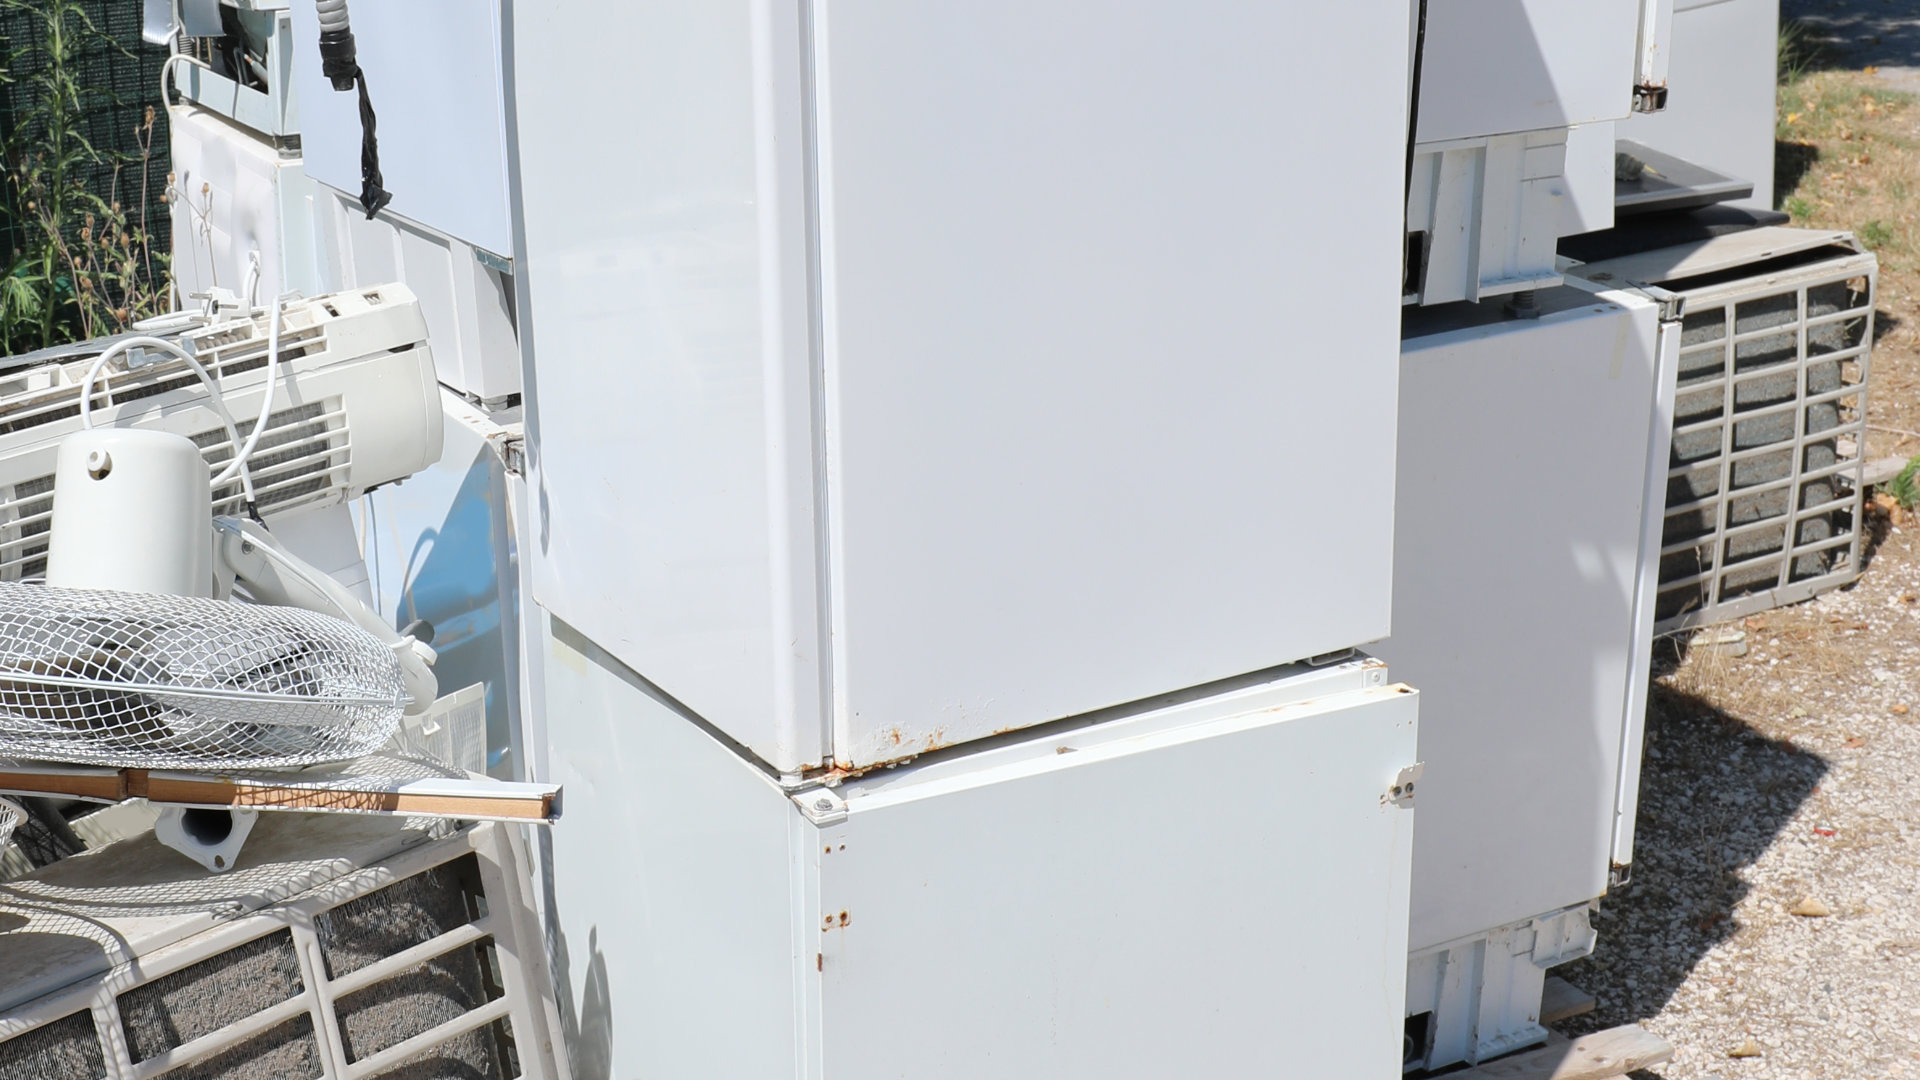
How To Dispose of a Refrigerator (in 5 Steps)
May. 06, 2024
5 Reasons Your Freezer Is Leaking Water

Apr. 09, 2024
How to Reset a Whirlpool Refrigerator Ice Maker

Apr. 09, 2024
6 Reasons Your LG Refrigerator Is Not Making Ice

Apr. 09, 2024
Kenmore Fridge Ice Maker Not Working? 5 Ways to Fix It

Mar. 06, 2024
How to Remove Fish Smell from Your Refrigerator

Mar. 06, 2024
How To Fix Bosch Dishwasher E24 Error

Mar. 06, 2024
Troubleshooting a Whirlpool Dishwasher Not Draining

Feb. 05, 2024
Why Is Your Fridge Water Not Working, but Ice Is?

Feb. 05, 2024
How to Fix the E15 Bosch Dishwasher Error Code

Feb. 05, 2024
How Much Power Does a Microwave Use?

Jan. 03, 2024
How to Properly Clean Refrigerator Coils

Jan. 03, 2024
How to Fix an LG Washer Showing OE Error Code

Jan. 03, 2024
Troubleshooting a GE Dishwasher with No Power and No Lights

Dec. 11, 2023
10 Reasons Why Your Bosch Dishwasher Won’t Start
(937) 252-3200Text or ring! ring!