

December 2, 2021
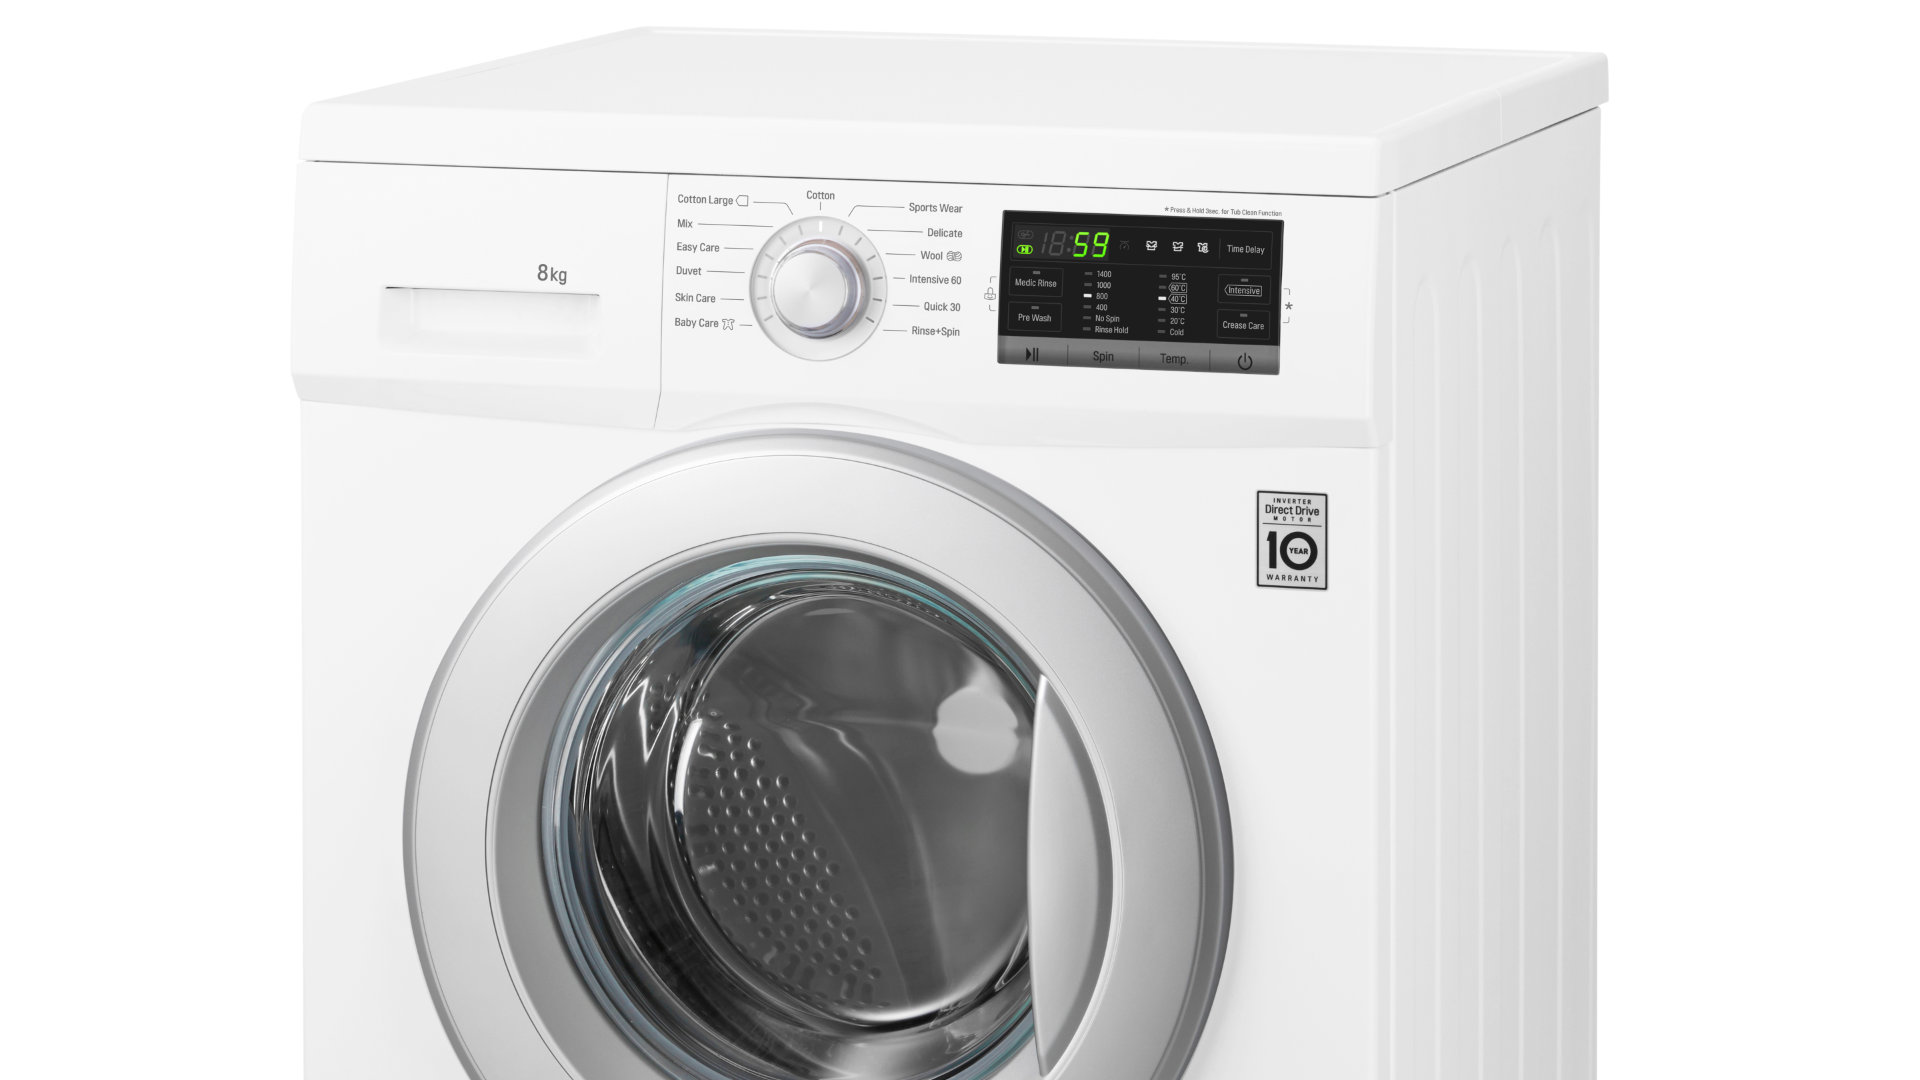
Washer Repair
An LG washer displaying an LE error code means that the washer’s motor is locked. In some cases, the LE error code is caused by a heavy wash load. If a heavy wash load has caused the error code, it can be resolved by adjusting the washing load and performing a washer reset. If a heavy wash load is not responsible for the LE error code, you likely have a more serious issue with either the hall sensor or rotor.
Read on to troubleshoot your LG washer’s LE error code.
This guide applies to most LG washer models, including the following:
WT7100CW
WT7300C
WM3670H
WM3900H
WM3050C
WM2350H
WM3470HWA
F4J5TNP7S
WD1475NCW
1. Heavy wash load
If the LE error code has been caused by a heavy wash load, aside from adjusting the wash load, you will also likely need to reset the washer to clear the error code.
Follow these steps to reset your LG washer:
- Press Power to turn the washer off.
- Unplug the washer or disconnect the power from the circuit breaker box.
- Press the Start/Pause button for approximately five seconds.
- Restore power to the washer.
The washer should now be reset and the LE error code cleared. Make sure you do not overload the washer with heavy items, to prevent the error code from reoccurring.
If the error code returns, there is likely a more serious issue that will need to be resolved.
2. Defective hall sensor (rotor position sensor)
The hall sensor, also called the rotor position sensor (RPS), is responsible for monitoring the washer’s motor to ensure it is working correctly. The hall sensor communicates with the washer’s control board. If the hall sensor is defective, it does not signal the control board, which triggers the LE error code.
Depending on your LG washer model, the hall sensor may be replaced relatively cheaply as an individual part; however, with some models, the hall sensor is part of the stator assembly, so a new stator assembly will be required to replace the hall sensor.
To access the hall sensor, the washer’s rear access panel will need to be removed. Once the access panel is removed, you should see whether your hall sensor is a separate part or part of the rotor. Googling a picture of a hall sensor will show you what to look for.
Follow these instructions to access and replace the hall sensor:
- Disconnect the power to the washer.
- Remove the washer’s rear access panel by unthreading the screws that secure it.
- Use a wrench to remove the bolt that secures the rotor to the tub shaft. A hammer can be used to hit the wrench to loosen the bolt while you hold the wrench and rotor steady.
- With the bolt removed, take off the rotor.
- Locate the hall sensor at the bottom of the stator. The hall sensor will have a wiring harness connected to it.
- Remove the screws that secure the hall sensor wiring harness. It is important to remember to replace these screws correctly when reassembling the washer, as they stop the wiring harness from getting caught when the stator is spinning.
The next steps depend on your washer model, whether you need to replace the stator to replace the hall sensor, and whether you can remove the hall sensor without removing the stator or not.
- Remove the bolts holding the stator in place. Make sure to hold the stator when removing the last bolt, as the stator will fall off if you are not holding it.
- Disconnect the wiring harness and remove the stator so that you can access the hall sensor.
- Remove the hall sensor from the washer.
If your hall sensor is separate from the stator assembly, you can test it with a multimeter to determine if it needs to be replaced. Aside from a multimeter, you will also need a magnet and a power supply or a 9-volt battery.
Follow these instructions to test the hall sensor with a multimeter:
- Locate the five pins on the hall sensor. Three of the pins should have a square slot, while two are curved at the top. The furthest curved slot top is number one, the next number two, and so on for the multimeter test.
- Set the multimeter to the ohms setting.
- Place a multimeter probe in the number 1 and number 5 slots. The multimeter should read 10,000 ohms or close to it (above 9,000 is acceptable).
- Test slots 5 and 2. Again, you should get a reading of 10,000 ohms or close to it. If the hall sensor has failed either test, it will need to be replaced. If it passed both tests, continue with the next step.
- Use a portable DC power supply or 9-volt battery to supply 10 volts of power to slots 4 and 5. Then set the multimeter to test for voltage.
- Put a multimeter probe into slots 4 and 1.
- Use a magnet to activate and deactivate the hall sensor. Do not touch the hall sensor or probes with the magnet; simply move the magnet over the hall sensor. Activating the hall sensor should result in the multimeter showing close to 10 volts. Deactivating the hall sensor should see close to zero volts.
- Lastly, conduct the same test, now with the multimeter probes in slots 4 and 2.
If the reading is not changing with the magnet or the voltage reading it shows is not close to 10 volts, the hall sensor is defective and must be replaced to resolve the LE error code.
3. Defective rotor
The rotor can be examined for damage to determine if it is defective. Another indication of a damaged rotor is if the washer has been making a clanking sound.
To access the rotor, follow the instructions above for accessing the hall sensor.
If you notice damage to the rotor, like cracks or grooves worn into the magnets or rotor casing, the rotor is likely defective and will need to be replaced.
Summary
To resolve an LG washer LE error code, determine if the error code is caused by a heavy load, a faulty hall sensor, or a defective rotor. Clearing the error code by disconnecting the power will clear the error if it is caused by a heavy load. Replacing the hall sensor or rotor should resolve a more serious LE error code.
May. 06, 2024
How To Dispose of a Refrigerator (in 5 Steps)

May. 06, 2024
5 Reasons Your Freezer Is Leaking Water

Apr. 09, 2024
How to Reset a Whirlpool Refrigerator Ice Maker

Apr. 09, 2024
6 Reasons Your LG Refrigerator Is Not Making Ice

Apr. 09, 2024
Kenmore Fridge Ice Maker Not Working? 5 Ways to Fix It

Mar. 06, 2024
How to Remove Fish Smell from Your Refrigerator

Mar. 06, 2024
How To Fix Bosch Dishwasher E24 Error

Mar. 06, 2024
Troubleshooting a Whirlpool Dishwasher Not Draining

Feb. 05, 2024
Why Is Your Fridge Water Not Working, but Ice Is?

Feb. 05, 2024
How to Fix the E15 Bosch Dishwasher Error Code

Feb. 05, 2024
How Much Power Does a Microwave Use?

Jan. 03, 2024
How to Properly Clean Refrigerator Coils

Jan. 03, 2024
How to Fix an LG Washer Showing OE Error Code

Jan. 03, 2024
Troubleshooting a GE Dishwasher with No Power and No Lights

Dec. 11, 2023
10 Reasons Why Your Bosch Dishwasher Won’t Start
(937) 252-3200Text or ring! ring!