

April 20, 2020
Dishwasher Repair
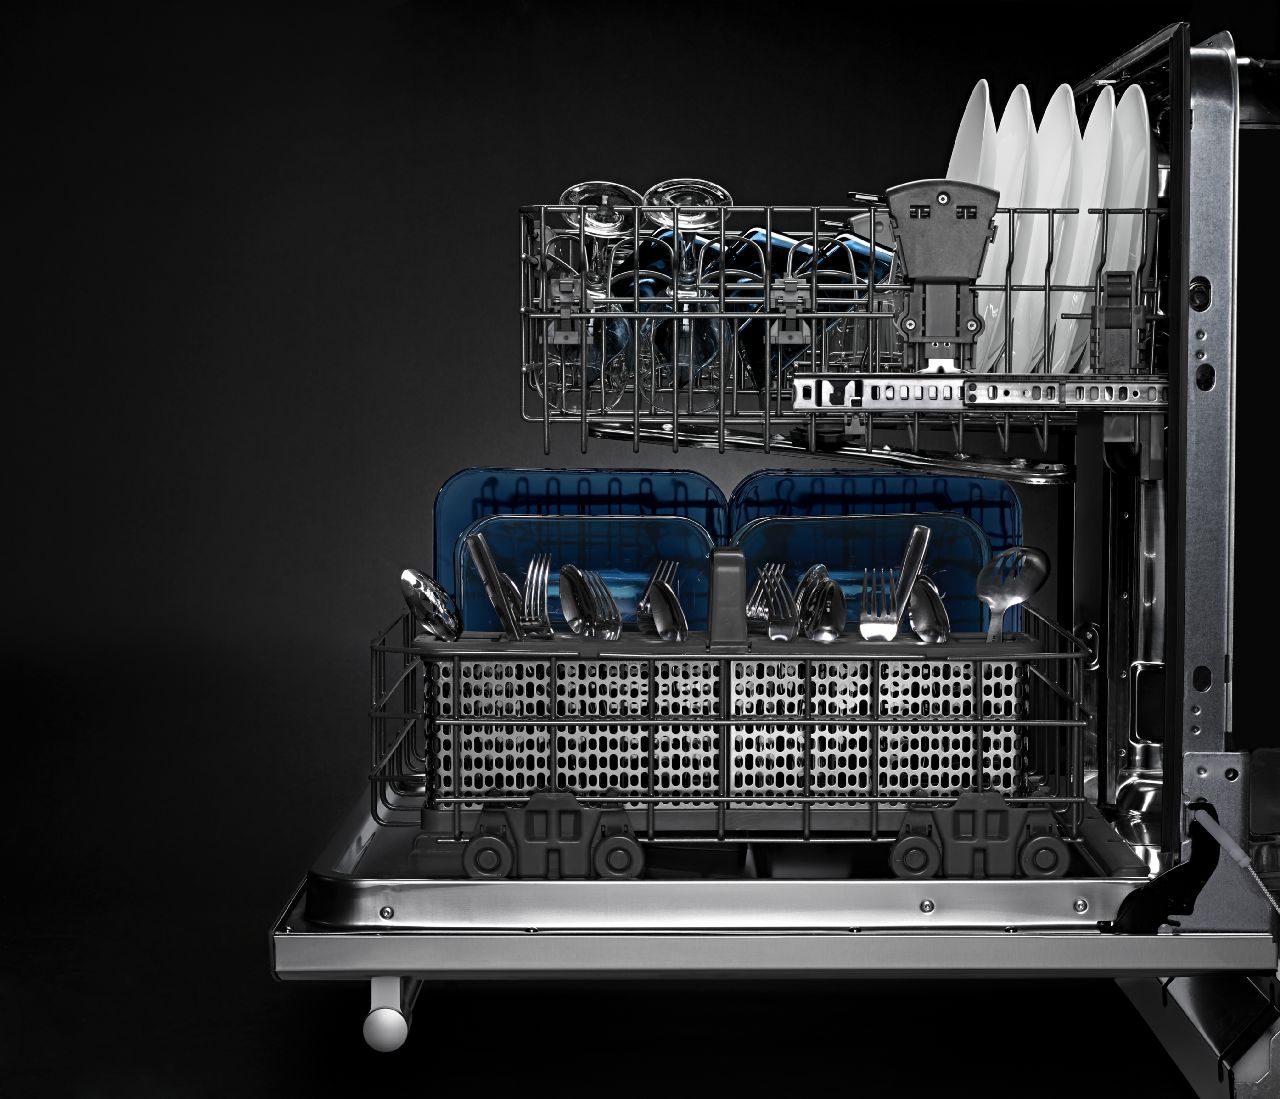
The appliances in your home serve two purposes. The first, of course, is to automate household chores while you live your life. But the second is to make your house look good. The shape and finish on your kitchen appliances, for example, influences how attractive your kitchen appears to be. These cosmetic concerns seem minimal until your appliances have seen a few years of service. Scratches, scuffs, and dents tend to build up over time.
While you want your kitchen to look good, you also don’t want to throw out perfectly good appliances for a few dents and scuffs. The good news is that you don’t have to. This concern is so common with dishwashers specifically that dishwasher manufacturers have made it possible to change out the front-facing door panel without changing the rest of the appliance. You can get a new metal or plastic front for your dishwasher so it will look shiny and new without even taking your dishwasher out of the cabinet.
This guide applies to all Whirlpool brand-family dishwashers, including KitchenAid, Amana, Maytag, and JennAir. The same steps apply to GE, Frigidaire, Electrolux, Bosch, LG, and Samsung dishwashers but there may be some small variations.
Gather Your Supplies
The first step for any appliance repair is to gather your supplies. It’s important to be ready to complete the repair from beginning to end. Replacing your dishwasher door panel is remarkably easy, but you will need an unusual tool. In addition to the replacement door panel, which should match the make and model of your dishwasher, you’ll also need a Torx screwdriver. This type of screwdriver has a star-shaped head.
- Torx Screwdriver
- Replacement Door Panel
- Towel
Safety First
Always start with electrical safety. In most appliance repairs, you will need to cut the power even if you won’t be working with wires because opening an appliance exposes the electrical components, which can be dangerous. In some cases, you will also need to turn off a water supply, but it’s not necessary with this particular repair. To replace your dishwasher door panel, the only safety step is to cut the power.
Flip the Breaker
Because the dishwasher door is wired, you’ll want to cut power to your dishwasher while doing this repair even though no wires are directly involved. Your dishwasher power plug is likely hidden behind cabinets so the best way to cut the power is to flip the breaker that powers your dishwasher’s circuit. If this takes your kitchen lights as well, grab a lamp to continue.
Remove the Outer Door Panel
Naturally, you must remove the old dented door panel before installing the new one. To do this, you’ll be opening up the dishwasher door and exposing the inner components that connect the control panel and soap release to the rest of the appliance. But don’t worry. With the power cut, this is perfectly safe.
Open the Dishwasher Door
Once you’re ready, begin by opening the dishwasher door. You can access the door’s structure from the inside. You will immediately see a perimeter of mounting screws along the edge of the dishwasher door interior.
Remove All but Two Torx Mounting Screws
Grab your Torx screwdriver and begin removing the mounting screws. Set them aside somewhere you can easily contain them and find them later. Remove all but two screws, one on each side, to keep the panel from falling while you work
Support the Outer Panel
Use your leg, a step-stool, or a friend to support the outer panel (currently facing the floor) as you prepare to remove the two final screws. This will keep it from falling with a clatter or torquing a screw sideways as it falls.
Remove the Final Torx Screws
Now you’re ready to take out the last two screws. Remove them while supporting the outer panel. Set the final screws with the others where you can find them later.
Take Away the Outer Panel
Finally, you are ready to pull away the outer door panel. You will see some wires inside the dishwasher door if you lift it too look, but it’s all very safe with the power turned off. At this point, you can toss the panel or keep it for winter sledding or arts and crafts projects. It’s still a sturdy piece of metal or plastic, though scuffed on one side.
Install the New Door Panel
Now to install your new, shiny door panel. With the old panel removed, you’re ready to get that new dishwasher door panel into place and secured to complete your repair.
Align the New Panel
Make sure the panel is facing the correct direction vertically and align it with the front of your dishwasher door. Hold the panel in place or ask a friend to do so as you prepare to apply the mounting screws.
Insert Two Screws Loosely
Start with two mounting screws, one on each side of the dishwasher door. Like before, these will act as your anchor so that the new panel doesn’t fall while you apply the rest of the screws. Do not screw them in tightly, as you may need to make small position adjustments to line up the panel with the door screw holes.
Secure All Torx Mounting Screws
Once the new panel is safe from falling, grab the rest of your Torx screws and put them back in one at a time. Like the first two, do not secure until all the screws are in place. Then screw them in firmly, but do not over-tighten. There’s no need to make the plastic bend or crack. If you twist until the screw stops on its own, there’s no need to push it further.
Restore the Power and Enjoy Your Shiny Dishwasher
Believe it or not, the replacement is that simple. Now that your dishwasher door is safely closed back up with no exposed wires, you can restore the power. Flip your kitchen breaker back on and confirm that the dishwasher works by pressing a few buttons and watching the lights respond.
You are now ready to admire your shiny new dishwasher panel. Without having to replace the entire dishwasher, you have successfully made your old dishwasher appear to be brand new.

Apr. 09, 2024
How to Reset a Whirlpool Refrigerator Ice Maker

Apr. 09, 2024
6 Reasons Your LG Refrigerator Is Not Making Ice

Apr. 09, 2024
Kenmore Fridge Ice Maker Not Working? 5 Ways to Fix It

Mar. 06, 2024
How to Remove Fish Smell from Your Refrigerator

Mar. 06, 2024
How To Fix Bosch Dishwasher E24 Error

Mar. 06, 2024
Troubleshooting a Whirlpool Dishwasher Not Draining

Feb. 05, 2024
Why Is Your Fridge Water Not Working, but Ice Is?

Feb. 05, 2024
How to Fix the E15 Bosch Dishwasher Error Code

Feb. 05, 2024
How Much Power Does a Microwave Use?

Jan. 03, 2024
How to Properly Clean Refrigerator Coils

Jan. 03, 2024
How to Fix an LG Washer Showing OE Error Code

Jan. 03, 2024
Troubleshooting a GE Dishwasher with No Power and No Lights

Dec. 11, 2023
10 Reasons Why Your Bosch Dishwasher Won’t Start

Dec. 11, 2023
Troubleshooting the F5 Error Code with a Maytag Washer

Dec. 11, 2023
How To Fix a Kenmore Dryer That Isn’t Heating
(937) 252-3200Text or ring! ring!