

December 13, 2019
Dryer Repair
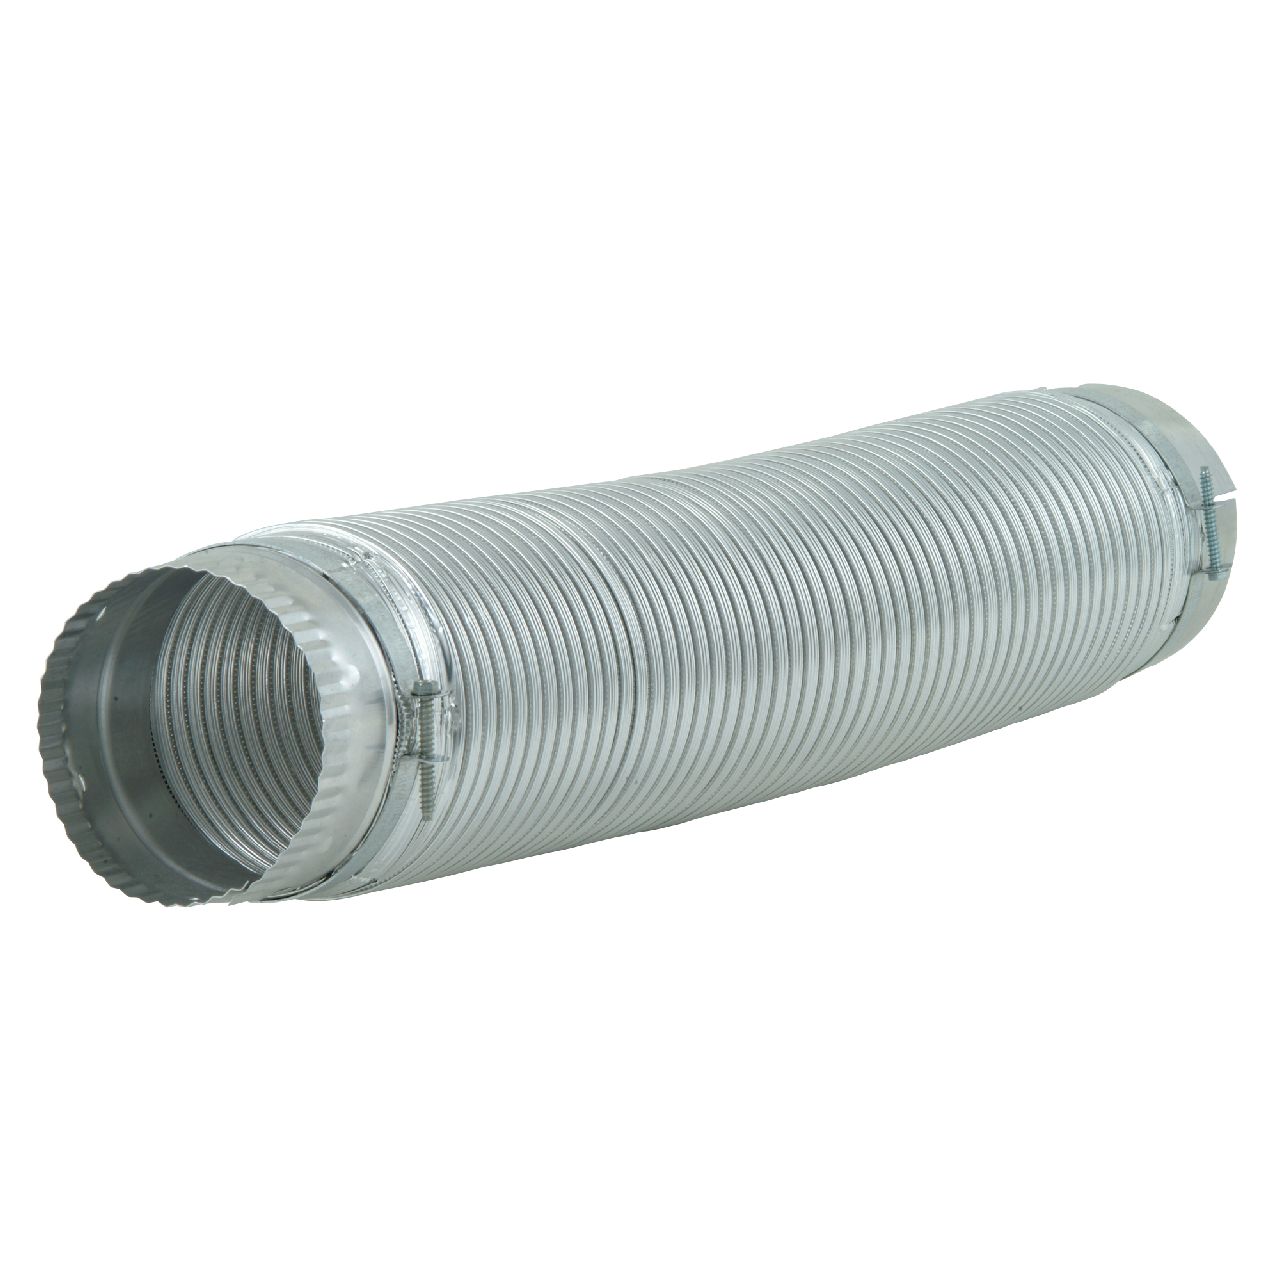
There is a certain part of the dryer that has many names and everyone refers to it in a different way, but they all mean the same thing. The dryer vent, dryer hose, or dryer duct are all the same thing in most people’s eyes. Sure, we could be pedantic and try to break down each term to mean a different part of the system. But in our minds, they are all the same: that silver flexible cylinder behind the dryer that carries the moist air away. That thing that can come loose, is easily crushed by accident, can get clogged with lint, and sometimes tears. You know, the single most breakable part of your dryer.
When that thing, the dryer vent/hose/duct, malfunctions your dryer stops working right. Clothes don’t get dry, or lint is hosed all over the laundry room, or the humidity in the laundry room goes sky-high. Or all of the above.
Today, we’re here to resolve your dryer hose (we’re just picking one for expedience sake) troubles with a quick outline of how to handle each of the most typical ways this flexible tube can malfunction. Fortunately, no electrical parts are involved so it’s safe to do these repairs at home without any special safety precautions. But if you have sensitive sinuses, you might want to cover your face with a bandana.
This could get linty.
Supplies You Will Likely Need
There are three things and only three things you may need for a dryer hose repair, provided you have all the pieces of your current
- Screwdriver
- Foil Duct Tape
- New Dryer Hose
My Dryer Hose Has Come Loose from the Wall or Dryer
Okay, so your dryer hose has come loose. You know because not only is there extra lint on the floor and the air is humid, but when you look back there you can see that the hose is loose from the back of the dryer or the vent in your wall. No problem, this fix is pretty easy. Grab your screwdriver and foil duct tape.
Reattaching a Dryer Hose End
- Make Some Room
- Pull your dryer as far away from the wall as is safe, and unplug it if necessary.
- Remove the Clamp
- Use your screwdriver to loosen or remove the screws holding the dryer hose clamp together and open the clamp.
- Inspect the Dryer Hose
- Take a close look at your dryer hose while it’s loose to make sure there aren’t any serious rips or crimps.
- Reattach the Dryer Hose End
- Fit the dryer hose end all the way around the aperture snugly
- Tape to Make a Seal
- Secure with foil duct tape to create an airtight seal
- Resecure the Clamp
- Return the clamp around the dryer hose connection and tighten the screws until it holds on firmly.
- Remember not to place screws through the shiny hose itself.
I Crushed My Dryer Hose Pushing the Dryer
It’s nice to have a tidy laundry room and many people completely forget about that very crushable foil hose when pushing their laundry machines back into place. You may be straightening them after a wobbly load or just like the look of the machines closer to the wall. But that crunching sound isn’t lost corn chips, it’s the dryer hose being crumpled into the wall.
So you accidentally crushed your dryer hose. Not it’s time to inspect and potentially repair the damage.
Straightening a Dryer Hose
- Make Some Room
- Pull your dryer as far away from the wall as is safe, and unplug it if necessary.
- Straighten Out Your Hose
- Take a moment to pull the dryer hose back into the position it’s supposed to be, which is any configuration that allows unobstructed flow from the dryer to the vent in the wall.
- Inspect the Dryer Hose
- Take a close look at your dryer hose from end to end. It’s okay to be a bit crumpled as long as it straightens back out.
- If the dryer hose is loose, see directions above. If the dryer hose is torn, see directions below to replace it.
My Dryer Hose is Ripped Open
You are currently looking at a shiny cylindrical tube that has a big tear in the side or has been ripped open by nearby dryer activity. That’s okay. Replacement dryer hoses are inexpensive and easy to install. You’ll need your screwdriver and a spare dryer hose for this one.
Replacing a Dryer Hose
- Make Some Room
- Pull your dryer as far away from the wall as is safe, and unplug it if necessary.
- Remove Both Clamps
- Loosen the screws and remove the clamps from both sides of the dryer hose. Fully remove the clamps and screws and set them aside.
- Remove the Old Hose
- Take off any old foil tape and remove the dryer hose from both sides of the connection. Be careful; it’s linty in there, so we don’t recommend giving the old hose to your cat or children to play with.
- Attach New Hose to the Dryer
- Fit the dryer hose over the dryer aperture
- Seal with foil duct tape
- Reattach the clamp firmly
- Cut to Fit
- Run the dryer hose up to the vent aperture and cut it about 6 inches longer than seems necessary.
- Attach New Hose to the Vent
- Fit the dryer hose over the vent aperture
- Seal with foil duct tape
- Reattach the clamp firmly
My Dryer Hose is Way Too Long for the Space Behind My Dryer
Another serious ongoing problem can be that the last person to install your dryer hose didn’t bother to cut it short. Dryer hoses come in long lengths, just in case you need that for something, and most people keep their dryers fairly close to the wall with the vent. So if your dryer hose is so long you keep crumpling it by accident, you can absolutely cut it shorter.
Shortening a Dryer Hose
- Detach the Dryer Hose from the Vent
- Loosen the clamp screws and remove the clamp holding the hose to the vent
- Cut to Fit
- Run the dryer hose up to the vent aperture and cut it about 6 inches longer than seems necessary.
- Attach New Hose to the Vent
- Fit the dryer hose over the vent aperture
- Seal with foil duct tape
- Reattach the clamp firmly
My Dryer Hose is Clogged with Lint
You suspect that your dryer hose is full of lint and clogged, which is why your dryer isn’t drying efficiently. If this is true, and it absolutely can be, you’ll need to open up the hose and clear out the aperture or clean it completely.
Cleaning a Dryer Hose
- Detach the Dryer Hose from the Vent
- Loosen the clamp screws and remove the clamp holding the hose to the vent
- Clear the Vent and Hose
- Make sure the vent is not your clog-point by clearing it of any lint and checking it during this repair
- Clear out the lint from your dryer hose and inspect with a bright light.
- If the dryer-side looks clogged, clear that end as well
- Reattach Both Sides of the Dryer Hose
- Use foil duct tape and the clamps to firmly resecure both ends of the dryer hose to the dryer and vent.
- Keep the Hose Un-Crumpled
- Lint clogs can also happen when lint can’t flow through a crumpled dryer hose
- Keep your hose un-crumpled by carefully arranging it behind the dryer. Then resist the urge to nudge your dryer.

Apr. 09, 2024
How to Reset a Whirlpool Refrigerator Ice Maker

Apr. 09, 2024
6 Reasons Your LG Refrigerator Is Not Making Ice

Apr. 09, 2024
Kenmore Fridge Ice Maker Not Working? 5 Ways to Fix It

Mar. 06, 2024
How to Remove Fish Smell from Your Refrigerator

Mar. 06, 2024
How To Fix Bosch Dishwasher E24 Error

Mar. 06, 2024
Troubleshooting a Whirlpool Dishwasher Not Draining

Feb. 05, 2024
Why Is Your Fridge Water Not Working, but Ice Is?

Feb. 05, 2024
How to Fix the E15 Bosch Dishwasher Error Code

Feb. 05, 2024
How Much Power Does a Microwave Use?

Jan. 03, 2024
How to Properly Clean Refrigerator Coils

Jan. 03, 2024
How to Fix an LG Washer Showing OE Error Code

Jan. 03, 2024
Troubleshooting a GE Dishwasher with No Power and No Lights

Dec. 11, 2023
10 Reasons Why Your Bosch Dishwasher Won’t Start

Dec. 11, 2023
Troubleshooting the F5 Error Code with a Maytag Washer

Dec. 11, 2023
How To Fix a Kenmore Dryer That Isn’t Heating
(937) 252-3200Text or ring! ring!