

October 2, 2023
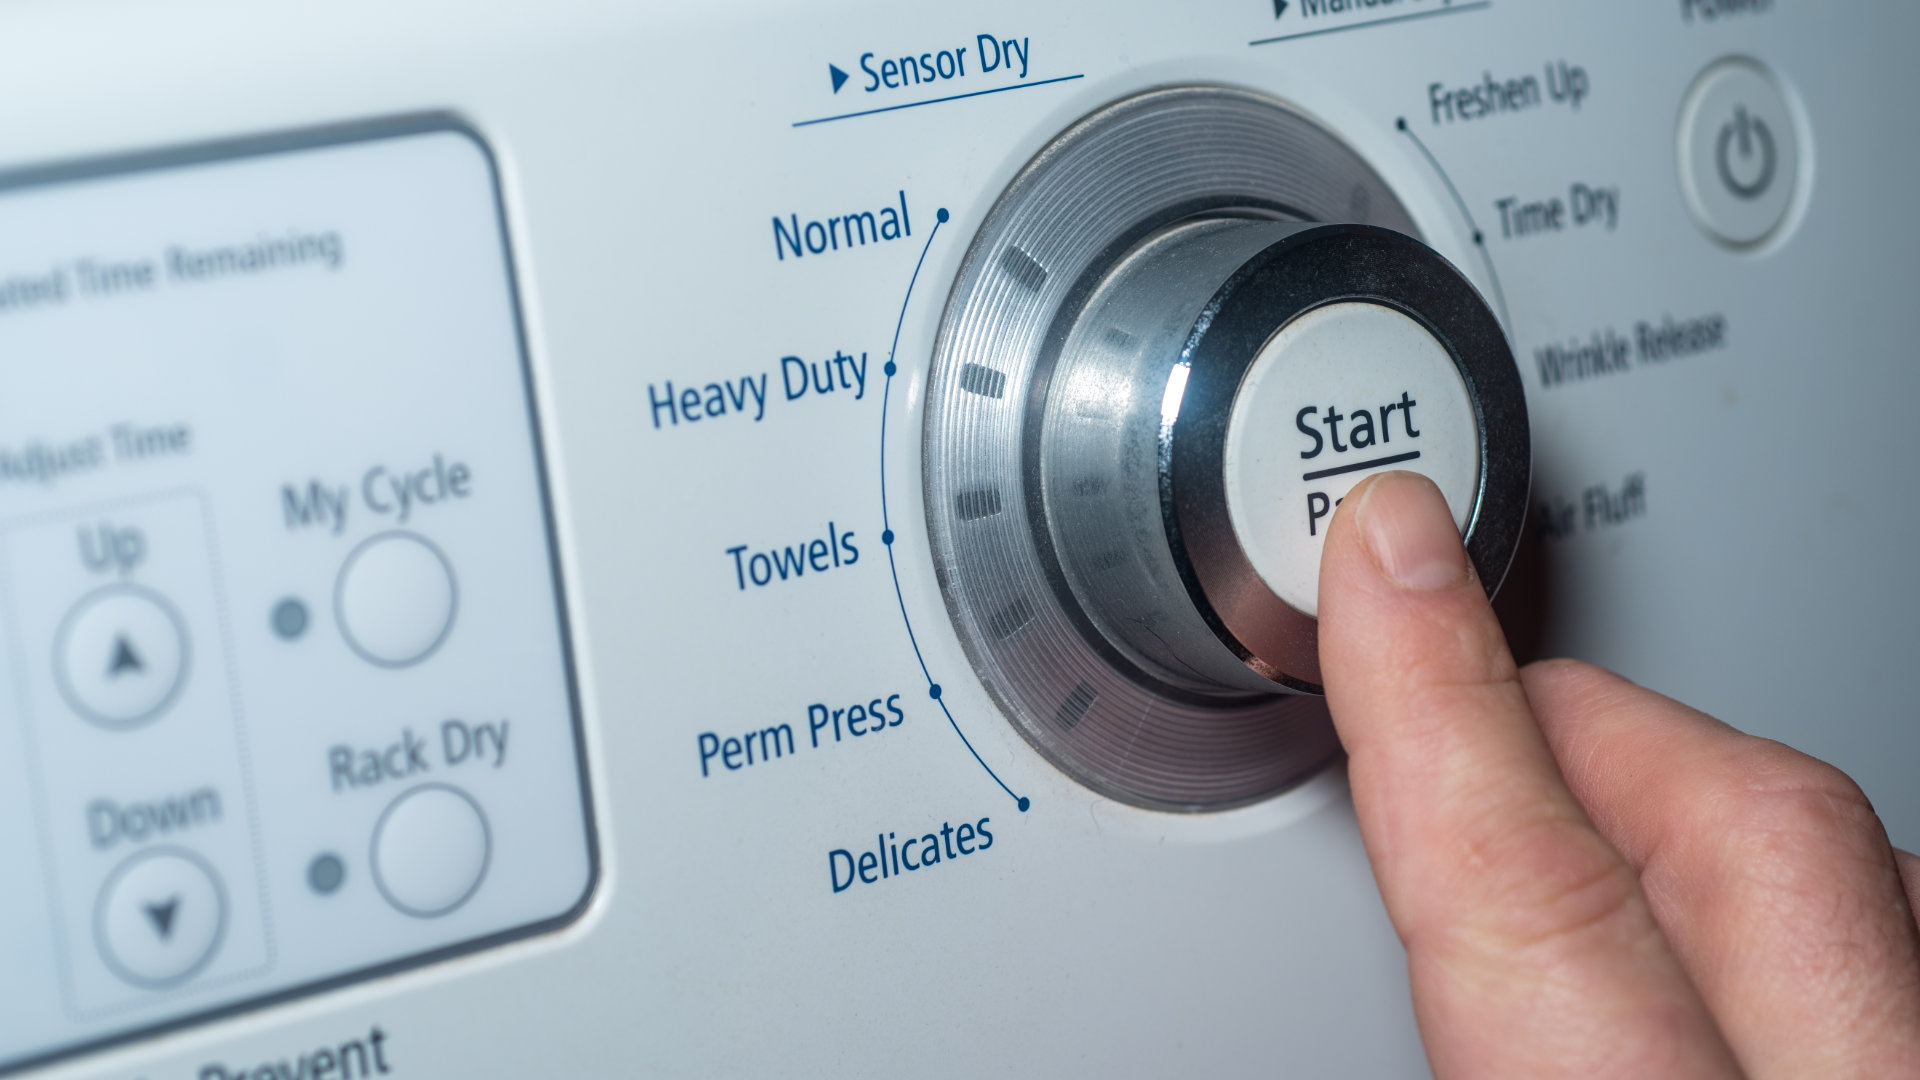
Dryer Repair
Your dryer is one of the most frequently used appliances in your home, and its belt is a crucial component that helps to drive the drum.
However, with frequent use over time, the dryer belt can become worn, frayed, or even break. This can lead to your dryer’s drum failing to rotate, causing an inconvenience during laundry day.
But what do you do when your Samsung dryer belt goes bad? This article will guide you through the replacement process.
Step 1: Safety first!
Ensure you have the right replacement belt for your specific Samsung dryer model. Different models may use different types of belts, so it’s important to refer to the user manual or consult with the manufacturer if you’re unsure.
Another safety tip is to wear proper protective gear. This includes thick gloves to protect your hands from sharp edges inside the dryer and safety glasses to shield your eyes from any dust or debris that might be dislodged during the process. Dryers can collect a lot of dust and lint over time.
Before you start working on your dryer, always make sure you turn off the power source to avoid any potential electrical hazards. You can do this by unplugging your dryer cord from the power source or turning off the circuit breaker. Remember to also disconnect the dryer vent before moving on to the next step.
Step 2: Access the dryer belt
Pull the dryer away from the wall.
Have a container nearby to hold the screws. A multi-compartment container would be best so you can keep track of which screws went where.
Next, you’ll need to find the top or front panel of your Samsung dryer. This is typically where the controls for the dryer are located. Depending on your dryer model, this panel could be attached in a few different ways. Most commonly, there will be screws located at the back of the top panel. Use a screwdriver to remove these screws.
Once the back screws are removed, you can lift the top panel. It’s usually hinged at the front, so lift it from the back and pull it forward. In some models, you might need to slide it forward a bit before it lifts up. Be gentle to avoid damaging any connected wires or controls.
With the panel removed, you should now have clear access to the drum and belt of your Samsung dryer. Look for a long, thin belt wrapped around the drum. This is the part you’re interested in replacing.
To fully access the dryer belt, you will need to remove the front panel. Remove any remaining screws holding the front panel in place, starting with those at the top of the control panel.
Next, undo the screws attached to the main relay board at the side. Pull the main relay board out and disconnect the two plugs attached to the main control panel. Then, secure the main relay board back in place so it will not fall.
Be sure to take pictures of any wire connections before disconnecting them so you remember how they attach.
You can now detach the control panel from the front of the dryer. Pull it out and away, including the wires you disconnected.
Now, open the door, and undo the two screws at the bottom of the frame by the lint filter.
Next, undo all of the screws at the top of the front panel, as well as the small grounding screw that was behind the control panel.
Pull the panel away from the front and disconnect the door switch. Then, pull the whole front panel away and set it aside.
Undo the screws holding the top shield on, and remove the shield. Undo the connections at the top and bottom of the drum.
Next, undo the screws holding the front drum housing in place, as well as the one at the bottom, by the air blower. Pull the front of the housing away.
Now, you can access the belt and drum.
Step 3: Remove the belt and tensioner
The dryer belt is usually looped around the drum and held in place by a tensioner or idler pulley.
To access the pulleys, remove the guard around the exhaust vent at the back of the dryer. You should now be able to see the pulley system. There will be a tensioner, which can be moved, and the motor puller, which is stationary.
To remove the belt, ease off the tensioner to loosen the tension and then slip the belt off the motor pulley and drum. As you remove the belt, make sure to take note of how it was wrapped around the drum.
Step 4: Install the new belt
Get your new Samsung dryer belt and loop it around the drum in the same way as the old belt. Then, feed the belt through the tensioner and pulley system, making sure to place it around the motor pulley last. Make sure the belt is in the correct position and taut. Pull the belt to rotate the drum one full rotation. This will align the belt properly.
Step 5: Reassemble your dryer
With the new dryer belt installed, it’s time to reassemble your Samsung dryer. Follow all of the steps above in reverse to put the dryer back together. Remember to also reconnect the dryer vent before plugging the dryer cord back into the power source.
In conclusion, replacing your Samsung dryer belt is a task that can be done by an average person in just a few steps. However, if the process seems daunting or intimidating, consider hiring a professional to do it.
Always prioritize your safety first when working with electrical appliances, and always disconnect the power source before attempting any repairs.
Keep track of the screws and wire connections so you don’t lose your place or reassemble the dryer incorrectly.
Using this guide, you can now have the confidence to replace your Samsung dryer belt without any problems.

Apr. 09, 2024
How to Reset a Whirlpool Refrigerator Ice Maker

Apr. 09, 2024
6 Reasons Your LG Refrigerator Is Not Making Ice

Apr. 09, 2024
Kenmore Fridge Ice Maker Not Working? 5 Ways to Fix It

Mar. 06, 2024
How to Remove Fish Smell from Your Refrigerator

Mar. 06, 2024
How To Fix Bosch Dishwasher E24 Error

Mar. 06, 2024
Troubleshooting a Whirlpool Dishwasher Not Draining

Feb. 05, 2024
Why Is Your Fridge Water Not Working, but Ice Is?

Feb. 05, 2024
How to Fix the E15 Bosch Dishwasher Error Code

Feb. 05, 2024
How Much Power Does a Microwave Use?

Jan. 03, 2024
How to Properly Clean Refrigerator Coils

Jan. 03, 2024
How to Fix an LG Washer Showing OE Error Code

Jan. 03, 2024
Troubleshooting a GE Dishwasher with No Power and No Lights

Dec. 11, 2023
10 Reasons Why Your Bosch Dishwasher Won’t Start

Dec. 11, 2023
Troubleshooting the F5 Error Code with a Maytag Washer

Dec. 11, 2023
How To Fix a Kenmore Dryer That Isn’t Heating
(937) 252-3200Text or ring! ring!