

August 9, 2019
Dryer Repair
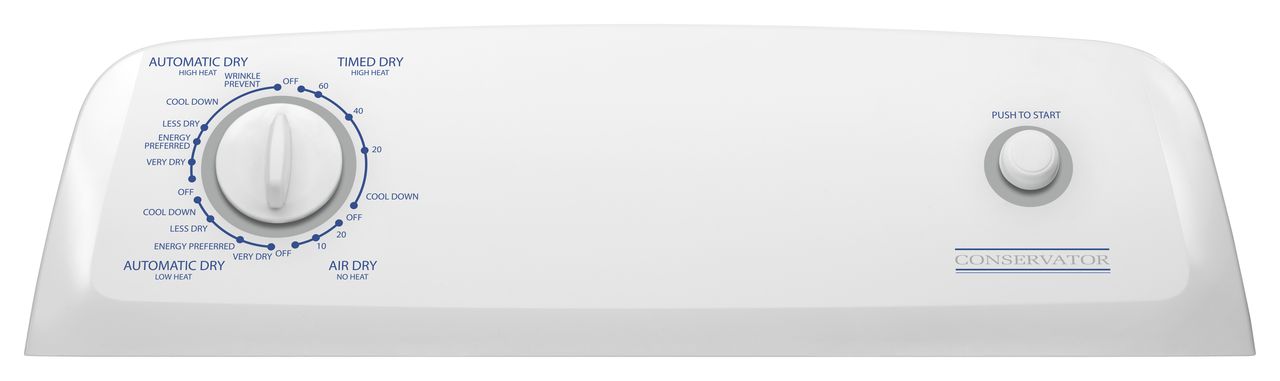
Things in your house can get pretty grim when the dryer’s Push-to-Start button stops starting the dryer. You rely on warm fluffy towels to get you through the week. And on fast wrinkle-free drying to handle both laundry day and emergency washes. So when your Push to Start button stops working, it can be worth a little DIY repair experience to get it fixed.
Today, we’re here to show you how to repair your dryer’s Push to Start switch if you have identified this as the source of your problem. Here we go:
Preparing to Repair
1. Collect Your Tools
Before you start you will want a few tools at-hand during the repair. This is a surprisingly simple repair so the list of tools is not long.
Go get your:
- Push to Start Replacement Switch
- Be sure to match your dryer’s make and model compatibility
- Flathead screwdriver
- 1/4 ” Nut Driver / Socket Wrench
- Your Phone
- Work Gloves
2. Unplug that Appliance
To be safe, you want to start any electrical appliance repair with disconnecting the power plug. Dryers run a lot of electricity and you don’t want to chance the risk of a shock. Pull the plug from the large outlet firmly but carefully and place the dryer plug where you can reach it later on.
Getting to the Switch
3. Pull the Push to Start Knob
Next, grasp the Push to Start knob or button that has stopped working and pull it out firmly. The knob should come loose in your hand and can be set aside. The switch includes the post on which the knob is mounted, so removing the knob will ensure that it is not launched later when you remove the switch from the other side.
4. Remove the Control Back Panel
Now you’ll need to access the back of the Push to Start switch. Pull your dryer out as far as is necessary to work behind it. Then use your 1/4″ nut driver or socket wrench to remove the bolts in the back. Carefully set the bolts aside and label them if you will need that to remember their purpose.
Lift the back panel away from the control segment and set it aside as well.
5. Identify the Push to Start Switch
Look for the back of the Push to Start switch inside the control panel. This can easily be found by reverse-locating the switch from its spot on the front of the panel. Be certain you’ve got the right switch before proceeding.
6. Photograph the Wire Connections
The most important part of the repair will be reattaching the wires to the replacement switch. You want to be able to do so perfectly and with confidence that you have done it the right way. The best way to do that is to match a photograph.
Pull out your phone and snap a picture or five of the switch and how the wires are connected. You can use this as a reference later. If you’re worried, use colored tape to label connections.
Replacing a Dryer Push to Start Switch
7. Remove the Wires
Now you are safe to remove the wires from the broken Push to Start switch. Pull them firmly but carefully to release the connections and leave the old switch free of wires.
8. Release the Locking Tab
There is a metal locking tab that is part of the old switch. You will need to press it in order to release and remove the switch. Use your flathead screwdriver to press the tab.
9. Pull the Switch Free
When the tab releases, pull the old switch until it comes loose. You may need to adjust your grip on the tab to fully release it as you pull. Throw the old switch away or set it aside for inspection.
10 Fit In the New Push to Start Switch
The new Push to Start switch should slot neatly into the place just vacated by the old switch. Align the locking tab with its slot and fit the switch into place. Push until you feel the tab lock.
11. Reattach the Wires Exactly
With the new switch in place, refer to your photograph and fit the wire connections back exactly how they were before. It is important to do this step correctly or your dryer may not be safe when you turn it back on. Caution: If you’re not confident that the wires are placed correctly, delay this repair until an expert can be consulted.
Confirm your work by checking with the photograph again and make sure the wires are fitted firmly into place.
Cleaning Up After Repairs
12. Close the Back Panel
Tuck all wires inside the housing of the control panel top. Then lift the back panel cover into alignment and use your 1/4″ nut driver or socket wrench to reattach the bolts you set aside. Tighten each bolt firmly. If you have trouble aligning the back panel, ask a friend to hold it in place while you attach the screws.
13. Return the Push to Start Knob
Return to the front of the dryer and put the Push to Start knob onto the point of the new switch. It should already be aligned correctly.
14. Plug the Dryer Back In
With the dryer reassembled around the new switch, you’re ready to test. Once the dryer is plugged back in. This is usually easier to do before your dryer is pushed back into place, provided the cord is placed smartly with pushing in mind. Push the plug firmly into the dryer outlet, careful not to touch the prongs.
Test Your Success
15. Push to Start
Finally, it’s time to test your dryer. Without a load of clothes, set to neutral settings and push to start your dryer. If it starts, you succeeded! Congratulations on repairing your dryer’s Push to Start Switch.
If the dryer doesn’t start, you either made a mistake or the problem is not with the Push to Start switch. For more insights into home appliance repair or assistance in fixing your dryer, contact us today!

Apr. 09, 2024
How to Reset a Whirlpool Refrigerator Ice Maker

Apr. 09, 2024
6 Reasons Your LG Refrigerator Is Not Making Ice

Apr. 09, 2024
Kenmore Fridge Ice Maker Not Working? 5 Ways to Fix It

Mar. 06, 2024
How to Remove Fish Smell from Your Refrigerator

Mar. 06, 2024
How To Fix Bosch Dishwasher E24 Error

Mar. 06, 2024
Troubleshooting a Whirlpool Dishwasher Not Draining

Feb. 05, 2024
Why Is Your Fridge Water Not Working, but Ice Is?

Feb. 05, 2024
How to Fix the E15 Bosch Dishwasher Error Code

Feb. 05, 2024
How Much Power Does a Microwave Use?

Jan. 03, 2024
How to Properly Clean Refrigerator Coils

Jan. 03, 2024
How to Fix an LG Washer Showing OE Error Code

Jan. 03, 2024
Troubleshooting a GE Dishwasher with No Power and No Lights

Dec. 11, 2023
10 Reasons Why Your Bosch Dishwasher Won’t Start

Dec. 11, 2023
Troubleshooting the F5 Error Code with a Maytag Washer

Dec. 11, 2023
How To Fix a Kenmore Dryer That Isn’t Heating
(937) 252-3200Text or ring! ring!