

December 2, 2021
Microwave Repair
If your GE microwave is displaying an F3 error code, you’re in the right place. In this article, we will give you step-by-step instructions on how to find the cause of the error code and fix it so you can start using your microwave again.
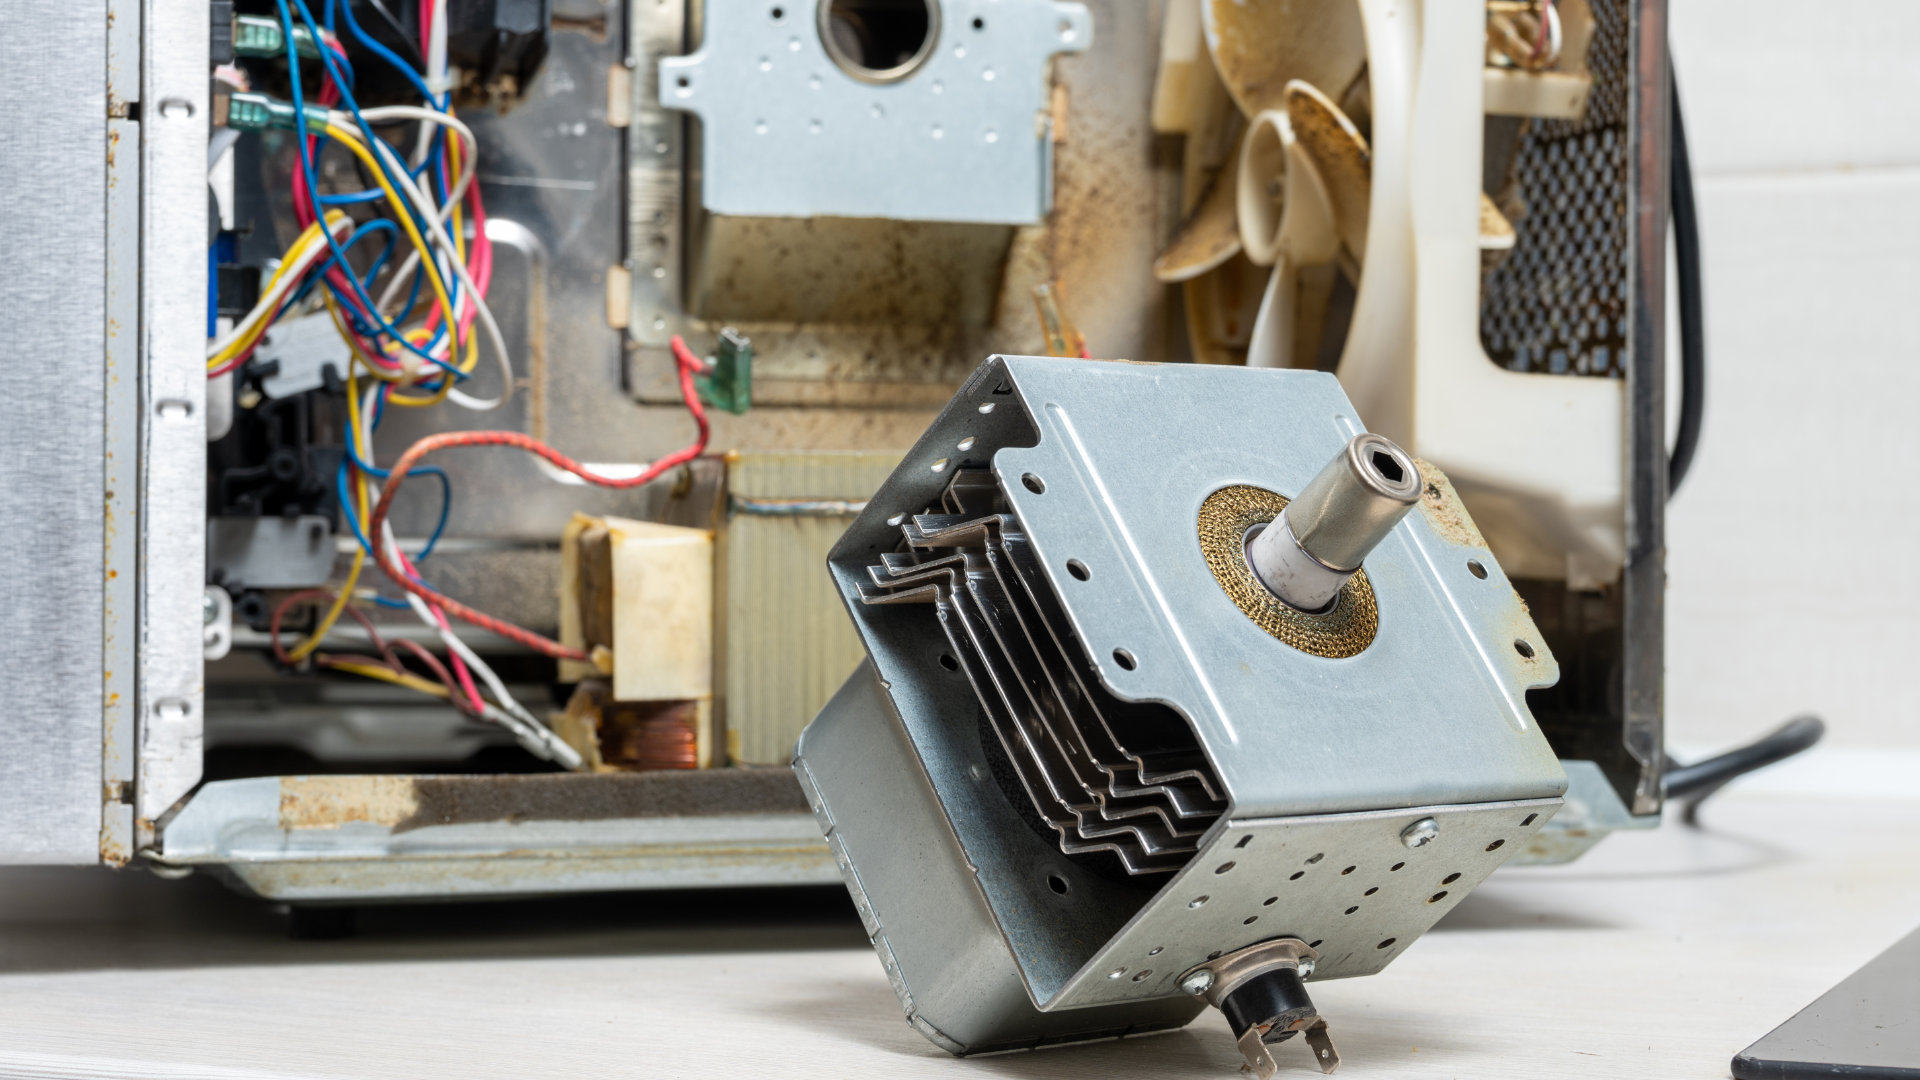
The F3 error code means you have a problem with your keypad. Most of the time this means it has shorted out, so you’ll need to take your microwave apart and fix it.
Please note that repairing microwaves is very dangerous due to the risk of electric shocks; you should never attempt any repairs unless you are experienced working with dangerous appliances.
If you don’t have experience working with appliances, try to reset your microwave (see below), and if that doesn’t work, call a qualified technician to come and look at your microwave or take it into an appliance repair shop.
This guide covers the following GE microwave models:
56-289610-02
56-2899-10
JE101901
JE101902
JE1019H01
JE1019H02
JVM1540DM5WW
JVM1540SM5SS
JVM1790SK01
JVM1860SF001
JVM1870SF001
JVM1870SF02
JVM1950SR1SS
JVM2070SH001
JVM2070SK02
JVM3160DF2WW
JVM7195SF1SS
PVM1870SM1SS
PVM1870SM3SS
PVM1970SR1SS
SCA1001KSS02
Step 1 – Reset your microwave
Sometimes a simple reset will solve the problem and remove the error code. This is because sometimes microwaves can show error codes by mistake. To reset your microwave, simply switch it off, wait a few minutes, and then turn it back on again. Once you turn it back on, check if the error code has gone. If not, you’ll need to move on to step 2 – but only if you have the tools and knowledge to repair a microwave.
Step 2 – Turn the power off
Unplug your microwave from the power socket. You can then pull the microwave out from the cabinet or take it off its mounting bracket so you can work on it. You’ll want to put it down on a flat table or bench to make taking it apart easier.
Step 3 – Remove the grille
Once you have turned the power off and have the microwave on a table or bench, the next step is to remove the grille. You can do that by locating the 2 screws that attach the grille to the microwave and unthreading them with a Phillips-head screwdriver. Once the screws are removed, the grille should just pop off.
Step 4 – Remove the control panel
The next step is to remove the control panel. You can do that by locating and then unthreading the screws that keep the control panel attached to the microwave frame. Once the screws are removed, you need to remove the screw that holds the green ground wire in place and then remove the wires that are connected to the control panel. You should be able to lift the control panels up and out from the microwave.
Step 5 – Remove the membranes from the control board
Once the control board is removed from the microwave, you need to remove the membranes from the control board. This can be done by using a hairdryer to apply heat to the control board for about 20 to 30 seconds. Just be careful it doesn’t get too hot – this is best achieved by using the lowest setting on the dryer. Once the control board has heated up, you should be able to peel the membrane off the control panel (start with the top membrane, and then do the other one using the same process).
Step 6 – Replace the membranes
Once the old membranes are off the control board, you’ll need to replace them. You can do that by inserting the pliable circuit that is on the membrane into the opening that is on the control board. You can then take the wax strip off to expose the adhesive strip and attach it to the control board. Once the first membrane is in place, you can use the same process to attach the other one.
Step 7 – Reattach the control board
Once both membranes are in place, you can reattach the control board to the microwave. To do this, you simply need to put it into the correct position and then secure it in place with the screws that you removed earlier. Once attached, put the wires back into the control board and the green ground wire back into position. You can then reattach the grille by threading the two screws back into place.
Step 8 – Test your microwave
Once your microwave is back together again, plug it back into the power socket and turn it on. You can then turn it on to a cycle and see if the F3 error code has gone from the display. If it has, your microwave is good to go. However, if the error code is still showing on the display, you will need to consider replacing the control board or purchasing a new microwave. Replacing the control board isn’t particularly expensive, but if your microwave is old, buying a new one might be the best option.
Step 9 – Put your microwave back in place
Assuming your microwave is now working again, the final step is to put it back into its position and turn the power back on. You will then need to reset the clock before using it again.

Apr. 09, 2024
How to Reset a Whirlpool Refrigerator Ice Maker

Apr. 09, 2024
6 Reasons Your LG Refrigerator Is Not Making Ice

Apr. 09, 2024
Kenmore Fridge Ice Maker Not Working? 5 Ways to Fix It

Mar. 06, 2024
How to Remove Fish Smell from Your Refrigerator

Mar. 06, 2024
How To Fix Bosch Dishwasher E24 Error

Mar. 06, 2024
Troubleshooting a Whirlpool Dishwasher Not Draining

Feb. 05, 2024
Why Is Your Fridge Water Not Working, but Ice Is?

Feb. 05, 2024
How to Fix the E15 Bosch Dishwasher Error Code

Feb. 05, 2024
How Much Power Does a Microwave Use?

Jan. 03, 2024
How to Properly Clean Refrigerator Coils

Jan. 03, 2024
How to Fix an LG Washer Showing OE Error Code

Jan. 03, 2024
Troubleshooting a GE Dishwasher with No Power and No Lights

Dec. 11, 2023
10 Reasons Why Your Bosch Dishwasher Won’t Start

Dec. 11, 2023
Troubleshooting the F5 Error Code with a Maytag Washer

Dec. 11, 2023
How To Fix a Kenmore Dryer That Isn’t Heating
(937) 252-3200Text or ring! ring!