

March 19, 2020
Microwave Repair
Most home appliances have several repairs that are easy to tackle at home. Replacing handles, latches, and switches can often be easier than it sounds. But this is not true for the microwave. Because the microwave is so small and compact, everything is built very tightly and repairs can be difficult. This is why many people call for professional appliance repair services or buy a new microwave if their microwave stops working.
However, these aren’t your only options. If you want to take a screwdriver and multimeter to your microwave, the learning and DIY opportunity is there. One of the most common microwave malfunctions is a faulty touchpad. The soft-touch buttons that make most of today’s microwave controls can lose sensitivity so that one or multiple buttons stops sending a signal to the microwave. Which, of course, renders the microwave completely useless.
If your microwave buttons or touchpad has stopped working, we’re here to help you understand what has gone wrong and how to fix it.
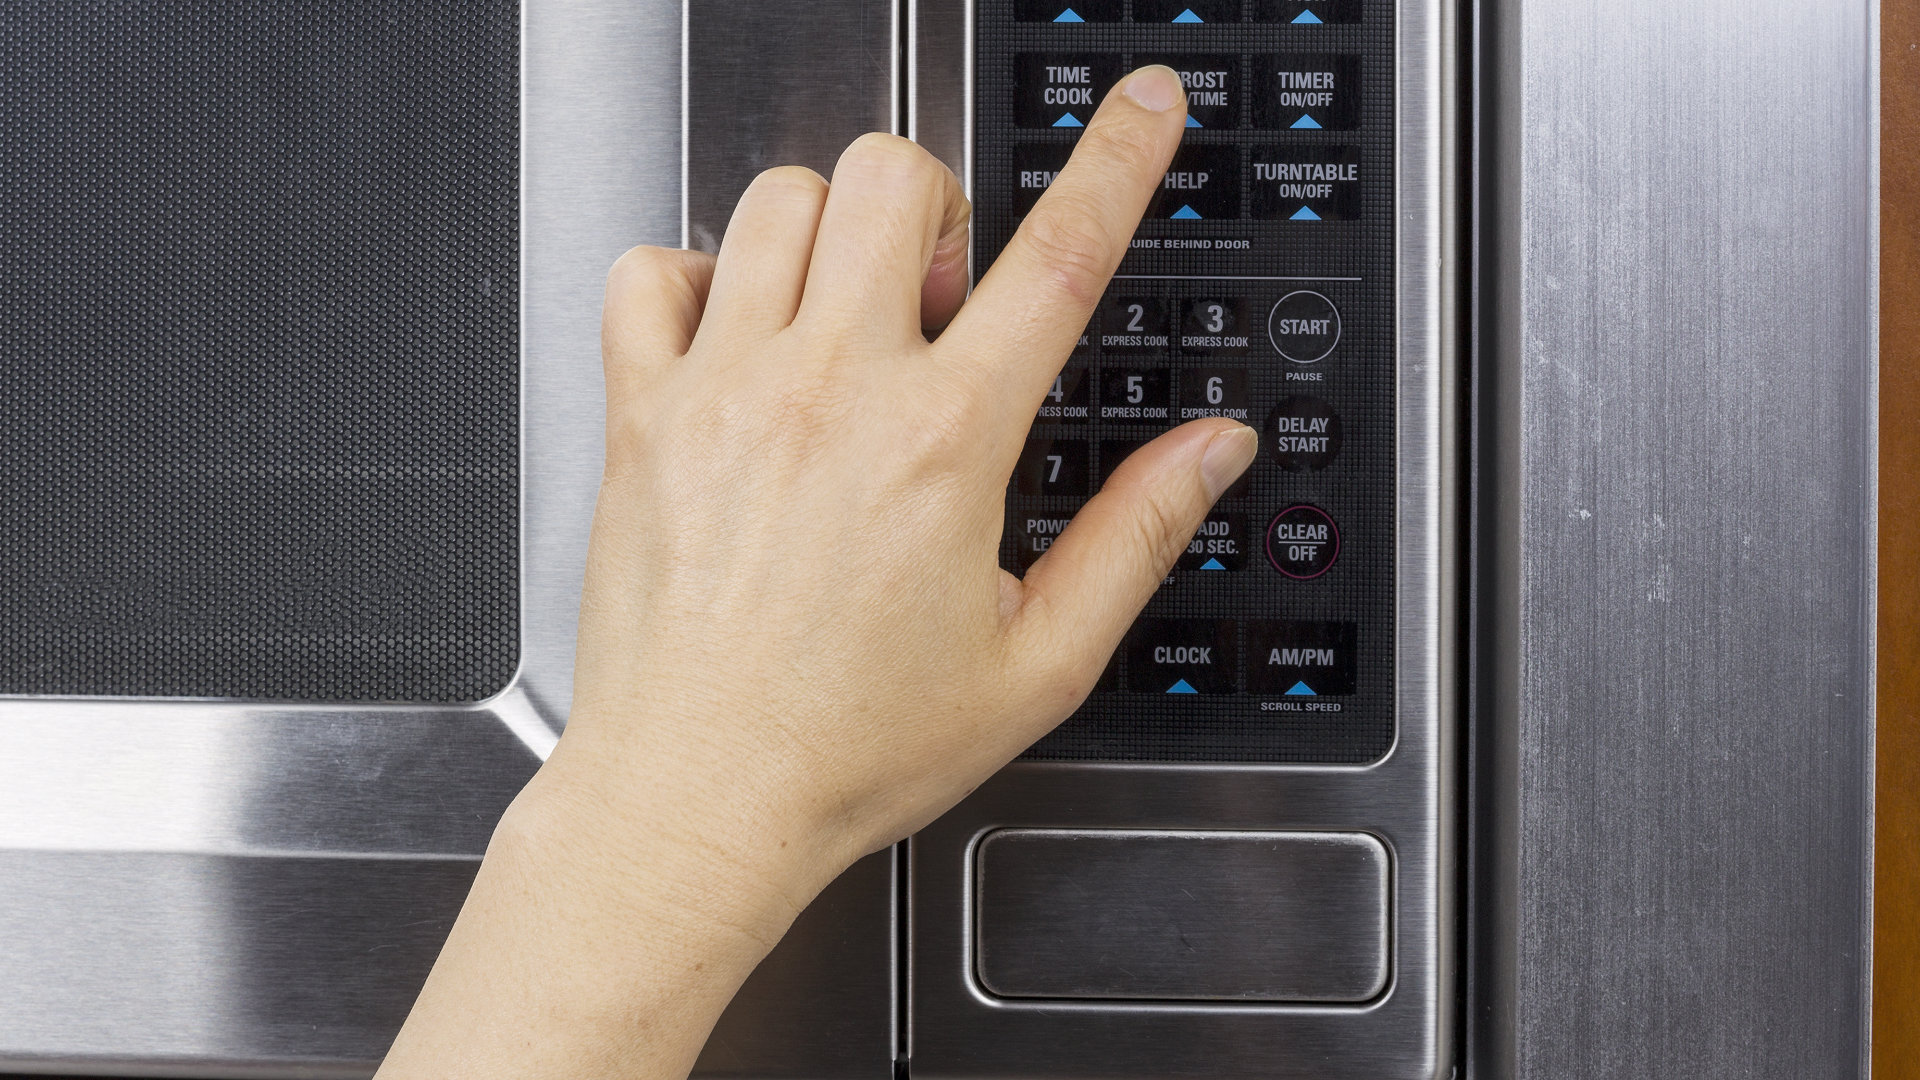
How a Microwave Touchpad Works
The microwave touchpad is not actually touch-sensitive. It is a special kind of membrane switch created by two flexible layers, conductive inner coating, and a bubble in between. Each button is a bubble with the flexible membrane on top. Backing the membrane is a conductive coating that contacts the back of the keypad when a number or function button is pressed.
Pressing the membrane and making a connection closes an electrical current that sends a signal to the control board. The control board is the microwave’s computer brain. Over time, the conductive coating on the back of the membrane can wear away, degrading the ability to make a connection and send a signal. It’s also possible that keypad malfunctions are resulting from a flaw in the control board receiving and processing signals.
One or More Microwave Buttons Not Working
If just one microwave button stops working, and it’s your favorite microwave button, there’s a good chance that the membrane has worn out underneath the printed button label. As the conductive coating on the back of the membrane wears off, the button’s ability to function degrades. If you’re getting some sign of signal but not the desired function, you may be making a partial connection for this reason.
You may also notice that one button is out and a cluster of buttons are out or faulty nearby. This is because the membrane is flexible and the damage to one button can affect the functionality of the entire panel.
To fix these problems, you’ll likely need to replace the membrane switch. Rather than trying to take the membrane apart, your best bet is to replace the entire keypad assembly with a new complete assembly so you don’t have to worry about a delicate membrane or precise replacement. A membrane switch works best when it is factory-aligned to send the right signals.
To remove and replace the membrane switch, open the microwave cabinet by removing the mounting screws and the metal wrap-around cover over the top and sides. Then access the front panel of the microwave. A membrane switch is usually connected with a flat ribbon-style wire connector that will need to be switched to the new membrane.
Microwave Display Lights Up Blank
If you press a touchpad button and the display lights up without data, this is more likely to be a control board issue. This means that the buttons are sending a signal, but the control board doesn’t know what to do in response. The display may light up as blank or nonsense and then fail to take action. Or worse, take the wrong action.
For any microwave owner seeing similar symptoms, it’s time to inspect your control board. Grab the multimeter and open up your microwave. You will likely need to open the cabinet by removing the mounting screws and the wrap-around microwave cover. From here, you can access the back of the microwave’s front panel which is usually where the control board resides.
Once you’ve located the control board, carefully transfer all wired connections one-for-one onto an identical new control board. Then remove the old control board and mount the new one in its place. This should fix your touchpad signal problems. If it does not, consider replacing the membrane switch as well, since membrane switches are prone to wearing out even without specific malfunction.
Microwave Controls are Non-Responsive
If your microwave touchpad is completely non-responsive, then it’s time to start troubleshooting. Partial signals like a few working buttons or a blank display are your guide-point to fixing the right thing with your microwave. But without a clue, you’ll need to gather evidence more carefully.
For example, you can collect button-by-button information on the functioning of your membrane switch with skilled use of a multimeter. You will likely need an online reference to the matrix layout of the membrane switch in order to test each button’s resistance when pressed.
If the membrane switch fails the multimeter test, then replace it and see if that solves your problem. Should the membrane switch be fine, then move your attention to the control Board. Try the multimeter on the control board to see if it is still handling electricity properly. If the control board doesn’t read the right resistance or seems to be dead, replace it instead.
And if you’re replaced both the membrane switch and the control board and the microwave still isn’t responding, it may be time for a new microwave.
—Many people become nervous about repairs when the microwave touchpad is involved because it’s the most delicate component in the appliance. But you don’t have to handle the delicate work to do the repair, simply have the right replacement part-assembly. For more insights into DIY repairs that you can do at home, check out our blog and feel free to explore the website. And if draw the line at microwave membrane repairs, we’ve got your back. Contact us to schedule a repair with one of our experienced appliance technicians. Our team would be glad to get your microwave back into ship-shape.

Apr. 09, 2024
How to Reset a Whirlpool Refrigerator Ice Maker

Apr. 09, 2024
6 Reasons Your LG Refrigerator Is Not Making Ice

Apr. 09, 2024
Kenmore Fridge Ice Maker Not Working? 5 Ways to Fix It

Mar. 06, 2024
How to Remove Fish Smell from Your Refrigerator

Mar. 06, 2024
How To Fix Bosch Dishwasher E24 Error

Mar. 06, 2024
Troubleshooting a Whirlpool Dishwasher Not Draining

Feb. 05, 2024
Why Is Your Fridge Water Not Working, but Ice Is?

Feb. 05, 2024
How to Fix the E15 Bosch Dishwasher Error Code

Feb. 05, 2024
How Much Power Does a Microwave Use?

Jan. 03, 2024
How to Properly Clean Refrigerator Coils

Jan. 03, 2024
How to Fix an LG Washer Showing OE Error Code

Jan. 03, 2024
Troubleshooting a GE Dishwasher with No Power and No Lights

Dec. 11, 2023
10 Reasons Why Your Bosch Dishwasher Won’t Start

Dec. 11, 2023
Troubleshooting the F5 Error Code with a Maytag Washer

Dec. 11, 2023
How To Fix a Kenmore Dryer That Isn’t Heating
(937) 252-3200Text or ring! ring!