

May 27, 2020
Oven Repair
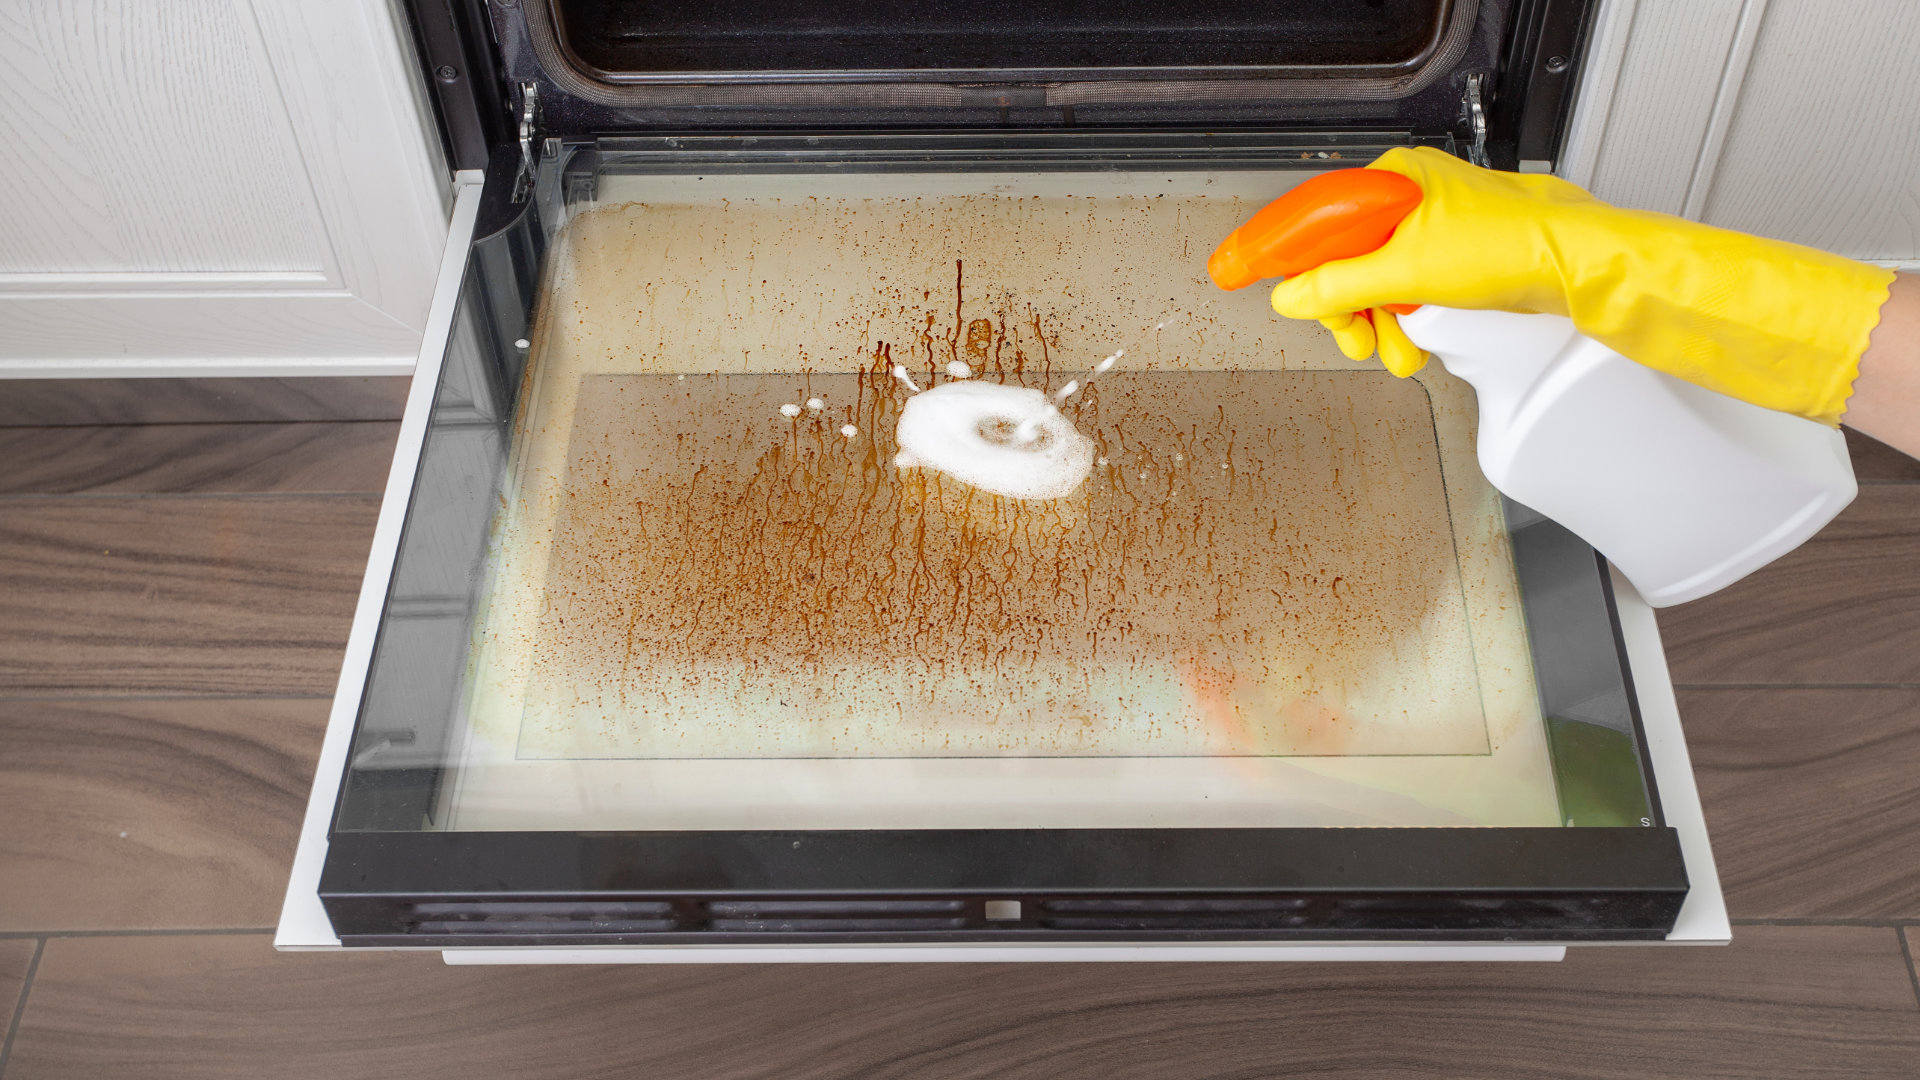
We often let stove and oven repairs go untended for longer than necessary. It’s a hassle to replace that heating element or control knob, and so we let these little damages add up over time until you’re ready for a big repair wave or a new oven. One of the most commonly overlooked and sometimes frustrating oven repairs is the door glass. If your oven door glass has cracked or become permanently dirty and you’re ready to replace, it can be confusing to know what happens next. Many oven-owners don’t even realize that the door glass can be removed, much less replaced. But it can.
The secret is in the oven’s layered door design. The oven door is actually made up of several layered panels including inner and outer door glass. Today, we’re here to walk you through some general step-by-step guidance on the task of replacing your oven door’s inner glass panel. Here’s how to do it:
Gather Your Supplies
Always start by putting together the supplies you need. This is crucial to finishing repairs when you start them rather than leaving things half-done in the middle of your kitchen. This is, surprisingly, a fairly simple repair so all you’ll need is a phillips head screwdriver, a few towels, fitted work gloves, and of course the replacement door glass panel.
- Screwdriver
- Replacement Oven Door Glass
- Towels
- Work Gloves
Safety First
– Cool the Oven
Because the oven door includes a panel of the oven interior, it’s important to ensure that your oven is cool before enacting this repair. Wait at least an hour after the oven was last turned off before attempting this repair. Speed up your oven cooling by leaving the door open during the cooling period.
– Cut the Power
Any time you do a repair on an appliance, it’s smart to cut the power. This repair does not directly have to do with wires or electrical components, so the risk is minimal. To cut the power, pull the stove’s plug from the wall or flip your kitchen breaker.
– Wear Work Gloves
The panels you are about to handle can have sharp edges and might also be greasy from cooking. The best way to enact this repair safely is wearing work gloves that fit your hands well. Also wear jeans and close-toed shoes, especially when dealing with glass and broken glass shards.
Remove the Door Handle
– Open the Oven Door
The door handle will only get in your way during this repair so you might as well remove it now. The screws are located inside the oven door, so open up the oven to access them.
– Remove the Handle Mounting Screws
Find the 2-4 mounting screws inside the upper edge of your oven door. These are securing the handle and can be easily removed with a phillips head screwdriver.
– Set Aside the Handle and Screws
Remove the door handle and the screws together and set them aside where you can find them later.
Remove the Oven Door
– Put Down a Towel
The next step is to fully remove the oven door. Start by putting down a towel or an old blanket to set the door on when you remove it.
– Open Oven Door to Ajar Position
Now open your oven door to the first setting on the hinges. This is the broil setting, where the oven door hangs open slightly ajar, maybe six inches to a foot open.
– Grab Both Sides
At this point, you may need the help of a friend. Firmly grasp both sides of the oven door and prepare to lift. Get a good grip. It’s very important to be wearing work gloves with gripping pads.
– Lift Door Off Hinges and Set Down
Lift both sides evenly up off of the hinges. You will feel the door pull free as you lift. It is now safe to set the door face-down on the towel.
Extract the Inner Oven Glass
– Remove the Inner Door Panel Screws
Looking at the inner side of the oven door, laid flat, you should be able to see a perimeter of screws to remove that secure the inner panel. Grab your screwdriver and remove those screws. Set them aside where you’ll find them later.
– Lift Away the Inner Door Panel
With the screws gone, lift and remove the inner door panel. Set this aside on another towel or old blanket.
– Remove the Frame Retainer Screws
You should now be able to see the frame retainer for the inner door glass. It also has a perimeter of mounting screws that secure the frame retainer. Remove these screws and set them aside.
– Lift and Remove the Glass Frame Retainer
Next, lift away the glass frame retainer and set it on yet another towel.
– Carefully Remove Glass Panel or Pieces
Now it’s time to remove the glass. Be sure to wear work gloves to handle the edges of this glass panel. If your glass is broken, be extremely careful removing either a cracked panel or broken glass shards.
Install New Inner Oven Door Glass
– Clean the Glass Retainer Frame and Surrounding Panels
Take a look at the two halves of the glass retainer and assess how clean they are. There’s a reason your inner oven glass gets dirty. Take a soapy sponge and clean the area where the new glass will go. If there are glass shards, chips, or dust, try using your vacuum to get up the last small pices that are unsafe to pick up by hand.
– Settle New Glass Into the Retainer Frame
Set the new glass into the retainer frame interior. Make sure it is aligned, facing the right direction, and firmly set.
– Return Retainer Frame Screws
Now you’re ready to secure the glass by reinstalling the inner half of the retainer frame. Align the retainer frame and return the screws. Screw firmly but do not over-tighten as you can crack the glass.
Reassemble Your Oven Door
– Return Inner Door Panel
It’s finally time to put your oven door back together. Start with the inner door panel. Align the inner panel and return the mounting screws. Again, tighten firmly but don’t over-tighten so hard that you warp the metal.
– Set Door Back Onto Hinges
With your friend, lift the oven door down onto the door hinges. Make sure they settle firmly into place. Then open and close the door a few times to confirm the hinges are reinstalled and aligned correctly.
– Return Door Handle
Crack the oven door open and reinstall the door handle. There should be two or four mounting screws.
– Restore the Power
Lastly, return the power to your oven by resecuring the plug or flipping the breaker back on. Congratulations. You have now changed the inner glass of your oven door. You’ve also learned how to access that space the next time a dirty oven window gets on your nerves.

Apr. 09, 2024
How to Reset a Whirlpool Refrigerator Ice Maker

Apr. 09, 2024
6 Reasons Your LG Refrigerator Is Not Making Ice

Apr. 09, 2024
Kenmore Fridge Ice Maker Not Working? 5 Ways to Fix It

Mar. 06, 2024
How to Remove Fish Smell from Your Refrigerator

Mar. 06, 2024
How To Fix Bosch Dishwasher E24 Error

Mar. 06, 2024
Troubleshooting a Whirlpool Dishwasher Not Draining

Feb. 05, 2024
Why Is Your Fridge Water Not Working, but Ice Is?

Feb. 05, 2024
How to Fix the E15 Bosch Dishwasher Error Code

Feb. 05, 2024
How Much Power Does a Microwave Use?

Jan. 03, 2024
How to Properly Clean Refrigerator Coils

Jan. 03, 2024
How to Fix an LG Washer Showing OE Error Code

Jan. 03, 2024
Troubleshooting a GE Dishwasher with No Power and No Lights

Dec. 11, 2023
10 Reasons Why Your Bosch Dishwasher Won’t Start

Dec. 11, 2023
Troubleshooting the F5 Error Code with a Maytag Washer

Dec. 11, 2023
How To Fix a Kenmore Dryer That Isn’t Heating
(937) 252-3200Text or ring! ring!