

May 4, 2022
Oven Repair
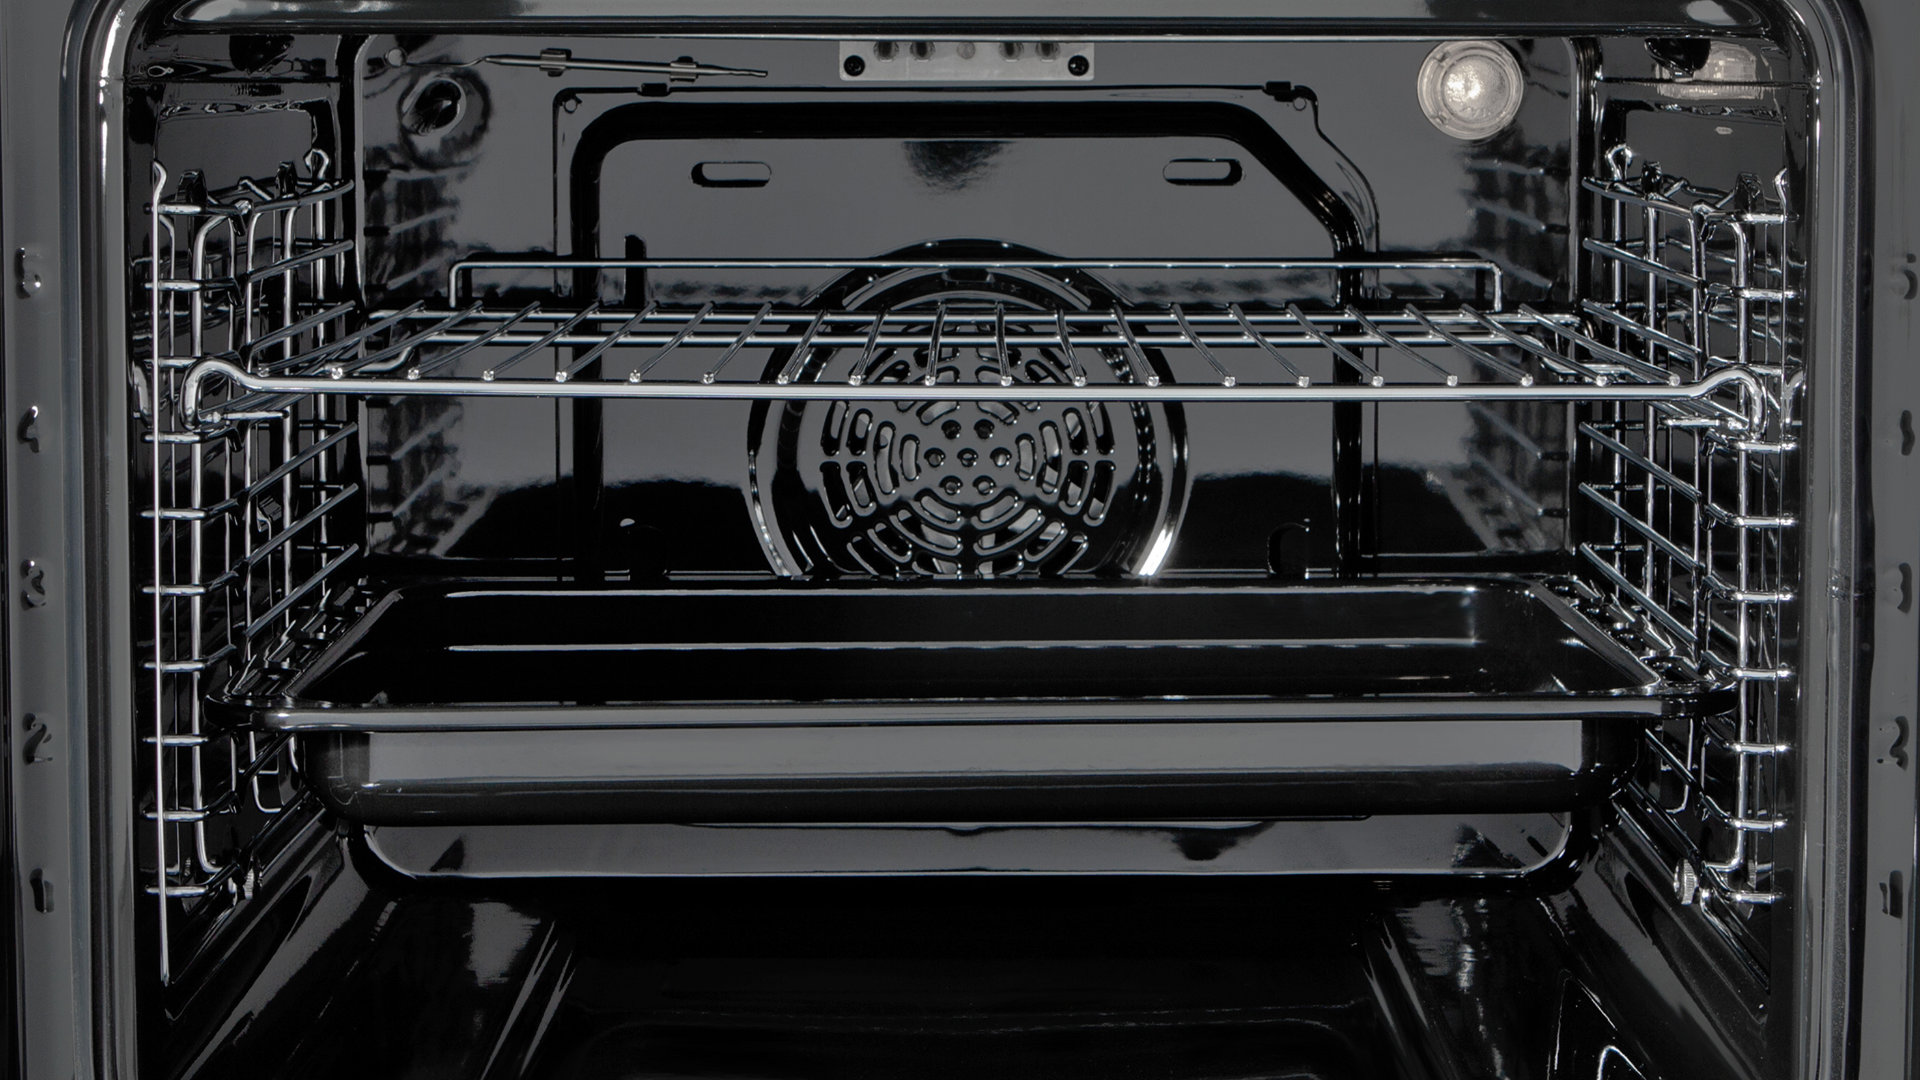
The heating element in your oven is the main component responsible for providing heat so your oven can cook your food. When the element becomes defective your oven will not be able to operate correctly or not at all.
To resolve this problem, you will need to replace the heating element. Thankfully, this is a straightforward task that simply involves removing the old element and then installing the new one.
In this guide, we will give you step-by-step instructions on how to go about completing this repair.
Step 1 – Test the element
Before ordering a replacement element, it’s a good idea to examine the existing element to ensure it’s defective and the problem isn’t being caused by another issue like faulty wiring.
To examine the element, you need to remove the cover from the element if it has one and then check for any signs of cracks and blistering on the element. If you can see that it is damaged, this is a good indication that it’s defective and needs to be replaced. You can also turn the oven on and check if the element becomes bright red. If it doesn’t heat fully, the element is faulty and will need to be replaced.
If you have a multimeter, you can test the element to ensure it’s faulty. This involves turning the power off to your oven, disconnecting the element, and then using the multimeter to test the element for continuity. If it doesn’t have continuity, it will need to be replaced.
Step 2 – Order a replacement element
Once you’ve determined that the element is defective, you will need to purchase the correct replacement part from an online or offline retailer that stocks oven elements. Most of the major retailers will have a good range of replacement parts for major brands like LG, Samsung, GE, Whirlpool, and Bosch.
Step 3 – Get prepared
Once you have the correct replacement part, you need to prepare your oven. Here’s what to do:
- Unplug your oven or turn the circuit breaker off.
- Remove the racks from your oven.
- If you haven’t already, remove the cover from the heating element. Depending on your oven, you may need to remove a few screws to be able to take the cover out.
- To protect your eyes and hands, it’s a good idea to put on a pair of glasses and gloves before removing the defective element.
Step 4 – Remove the defective heating element
Now that you’ve turned the power off and removed the racks and element cover, it’s time to take the old heating element out.
- First, the element is held in place by a couple of clips that are secured by one or more screws. Unthread these screws and then the clips should be able to be removed from the oven. Keep the screws and clips in a safe place in case the new element doesn’t have screws with it.
- Next, pull the element out from the oven wall, and you should then be able to disconnect the wires from the element. Be careful that the wire harness doesn’t fall into the hole as it can be hard to get out.
- Once disconnected, the element can be removed from your oven.
Step 5 – Install the new element
Now that the old element has been removed, it’s time to install the new heating element into your oven. Here’s what to do:
- Take the new element out of the packaging. Make sure you remove all plastic packaging parts.
- Next, attach the wire harness to the new element.
- Place the new element into place and then attach the screws and clips that you removed earlier to secure the new element in position.
- Check that the element is firmly in place and isn’t able to move around. Also, make sure it’s firmly flush with the oven wall.
- Congratulations! Your new element is (hopefully) installed.
Step 6 – Make sure the new element works
Once you’ve installed the new heating element, it’s time to test that it works. Here’s what to do:
- Turn the power back on to your oven. You’ll need to plug it back in or turn the circuit breaker back on if you turned it off earlier.
- Once your oven is on, turn it to a high temperature on the bake setting. If a small amount of smoke comes off the new element, this is normal—it’s just the protective coating burning off.
- If your element is bright red and your oven is hot, this means your new element is working correctly. If the new element isn’t working, you’ll need to get a technician to come and inspect your oven as there might be further problems with it that will need to be repaired.
- Finally, put the cover back over the new element and secure it in place with the screws you removed earlier. You can then put the racks back into your oven and start using it again.

Apr. 09, 2024
How to Reset a Whirlpool Refrigerator Ice Maker

Apr. 09, 2024
6 Reasons Your LG Refrigerator Is Not Making Ice

Apr. 09, 2024
Kenmore Fridge Ice Maker Not Working? 5 Ways to Fix It

Mar. 06, 2024
How to Remove Fish Smell from Your Refrigerator

Mar. 06, 2024
How To Fix Bosch Dishwasher E24 Error

Mar. 06, 2024
Troubleshooting a Whirlpool Dishwasher Not Draining

Feb. 05, 2024
Why Is Your Fridge Water Not Working, but Ice Is?

Feb. 05, 2024
How to Fix the E15 Bosch Dishwasher Error Code

Feb. 05, 2024
How Much Power Does a Microwave Use?

Jan. 03, 2024
How to Properly Clean Refrigerator Coils

Jan. 03, 2024
How to Fix an LG Washer Showing OE Error Code

Jan. 03, 2024
Troubleshooting a GE Dishwasher with No Power and No Lights

Dec. 11, 2023
10 Reasons Why Your Bosch Dishwasher Won’t Start

Dec. 11, 2023
Troubleshooting the F5 Error Code with a Maytag Washer

Dec. 11, 2023
How To Fix a Kenmore Dryer That Isn’t Heating
(937) 252-3200Text or ring! ring!